|||
|||
Welcome back! Last time around we started a bundle of new quests: tracking down a missing Free Scrappers scout, helping a scientist captured by the Conflux, Operation Arrowhead… and more. Lots to do in the Zone.
Now that we’ve progressed deeper into the Zone, we’re going to start revisiting locations quite a bit. We’re also going to find goals for multiple missions within the same area. To keep things flowing neatly, I’m going to continue splitting each part of the guide into sections centered on a given mission, but I’m also going to start including this section: the (mostly) optimal path from start to finish to complete each mission with as little backtracking as possible.
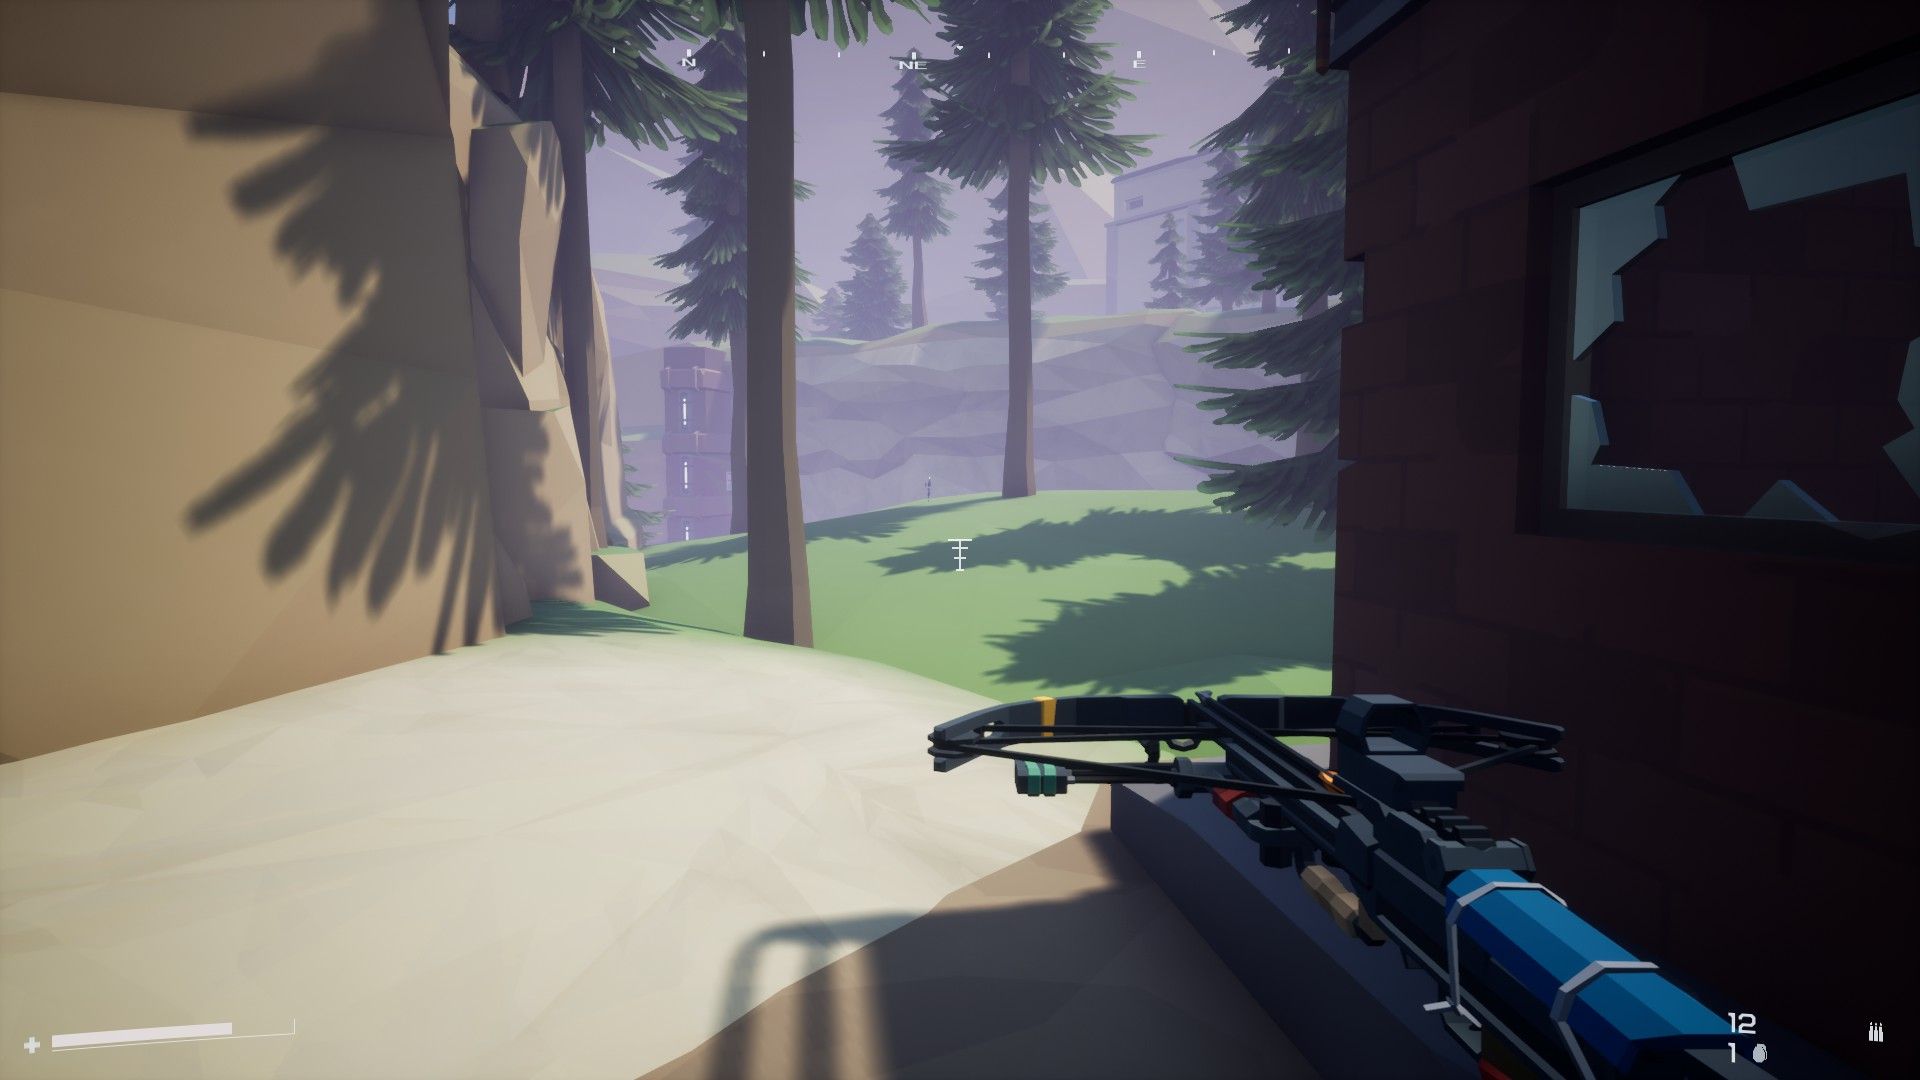
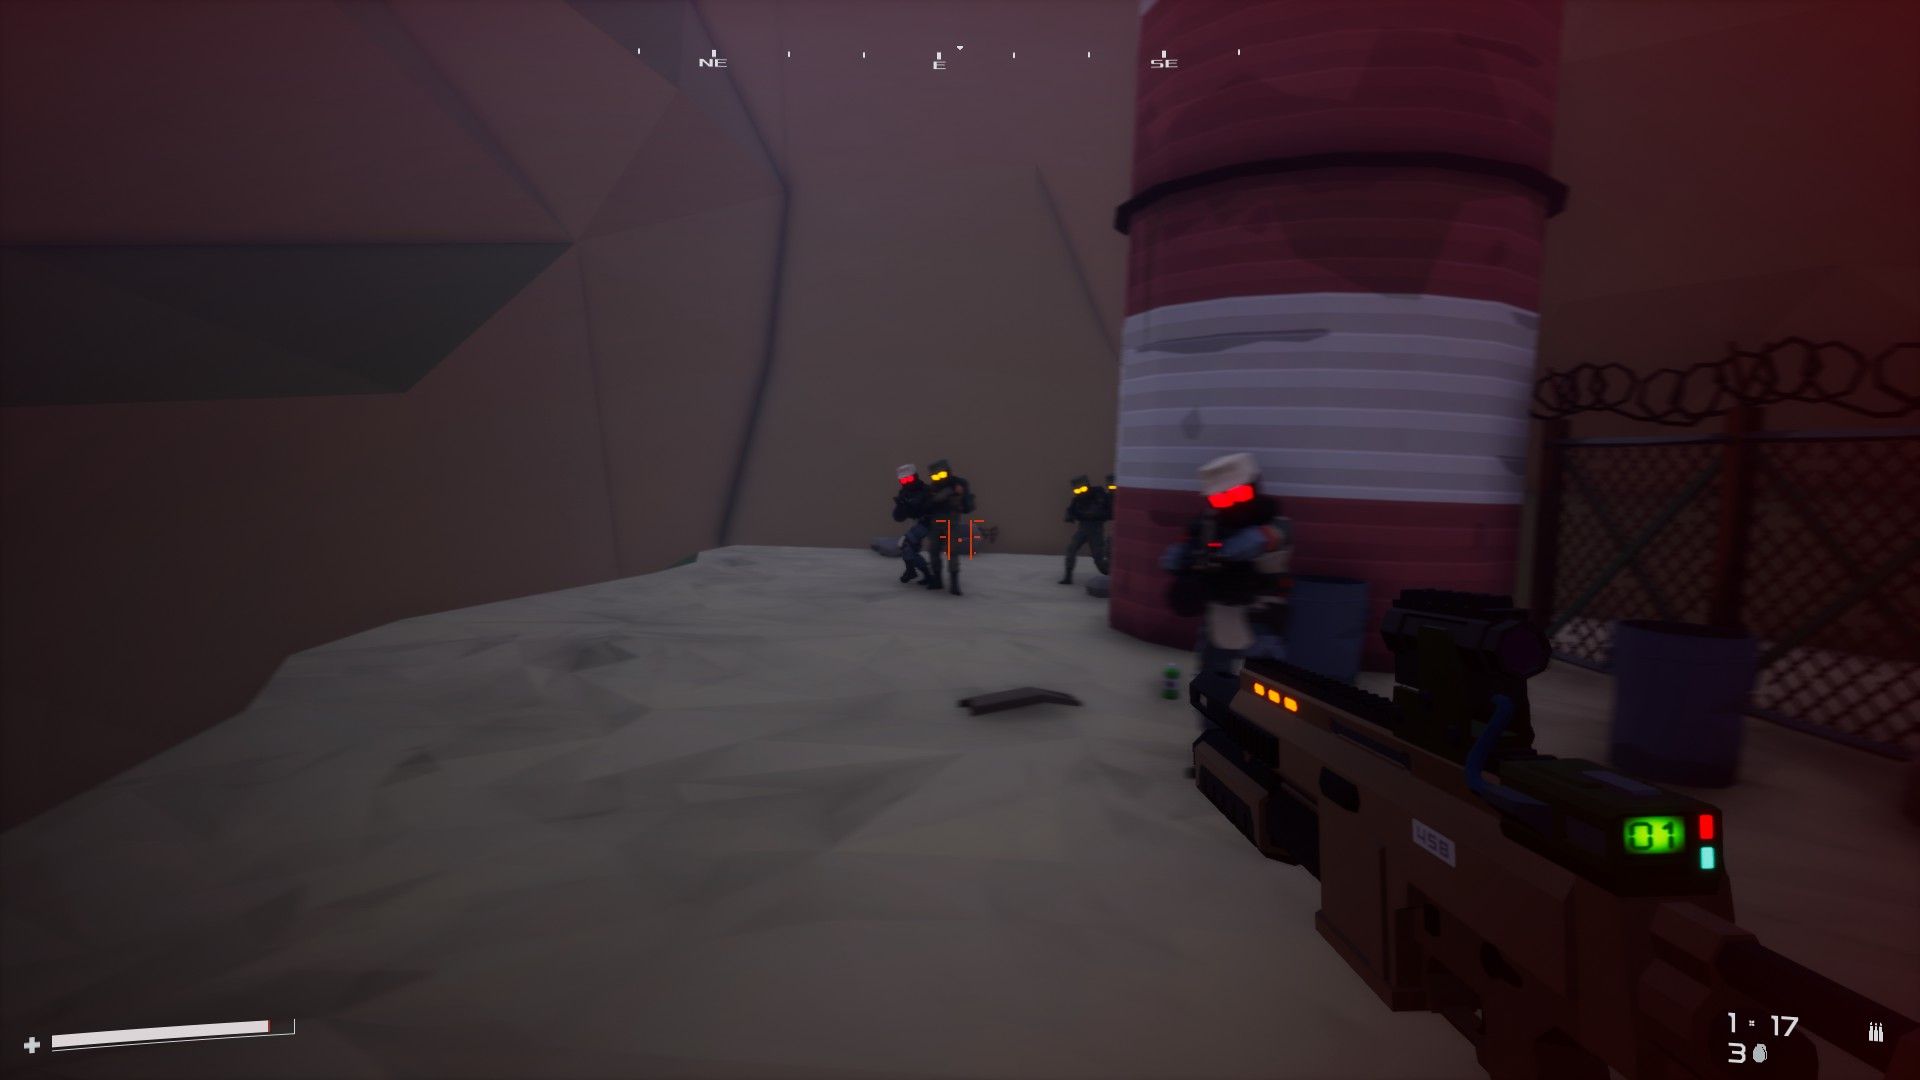
The Free Scrappers Scout is located on the third floor of a building in Necropol guarded by three high-level Police.
To find the Free Scrappers missing scout (Riley), we’ll need to follow the trail of geomarkers he’s left throughout the Zone. Accessing each marker gives a clue to the location of the next. If you feel like skipping straight to the end, check the above spoiler. I’ve included images with the location of each geomarker below.
Geomarkers 1 and 2 are in locations we’ve already visited: The Dish and Storm Drain.
 Geomarker 1: The Dish near one of the entrances to Data Center South
 Geomarker 2: Storm Drain behind the waterfall, near Arrowhead-01
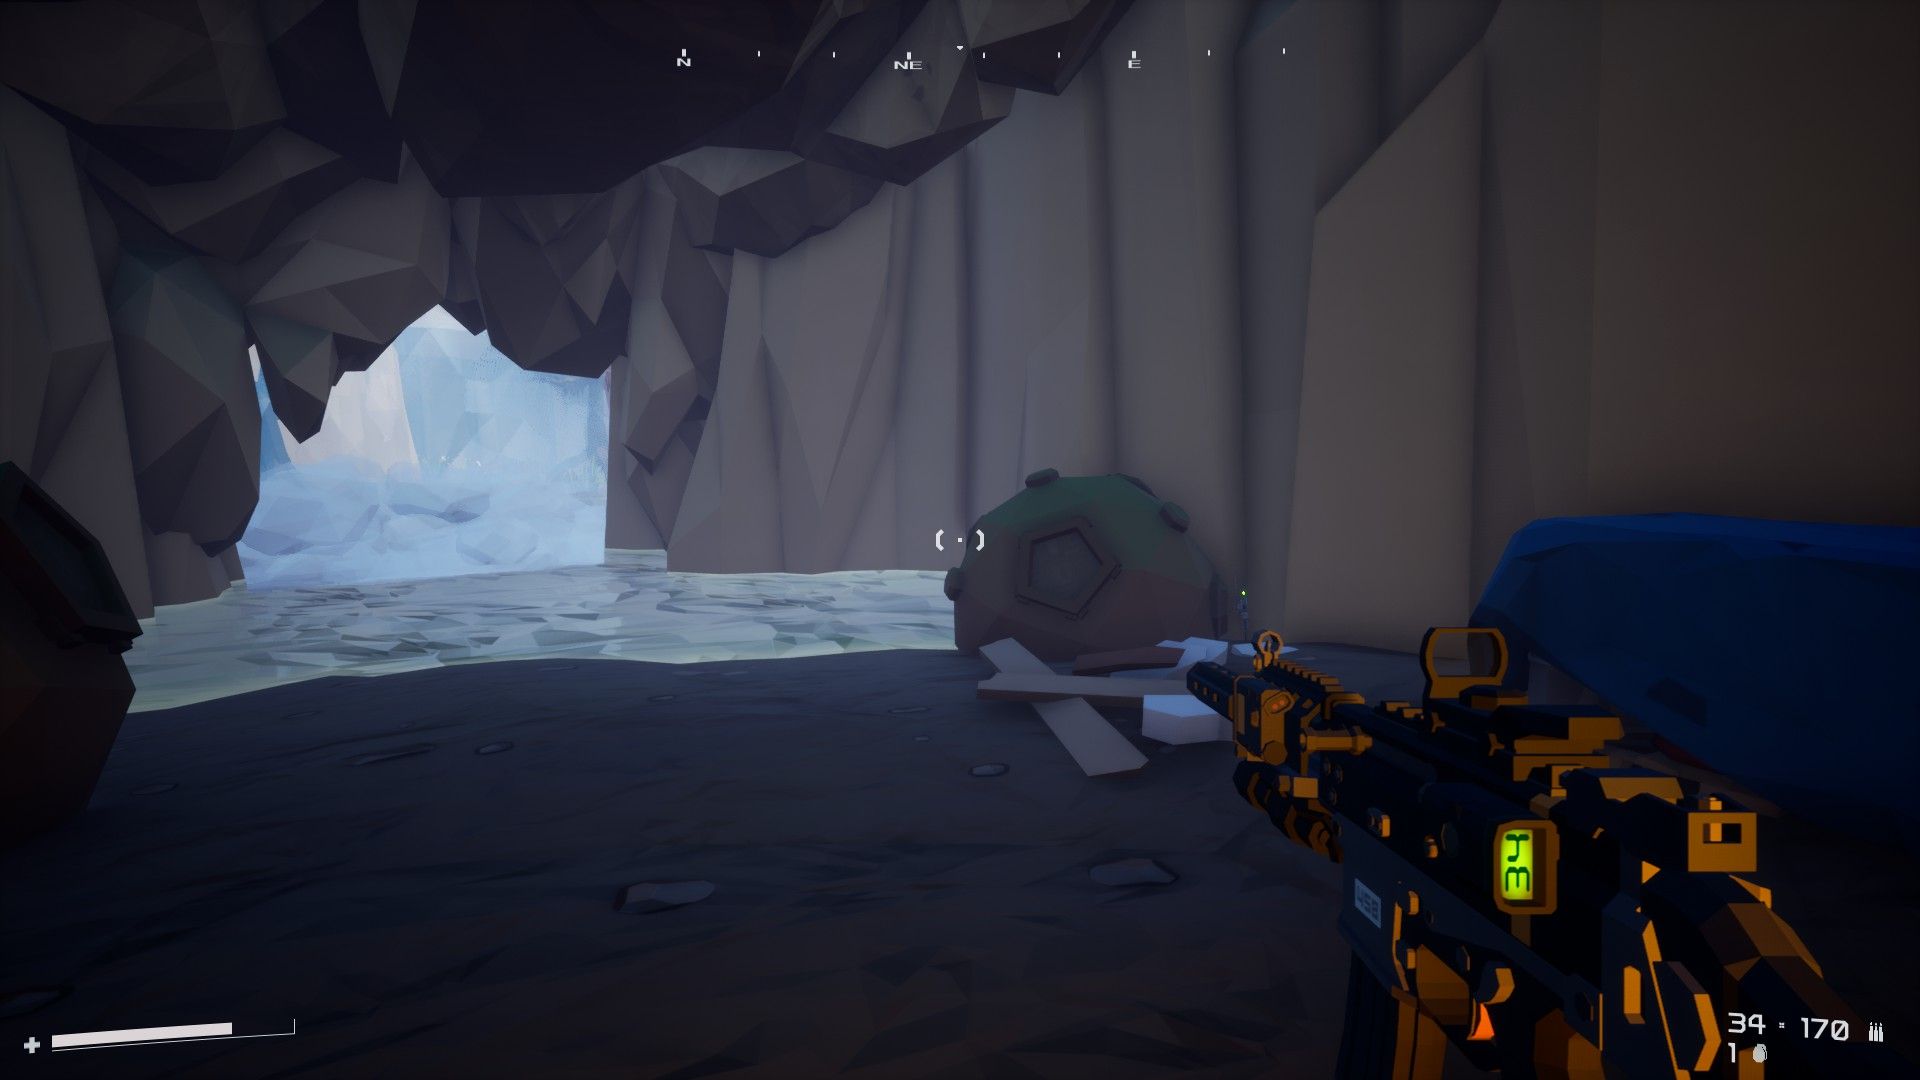
Geomarker 3 takes us into new territory — Catacombs. We’ll access them from Storm Drain near the entrance to Arrowhead 01. The Catacombs are a winding, multi-layered set of tunnels and mines that link up many of the Zone’s areas — with good navigation skills you can reach Junction 06, Cistern, Blue Caverns, and The Haunt all from this one location. There’s even a few secret areas tucked away for good measure.
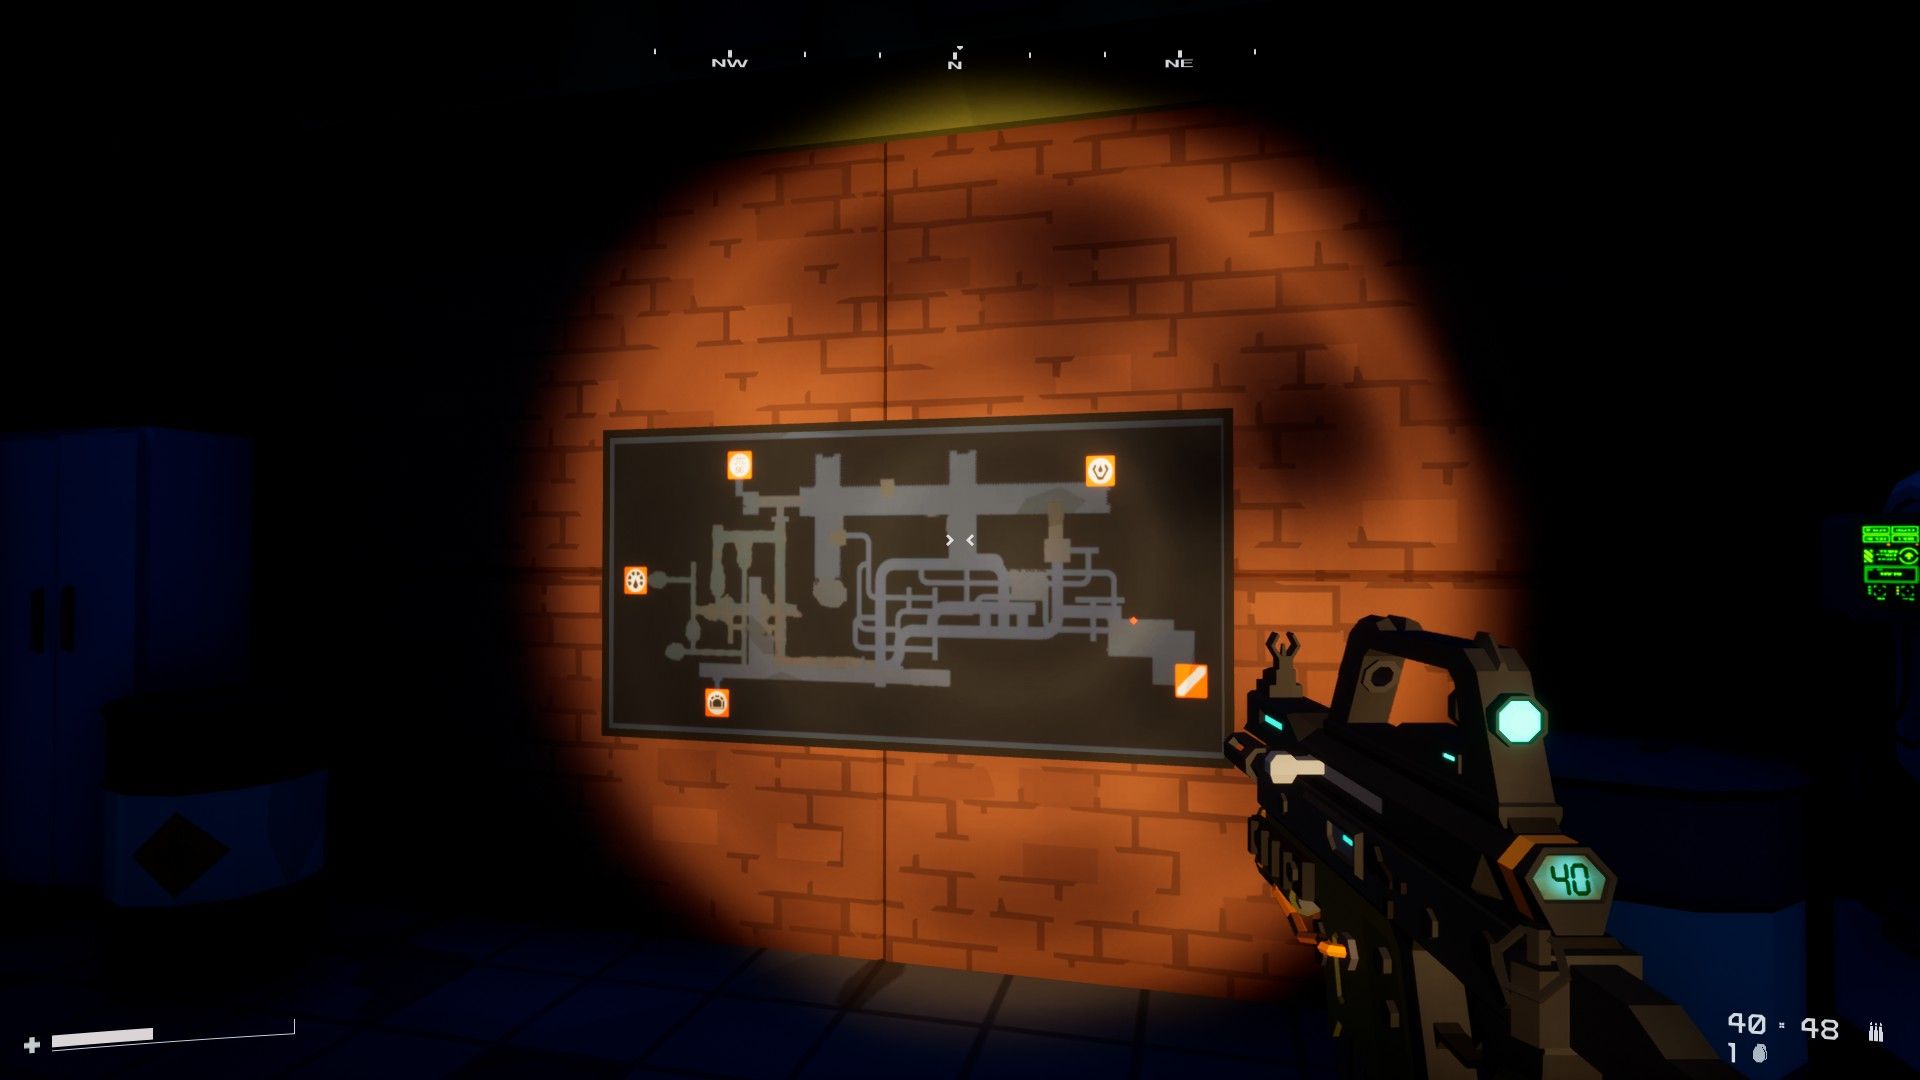 And there’s a map!
Two long corridors stetch along the area’s sides, serving as shooting galleries for the many patrols that make their way through here. Riley’s next geomarker is tucked away on the bottom level of one of these corridors.
 Geomarker 3: Catacombs at the bottom of the Main Tunnel toward the Junction 06 side
Conveniently, this geomarker is close to our next destination — Junction 06. At some point during this mission, you’ll likely receive a call from mission control warning you about an NNM sniper team that’s been deployed to take you out. They’re posted up on a rooftop in Junction 06 and this is as good a time as any to ruin their collective day.
 Geomarker 4: Junction 06, on a dock overlooking a small pond
From Junction 06 it’s a straight shot to our final area. Necropol. An abandoned city half-destroyed by some unknown cataclysm, Necropol is divided into two levels with office buildings tucked back on a raised section and a highway that stretches across the area. Riley’s final markers are near the office buildings.
 Geomarker 5: Necropol, near the final location
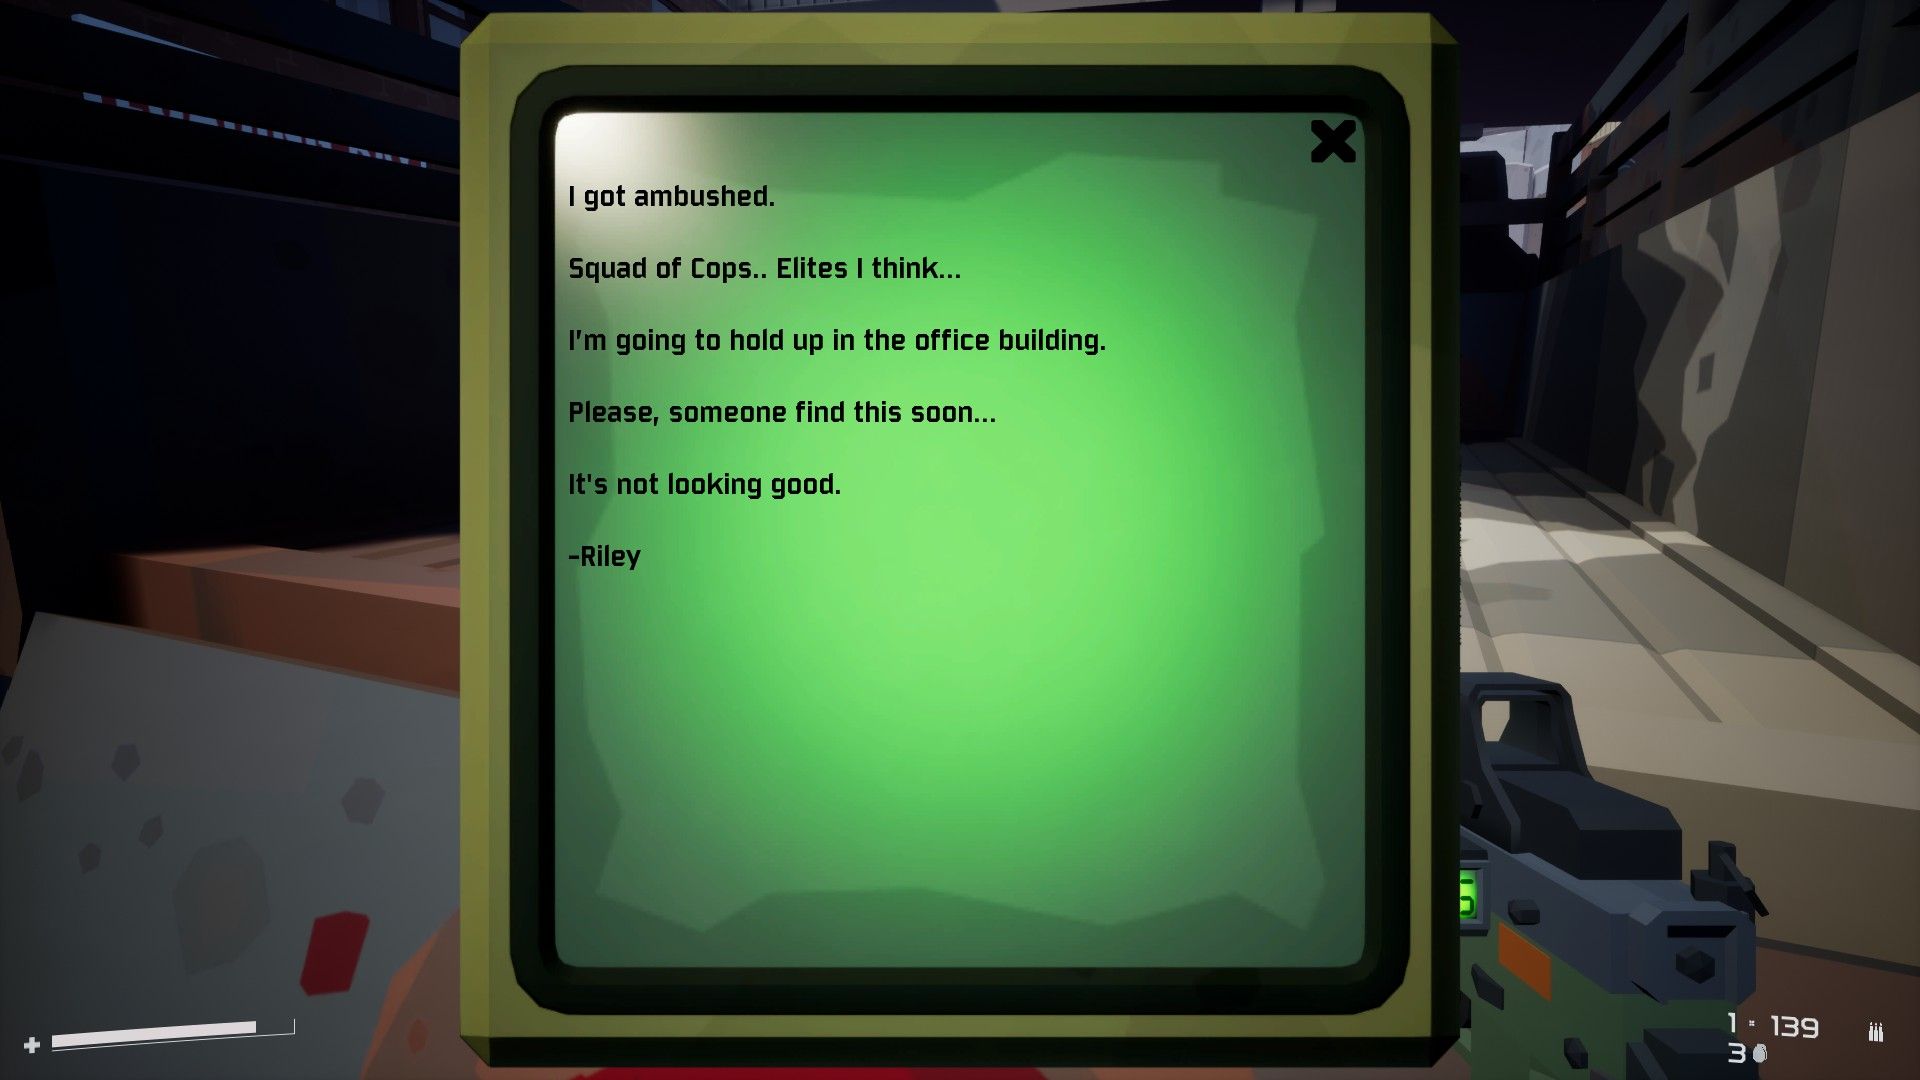 Things aren’t looking good for Riley
Based on the bloodstains, this likely won’t end well. Riley’s on the run from some elite Police officers and has taken cover on the top floor of a nearby building. Enter the large office building to the right and head up the stairs. There you’ll find three officers with semi-automatic rifles in a windowed office — grenades are your friends here.
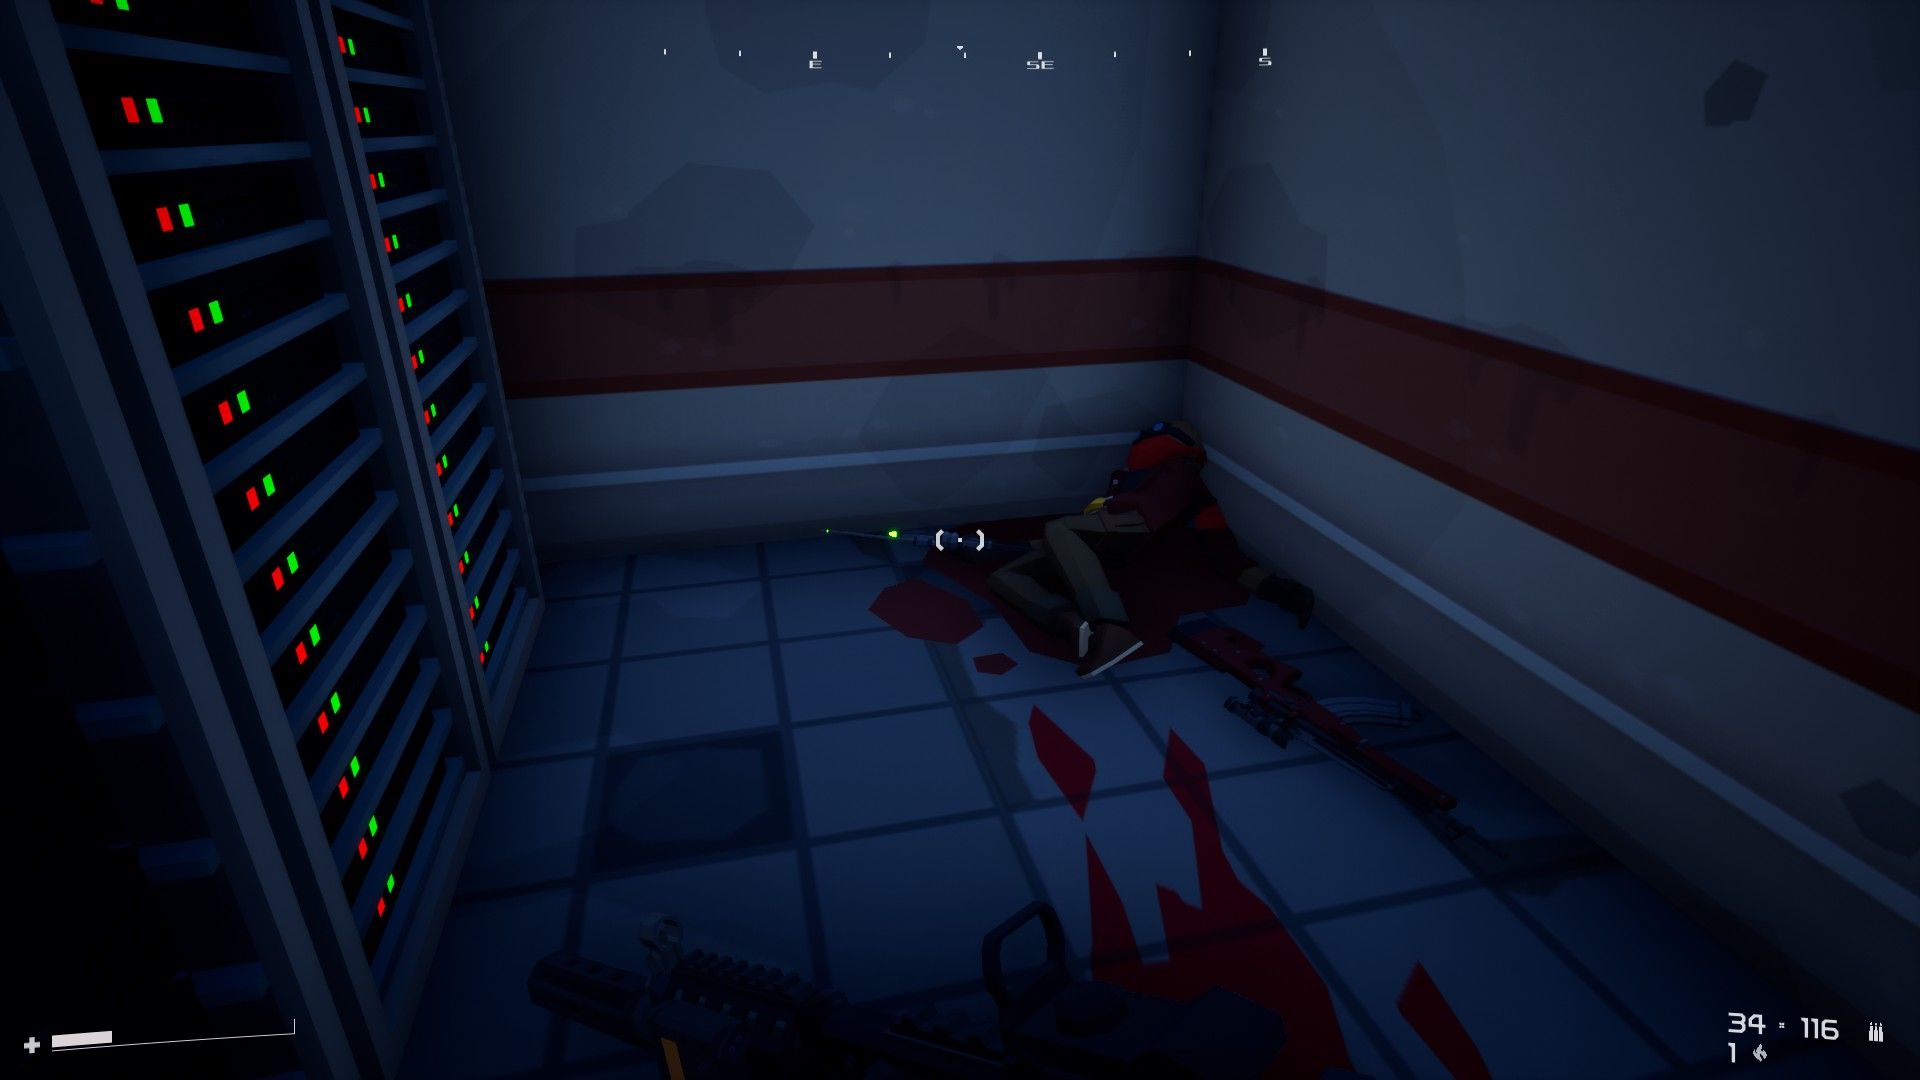 The Final Marker… and Riley
Return Riley’s data to Calliope to finish off the quest. After turning it in, we’ll be pulled aside by Casadoor, who wants our help hunting down the last Conflux leaders in the Zone. He has a Root-Kit he needs us to install on a Conflux computer to find their locations.
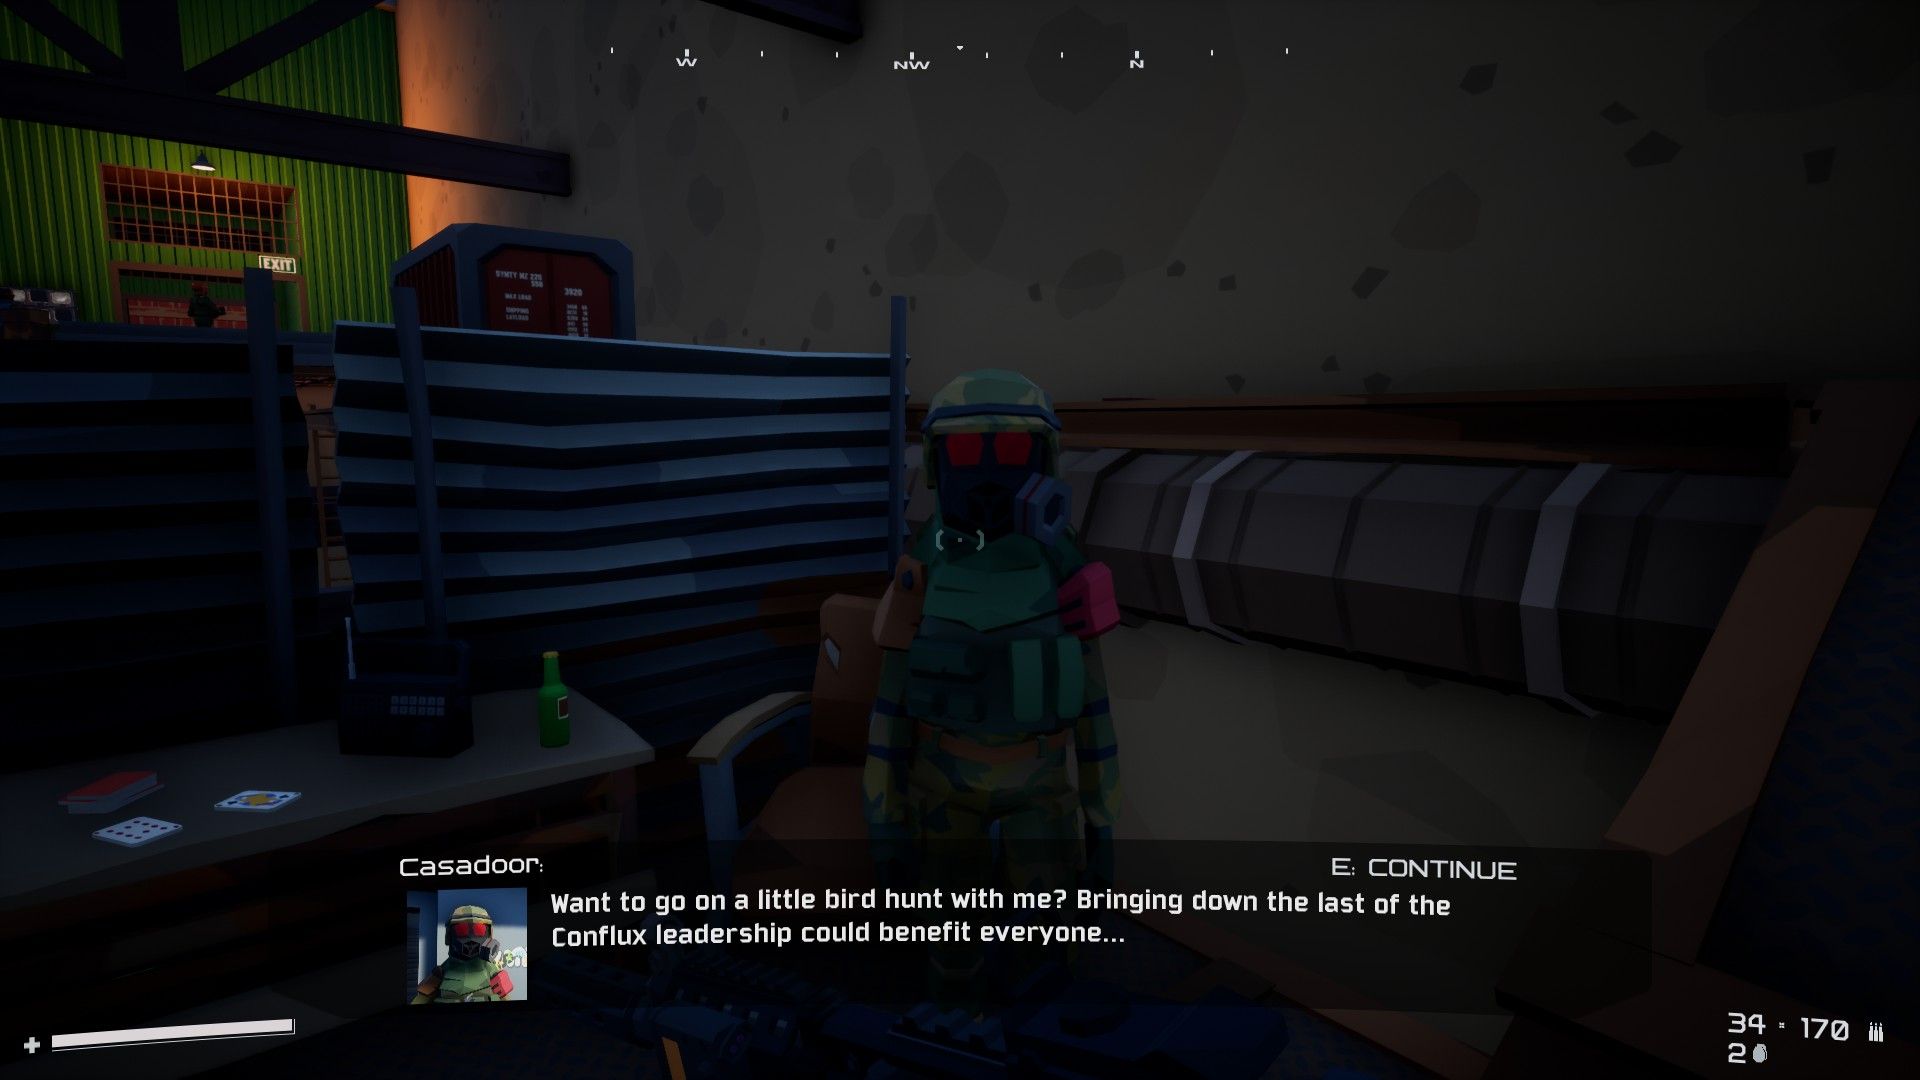 Casadoor also serves as a new companion; he’s equipped with a DMR and knows how to use it
We’ll be installing the Root-Kit as part of our next mission!
In Part 2, we found a message from a Dr. Sanchez. He’d been captured by the Conflux and brought to an underground lab for unknown purposes and things looked pretty grim. We’re going to see if we can help him out.
To do that, we’ll need to head to Catacombs (introed in more depth above).
Catacombs Map
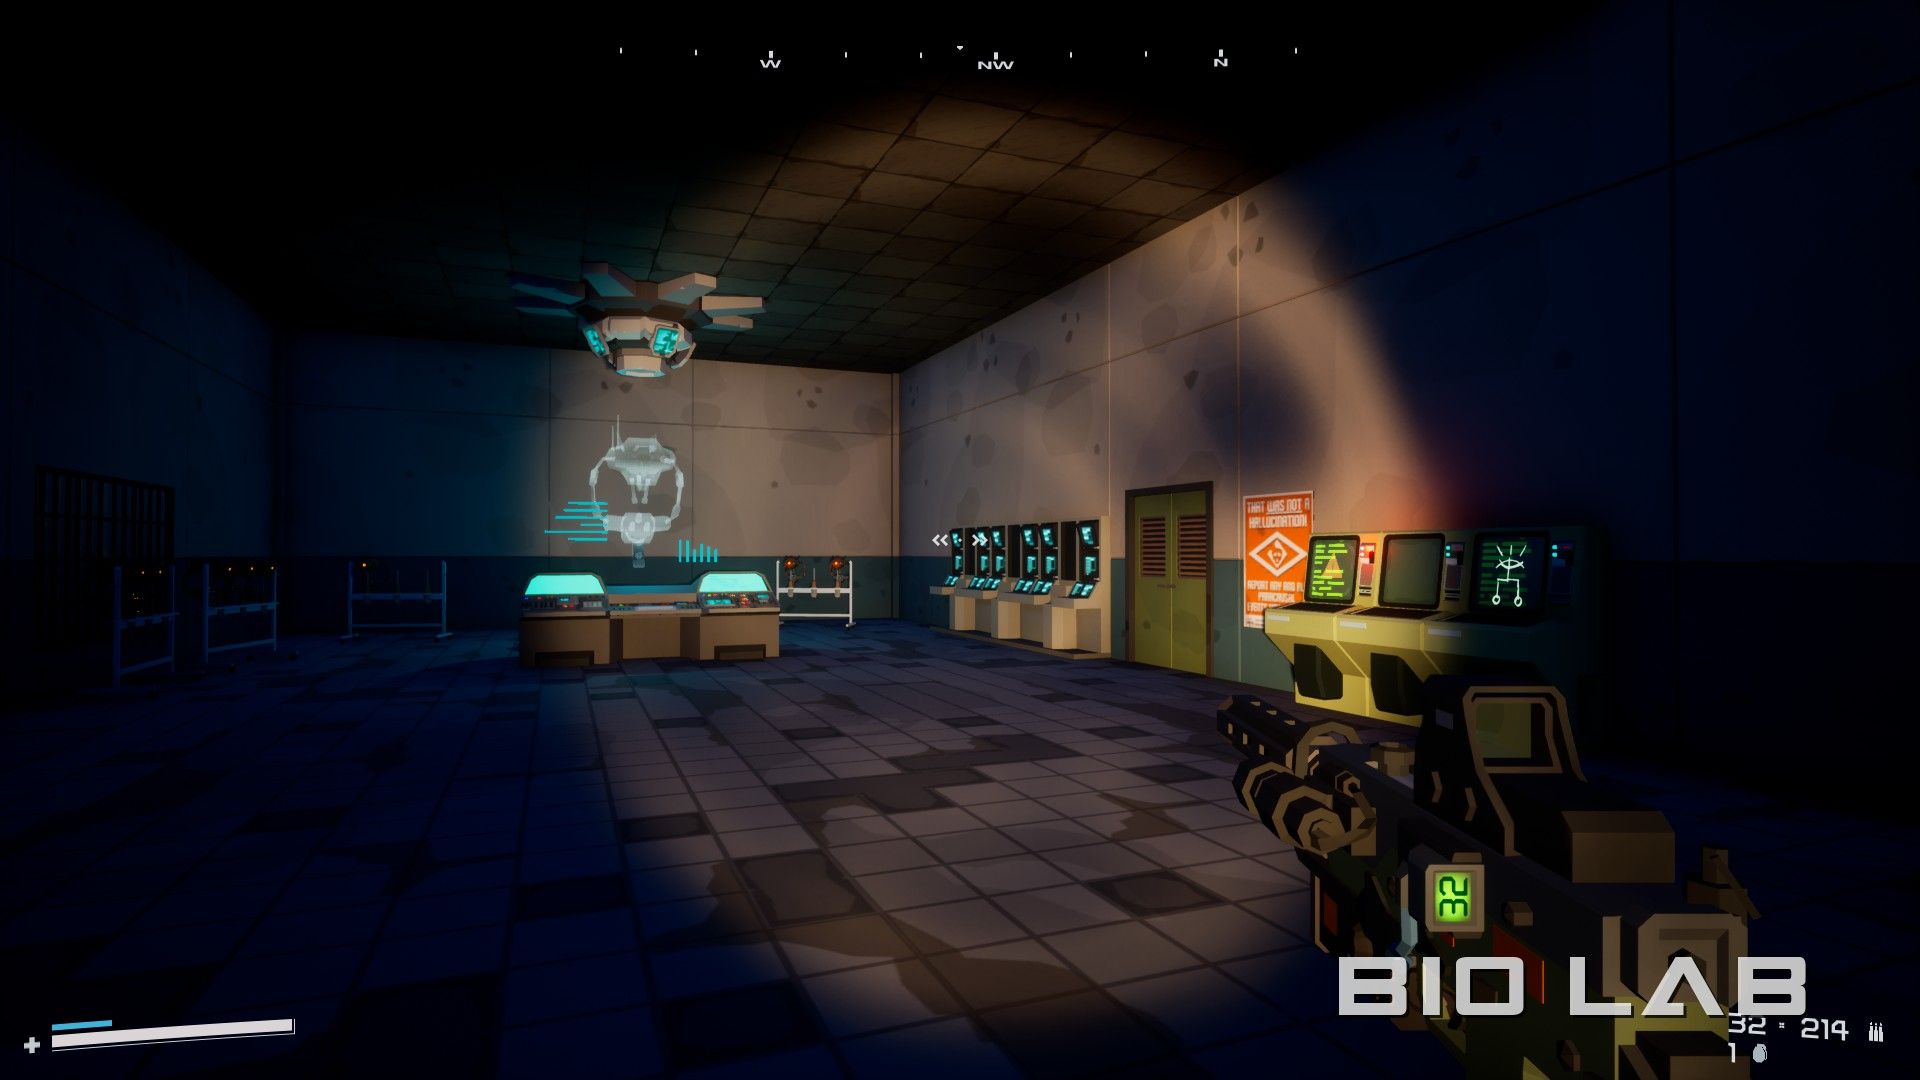
The Catacombs map plus some clear signage on the walls should help us make our way to the Biolab without too much trouble.
 Well this is ominous
We’ll need a Tier 1 Keycard for access, so good thing we grabbed one last time around.
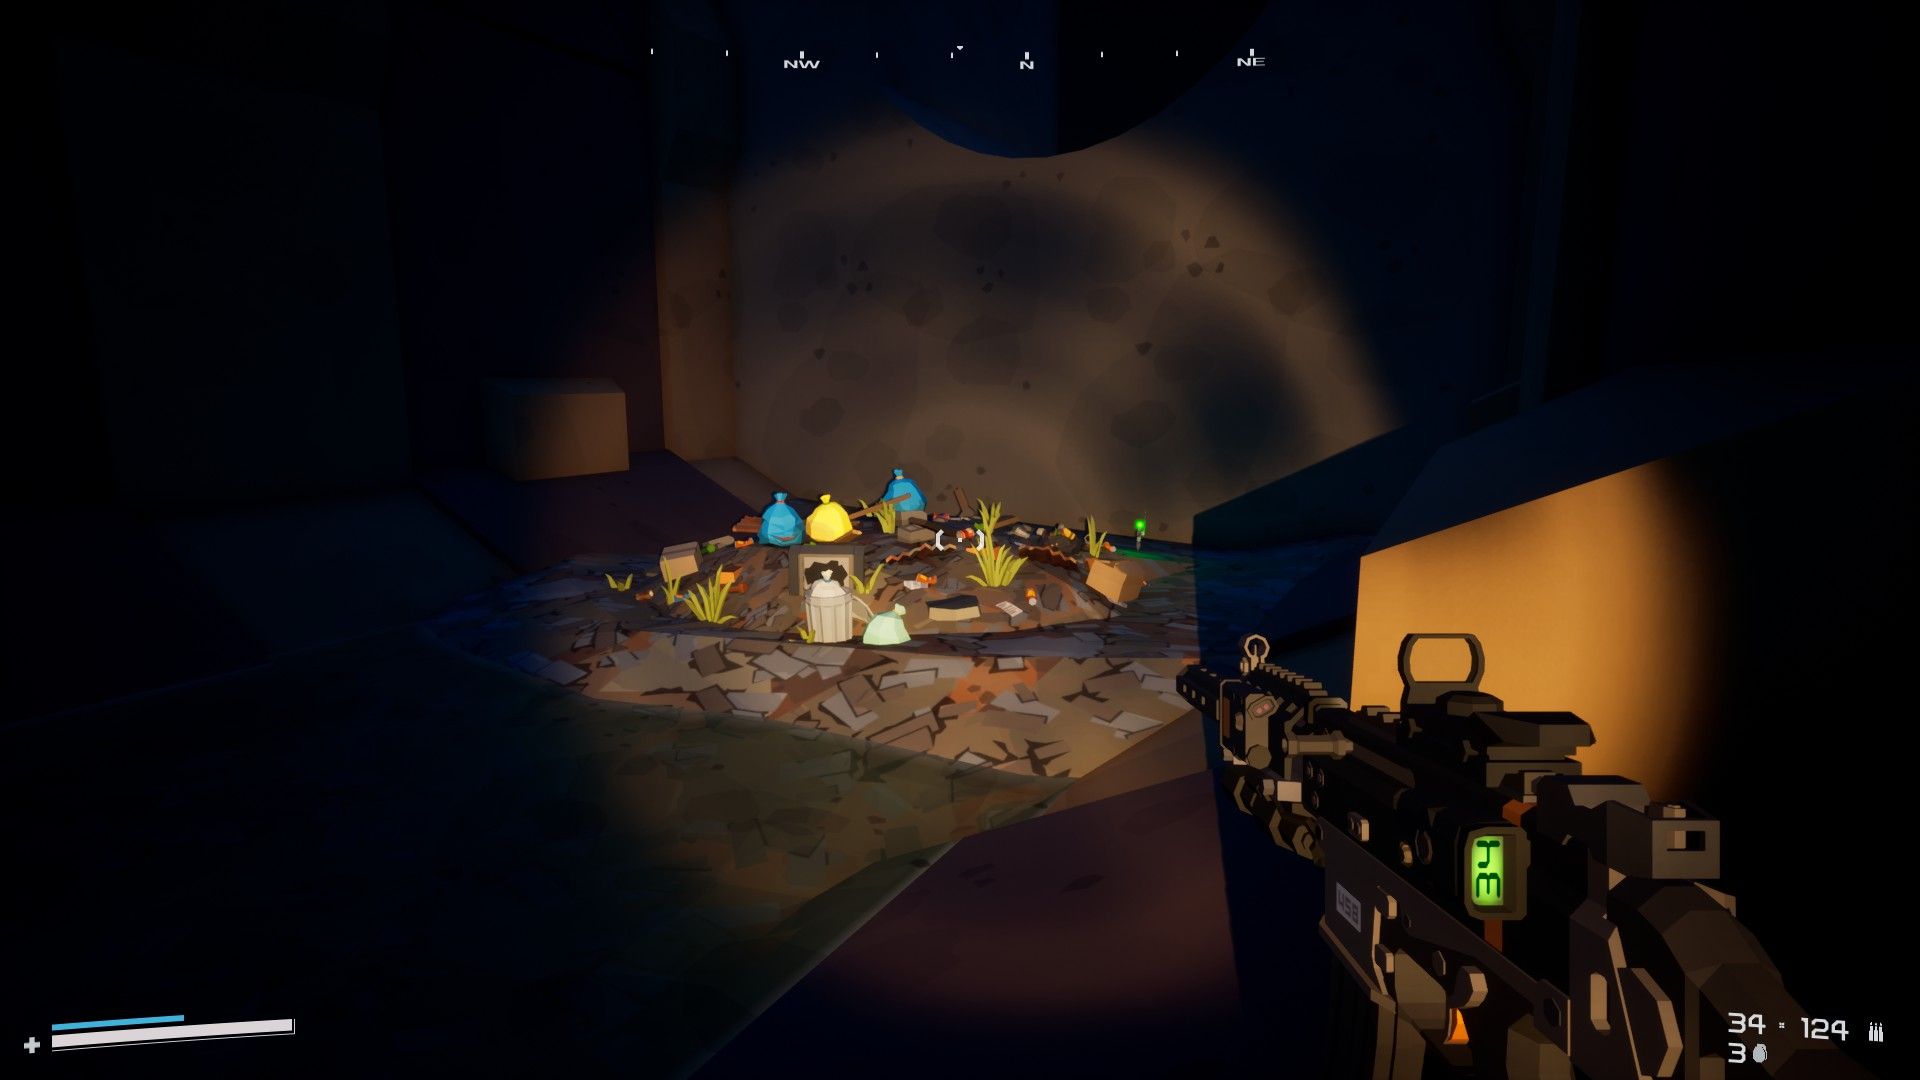
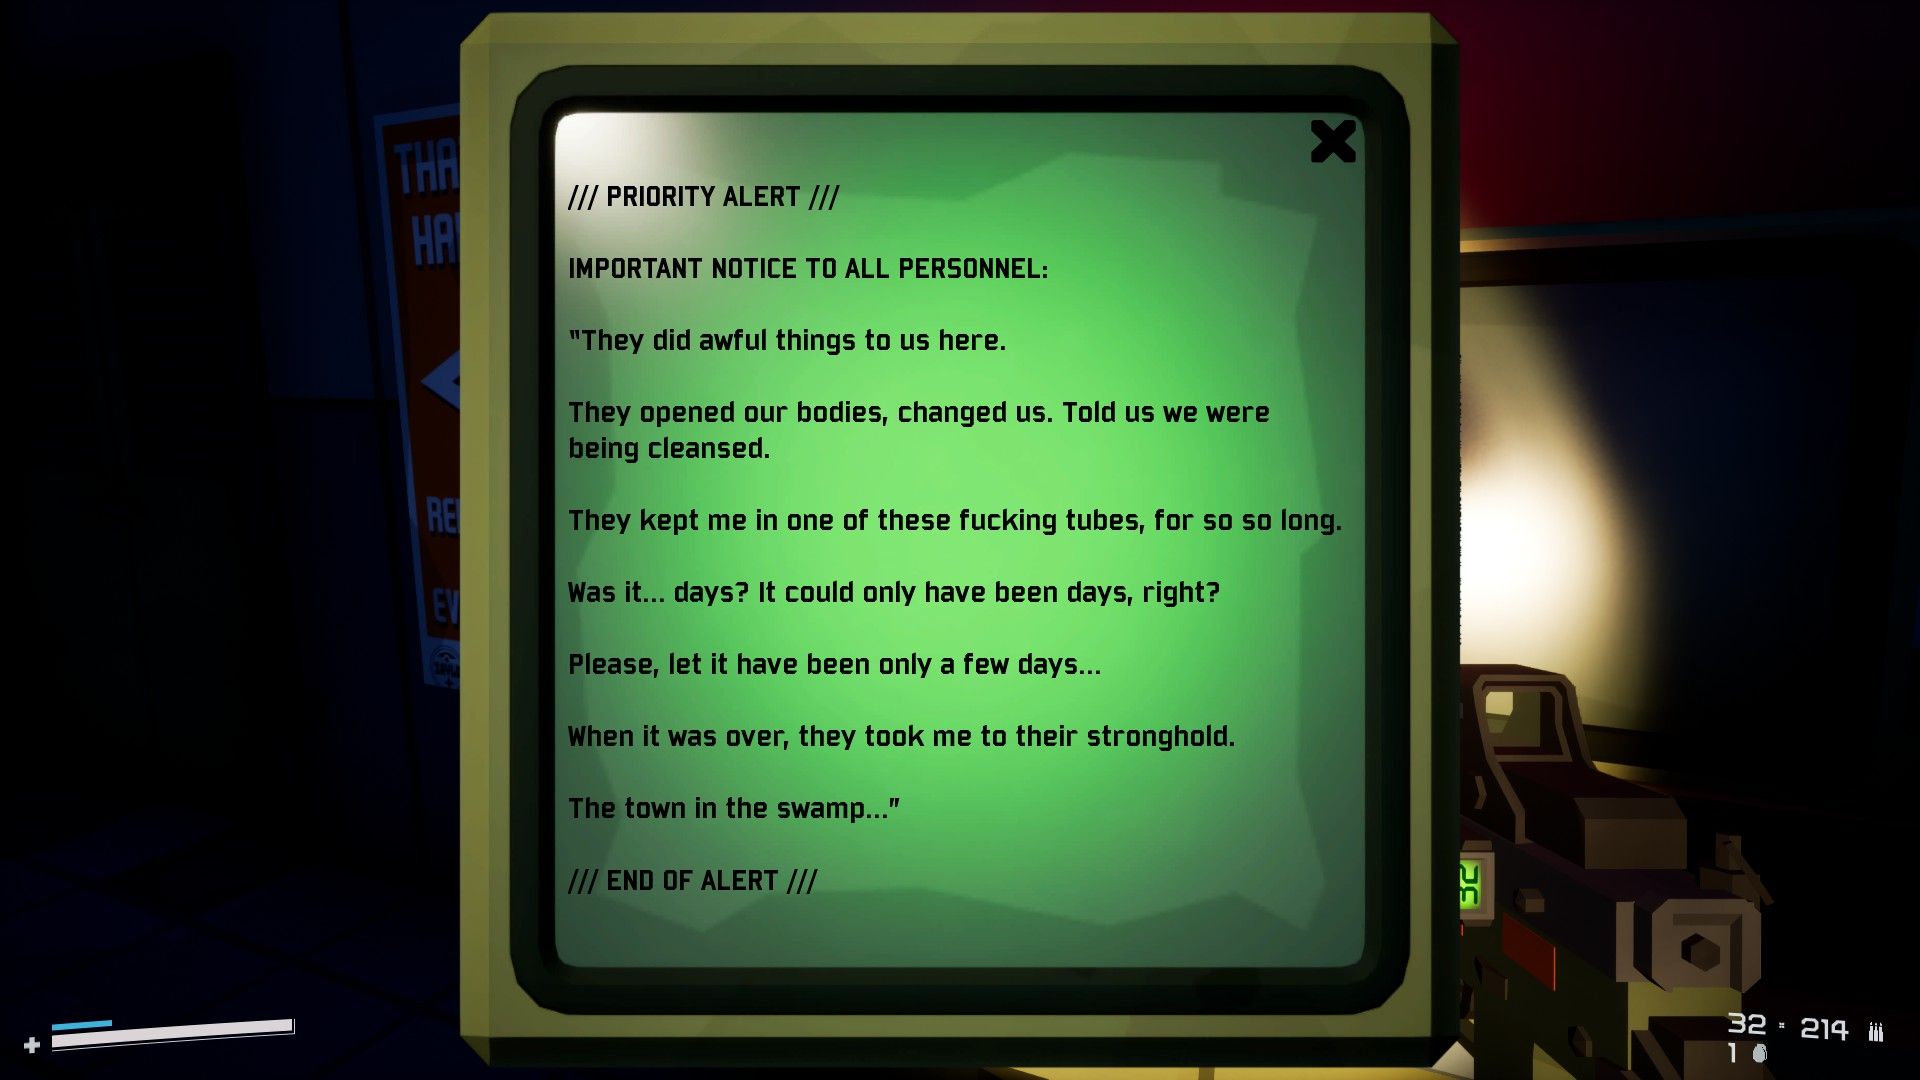
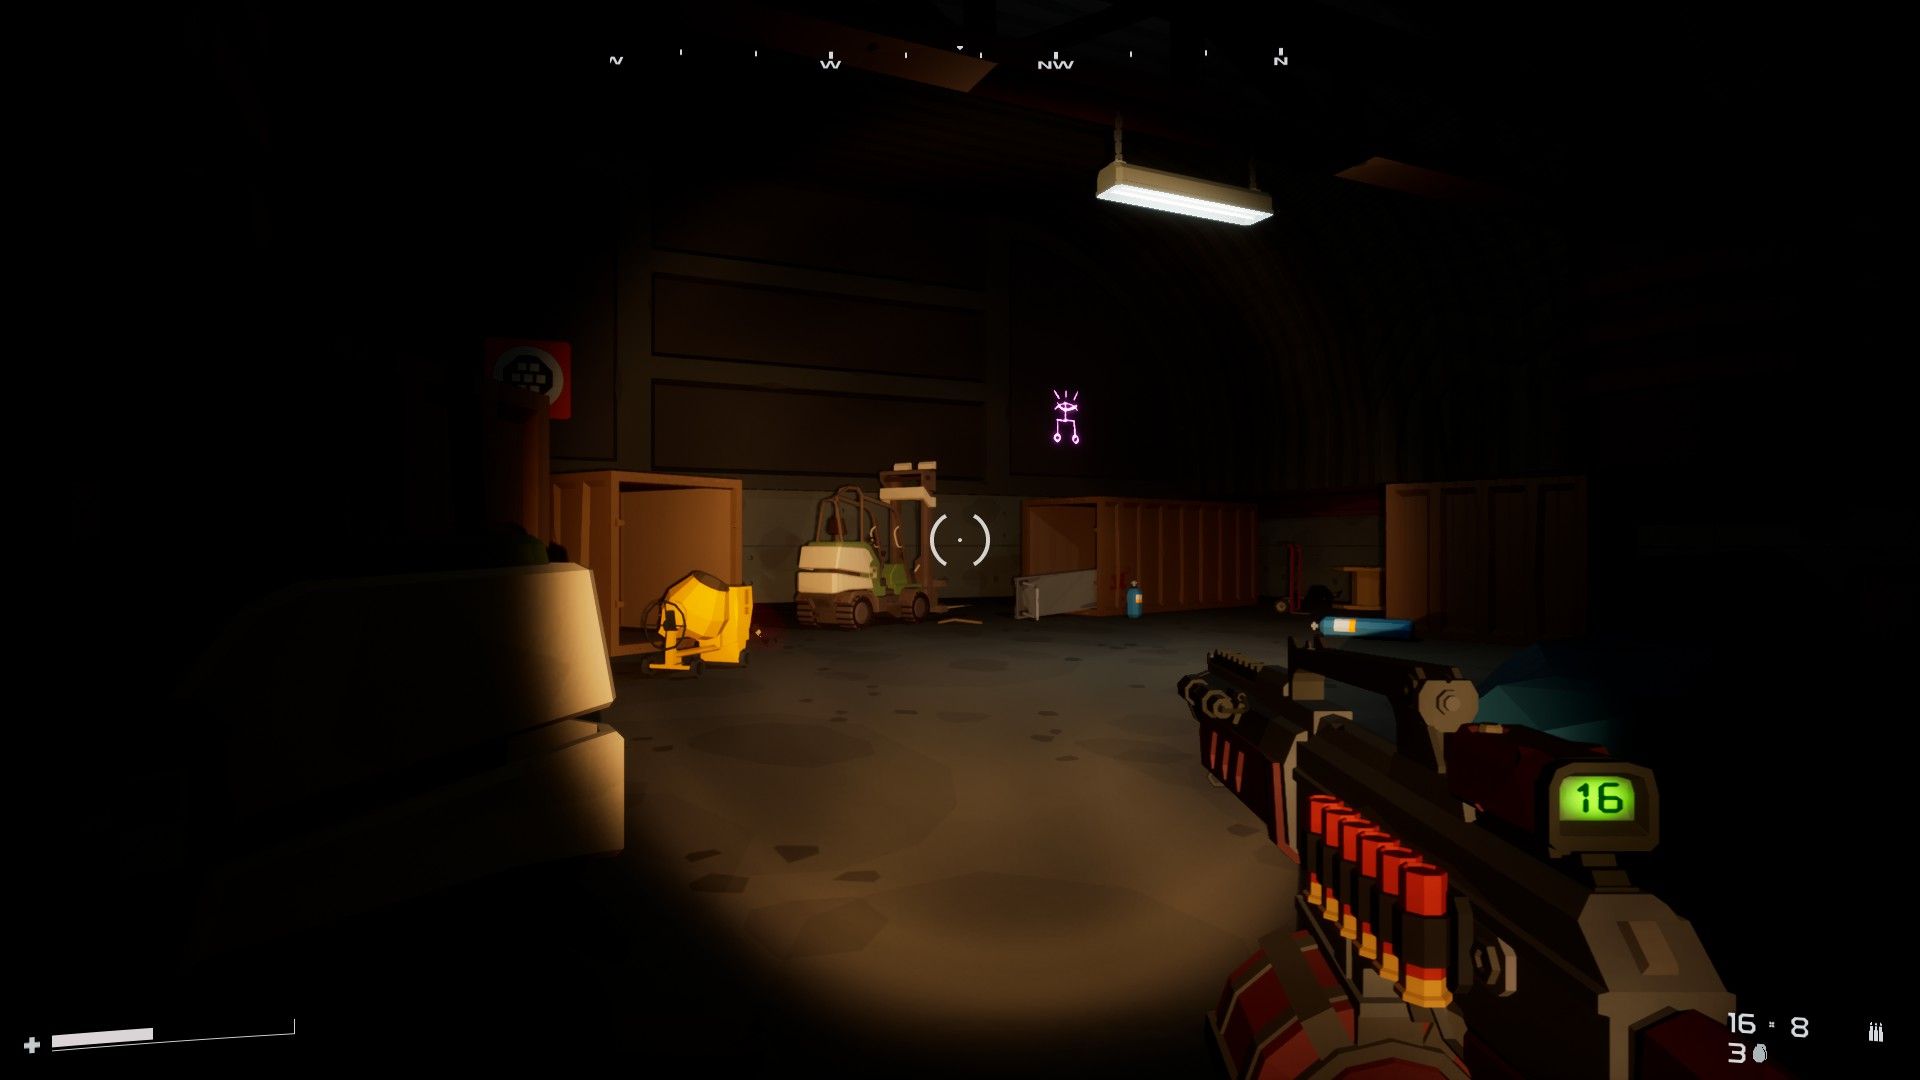
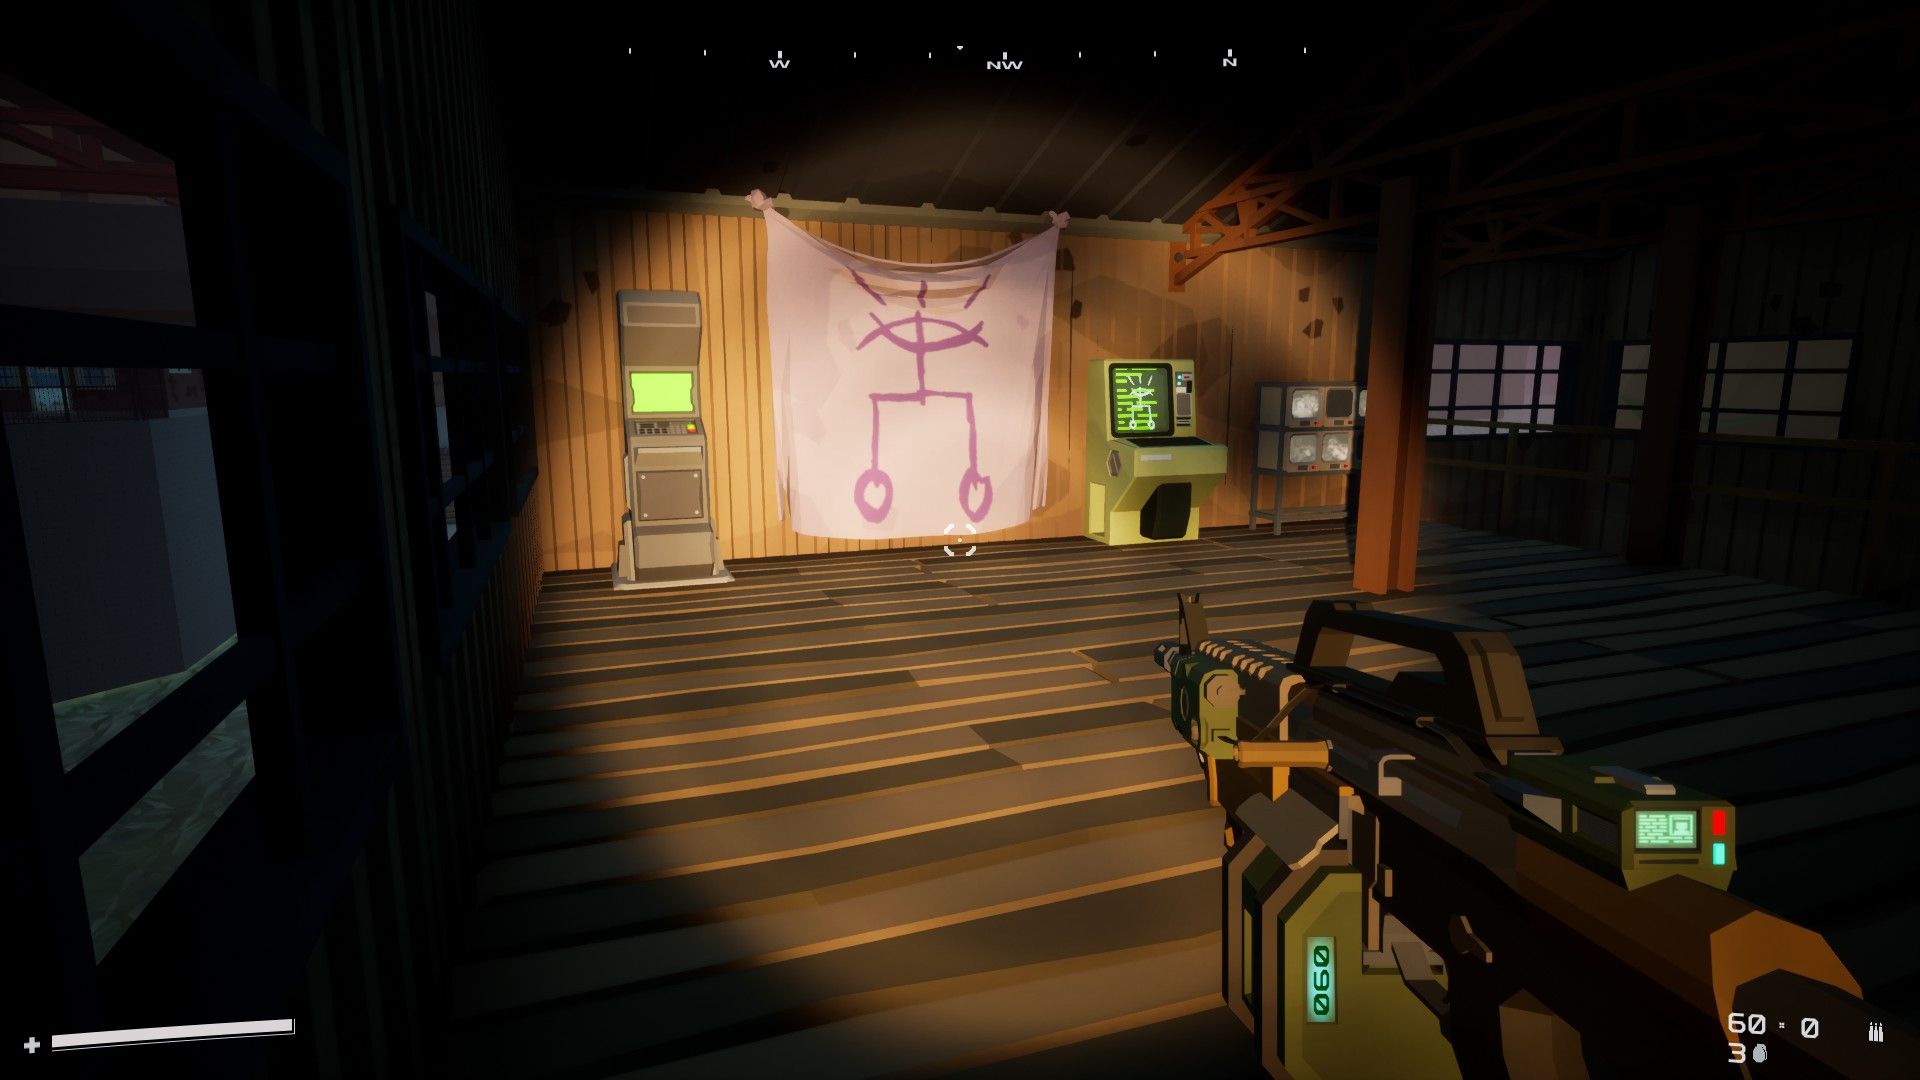
There’s no enemies inside, but there’s a bunch of nice gear, some interesting lore, and a few artifacts on offer. Make sure to check out the garage door partially baracaded with crates for an additional artifact and some hints about what really lurks beneath The Haunt.
 The origin of the cyborg zombies
 Dr. Sanchez is not having a good time
Unfortunately, the good Dr. Sanchez isn’t here — he’s been moved to the Conflux’s primary base at the Priory. We’ll be making our way there by way of The Haunt.
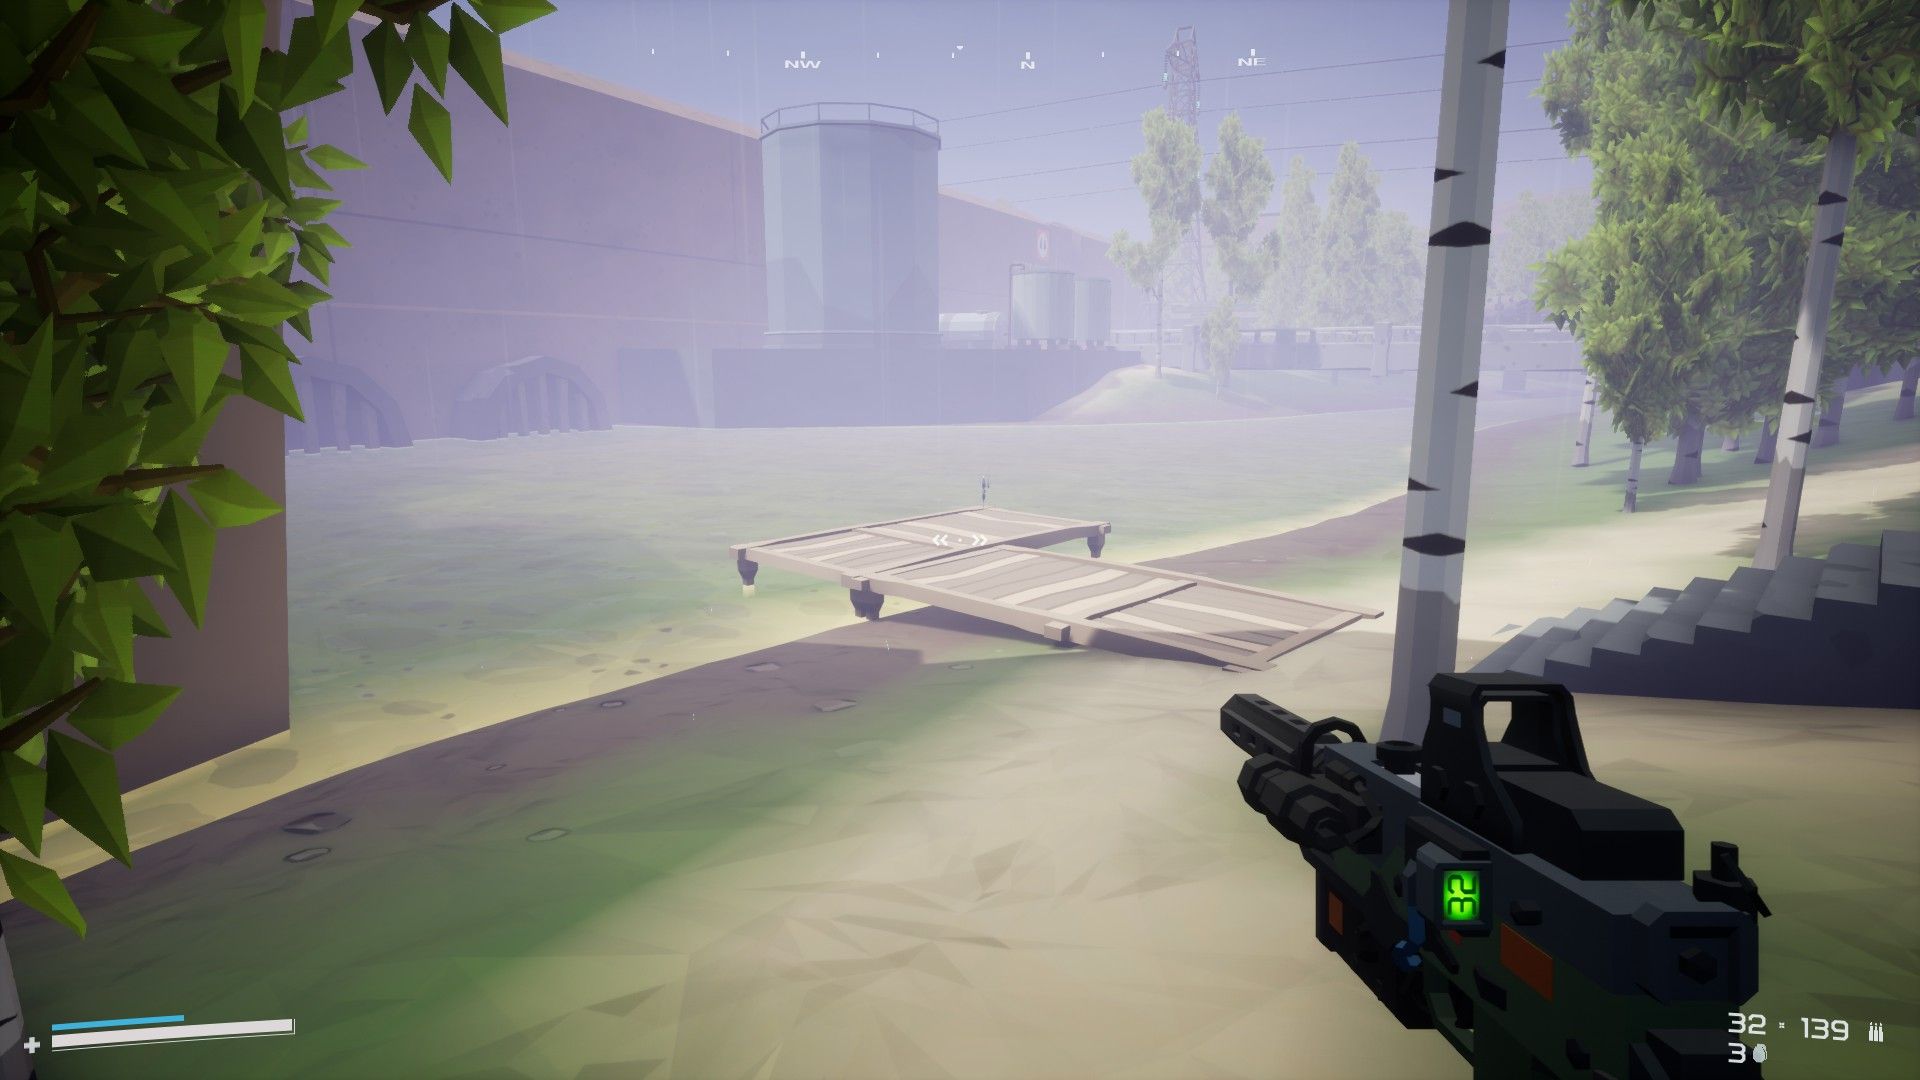
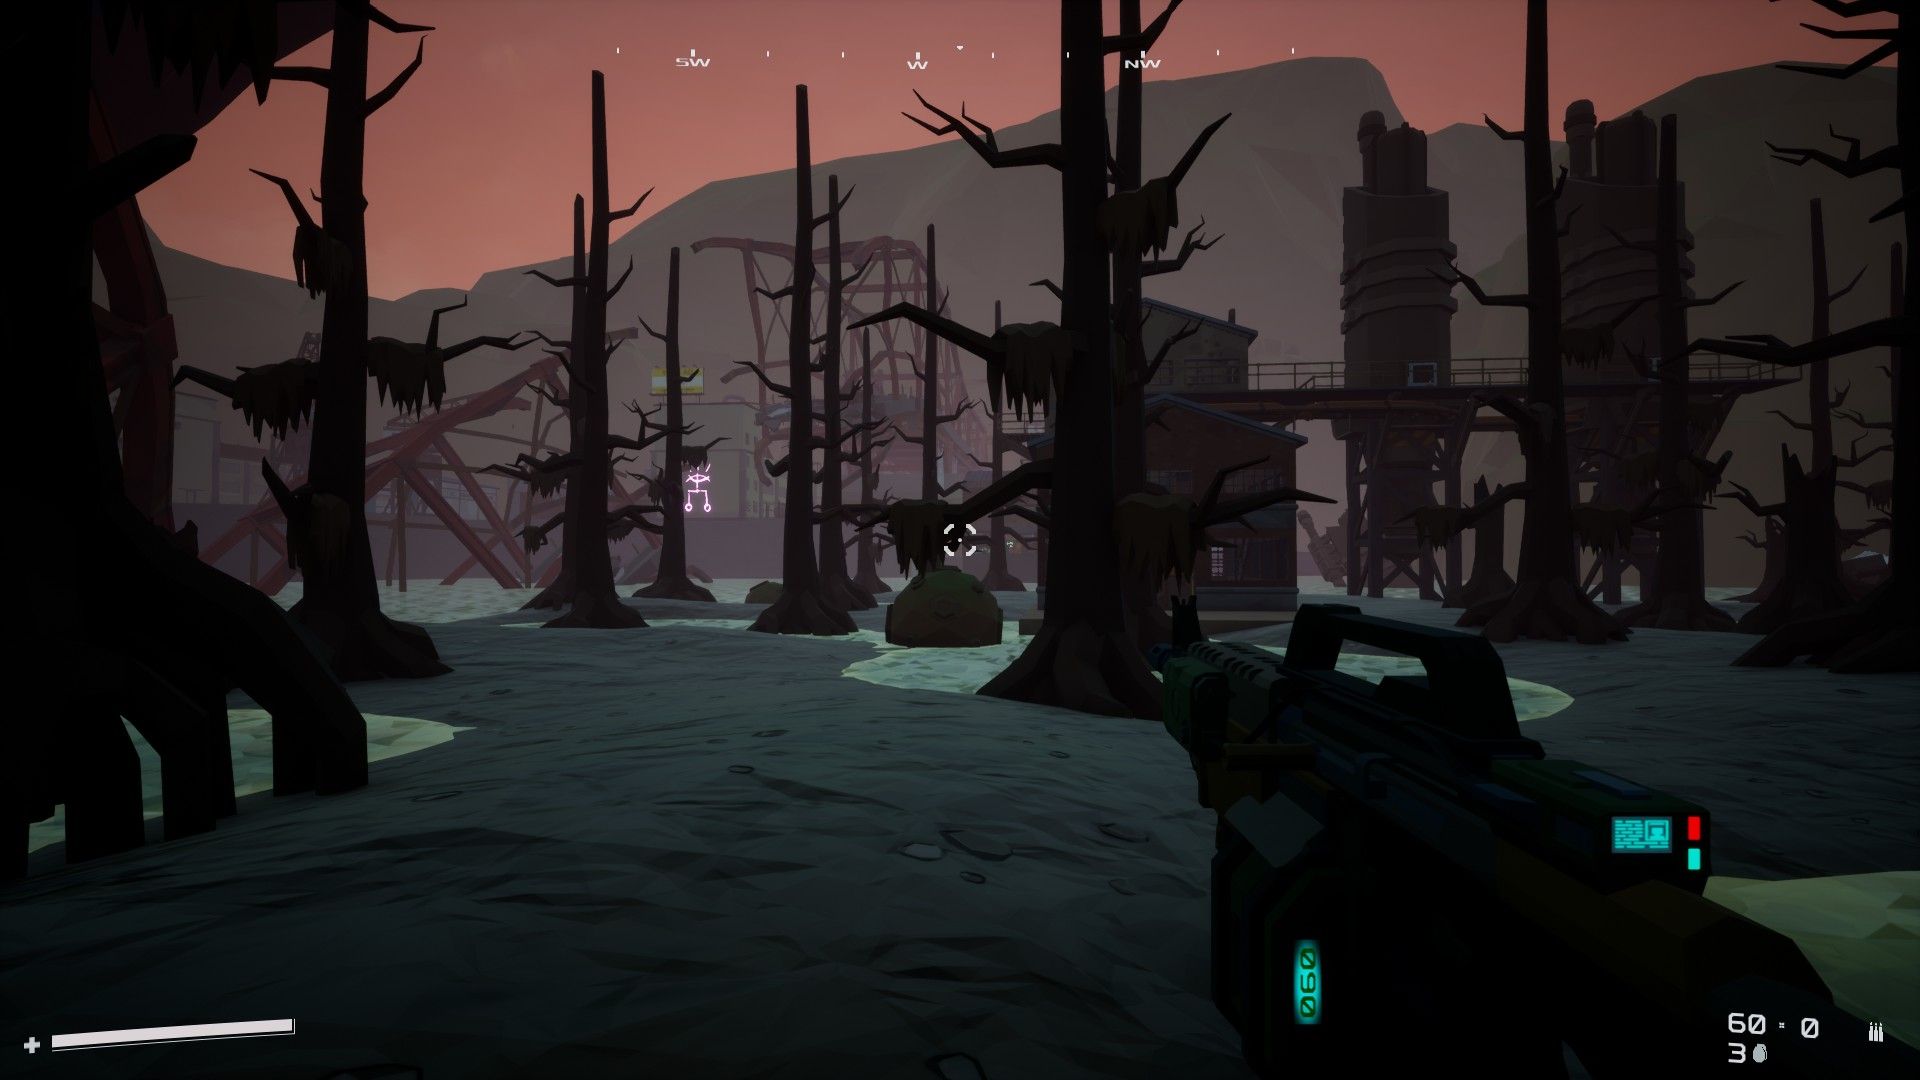
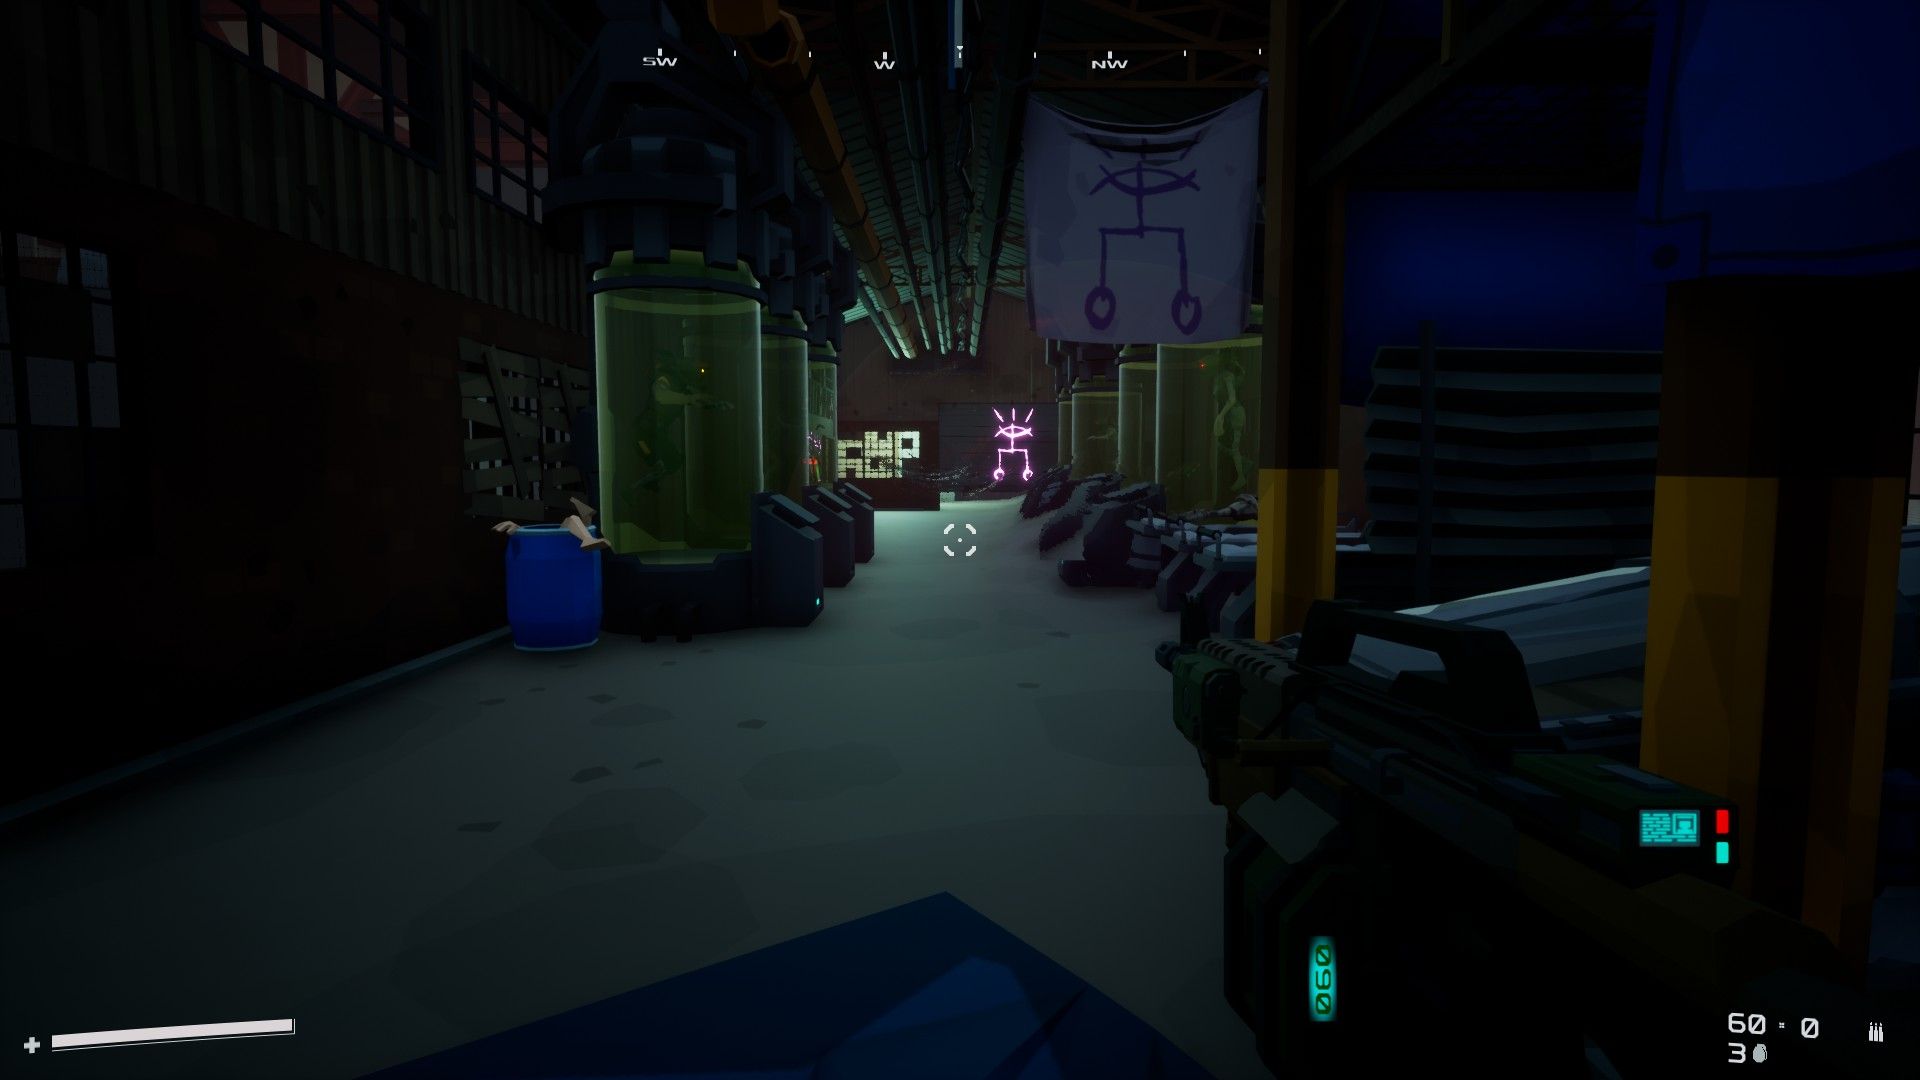
The Haunt is the creepiest area in Zone Patrol and it’s absolutely packed with secrets and hidden locations. We won’t even scratch the surface this time around. For today it’s nothing but a convenient path from Catacombs to Priory. Make your way through the highway cluttered with abandoned vehicles until you reach the room with hostile flying objects. The exit to Priory lies beneath the glowing Conflux symbol.
 Hurray for convenient signage! All cult hideouts should be clearly marked for ease of access
 The Priory is a depressing place
The Conflux have chosen a dismal spot for their fortress. We’ll hop down from the broken highway and make our way through the sparse trees toward the first structure and cross the bridge from there.
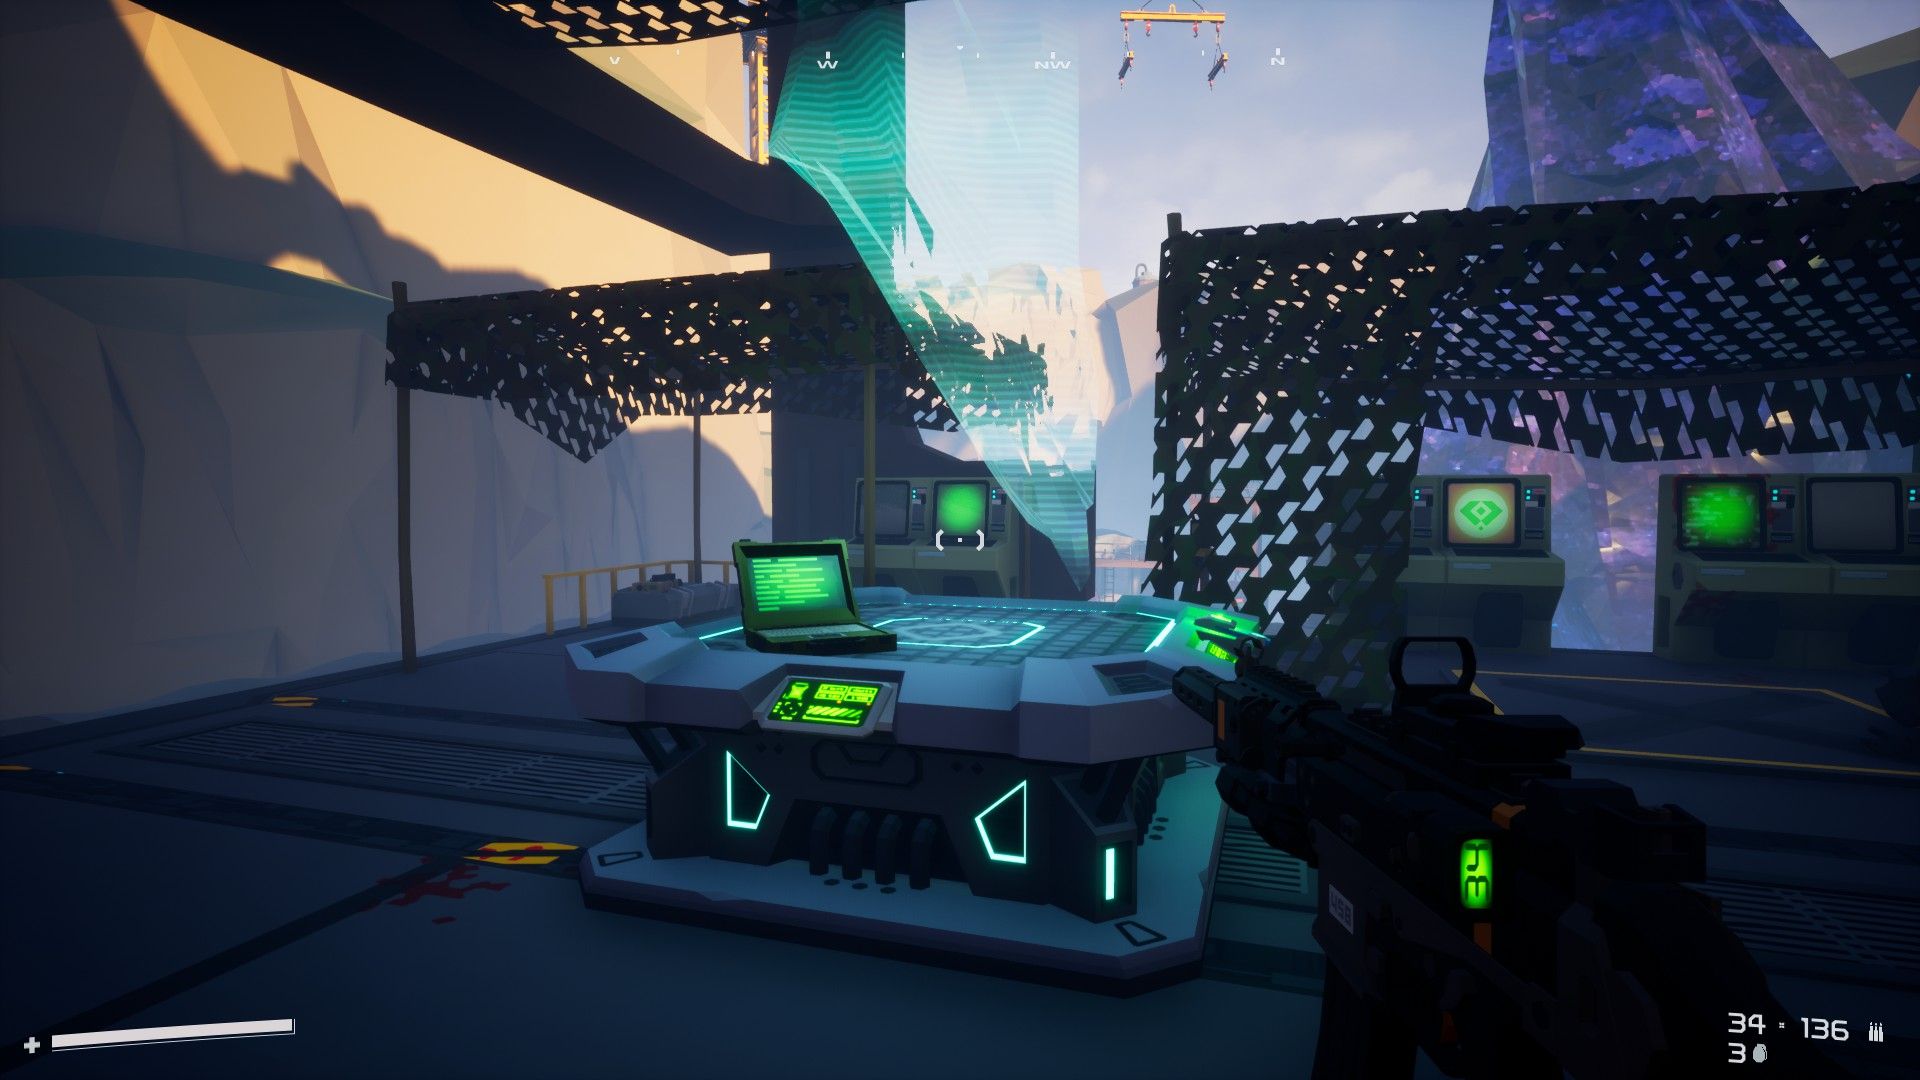
 Conflux computer system — let’s hack it
After installing the Root-Kit, Casadoor will report that the first Cardinal is in Blue Caverns; we’ll need to track him down next time. Continue downstairs into the Conflux lab.
 The Conflux Lab looks more like a human slaughterhouse than a place of research
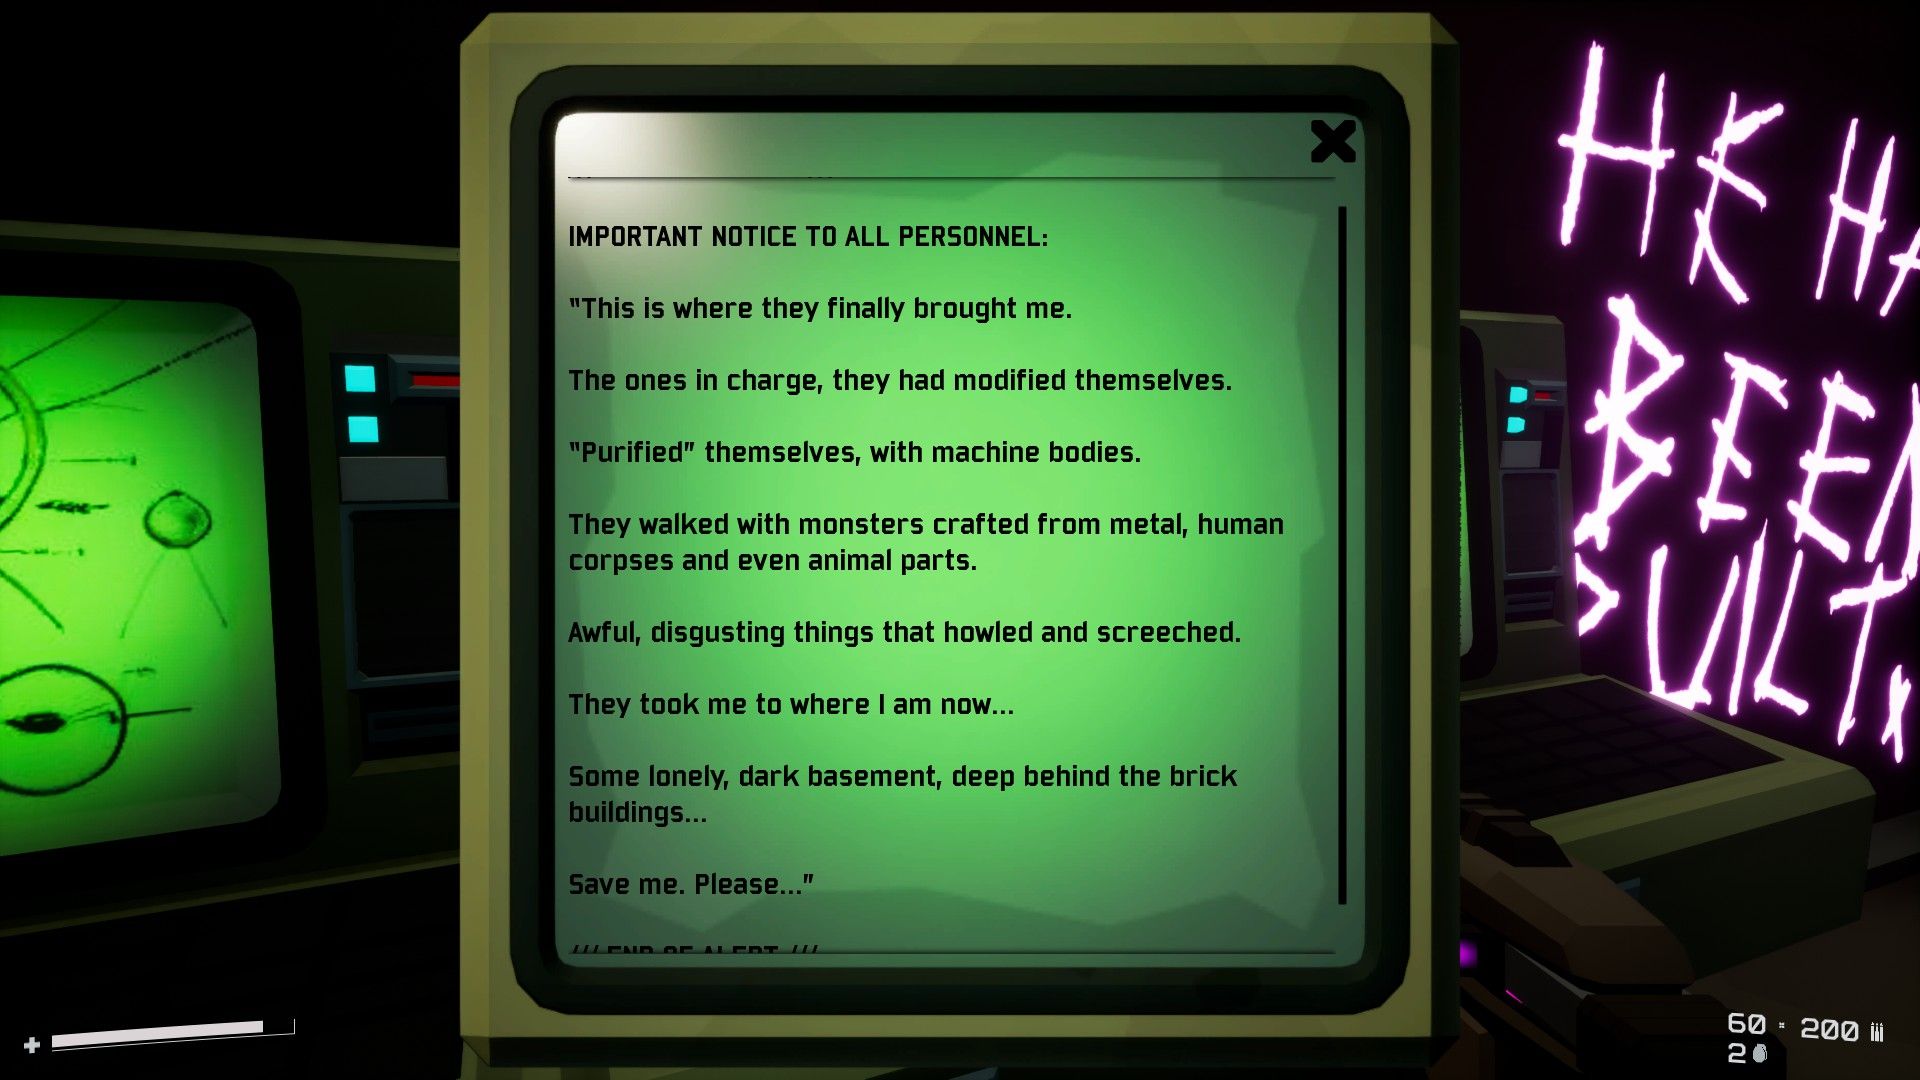 Dr. Sanchez is being held deeper inside Priory, and it doesn’t sound like he’s entirely himself anymore
We’ll move through the lab and up the stairs ahead until we see a brick building. Pass through it and we’ll find some stairs leading down into the Basement.
There’s a psychic hazard down here that will damage us consistently, cause strange visual artifacts, and overall try to ruin our day. As we move forward, watch out for one of the upgraded ghost enemies phasing in and out of reality behind some crates. In the room with the flashing door, break the barrier to the right and head downstairs to destroy the psychic hazard.
 Psychic hazard
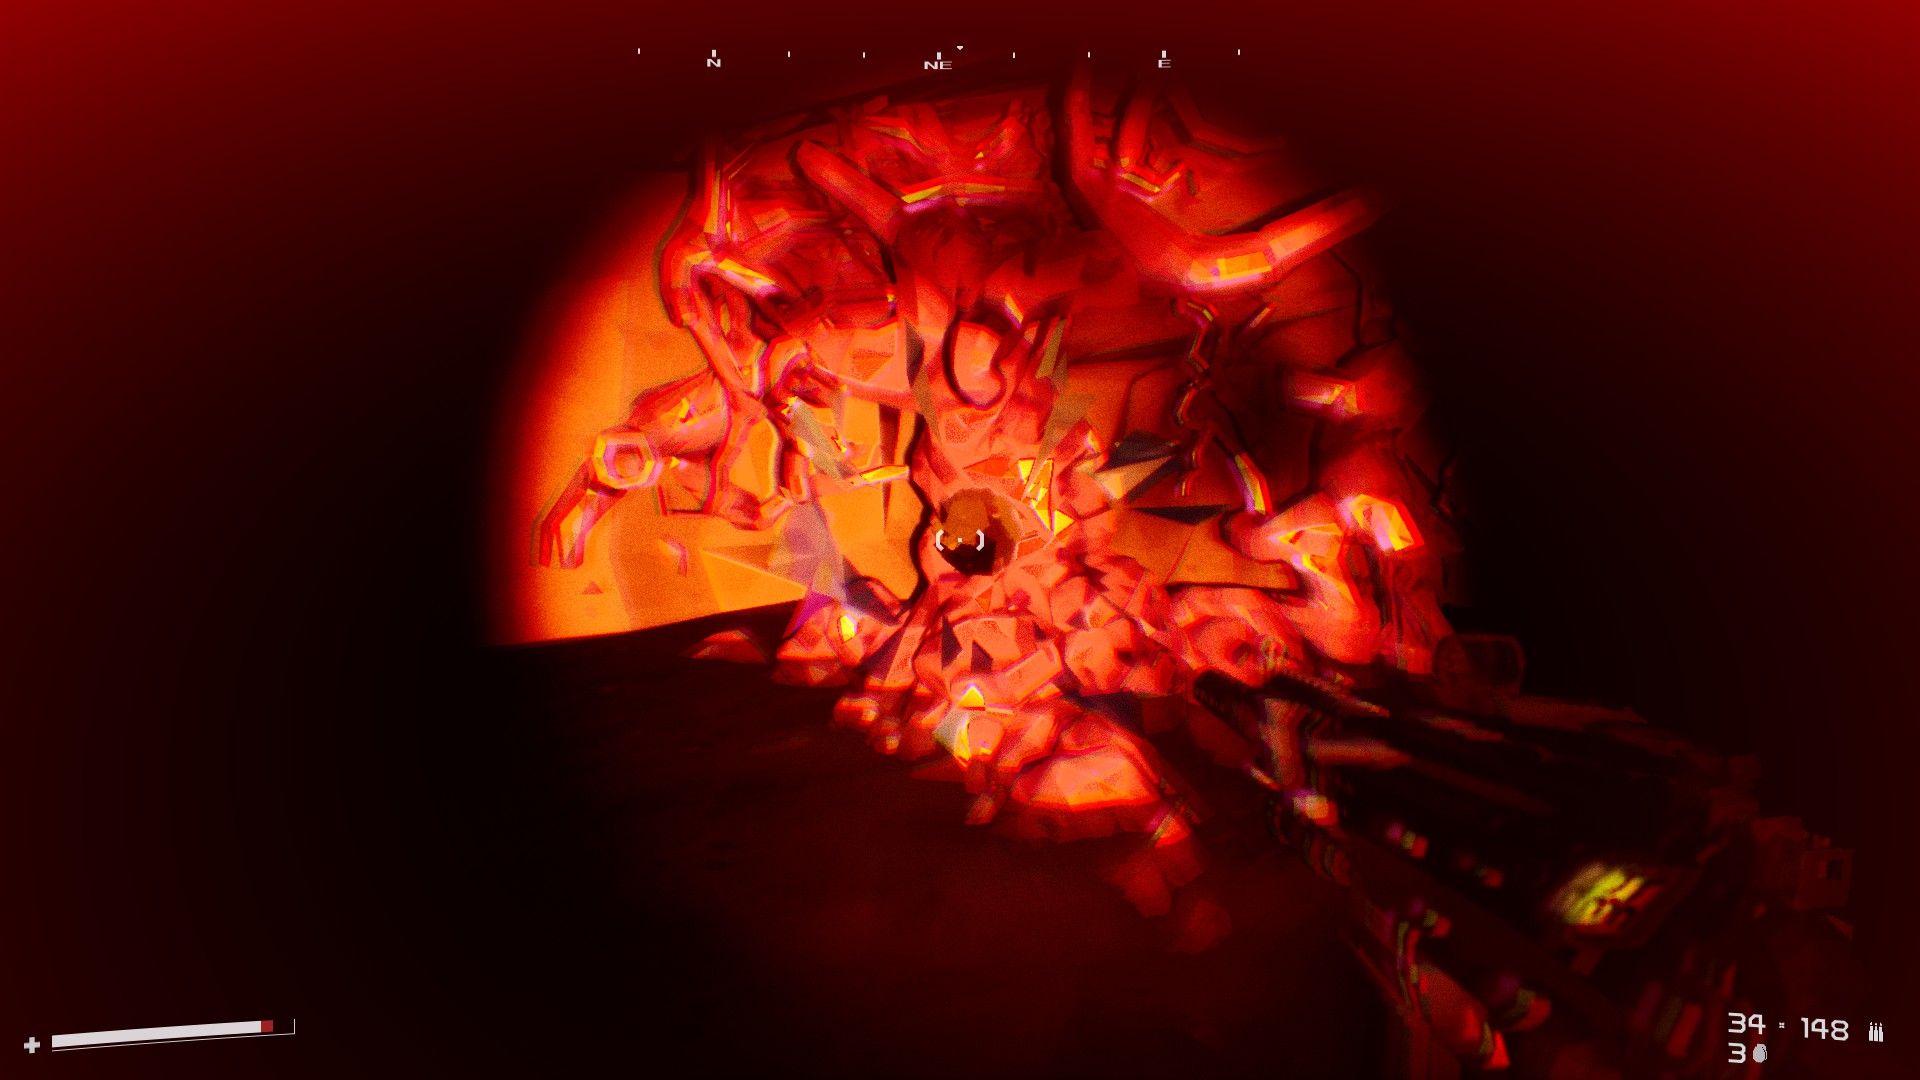
Then head upstairs and proceed through the door to meet Dr. Sanchez. Apparently he’s been transformed into a ‘weapon’ that the Conflux are using to fight back against The Coral Snake.
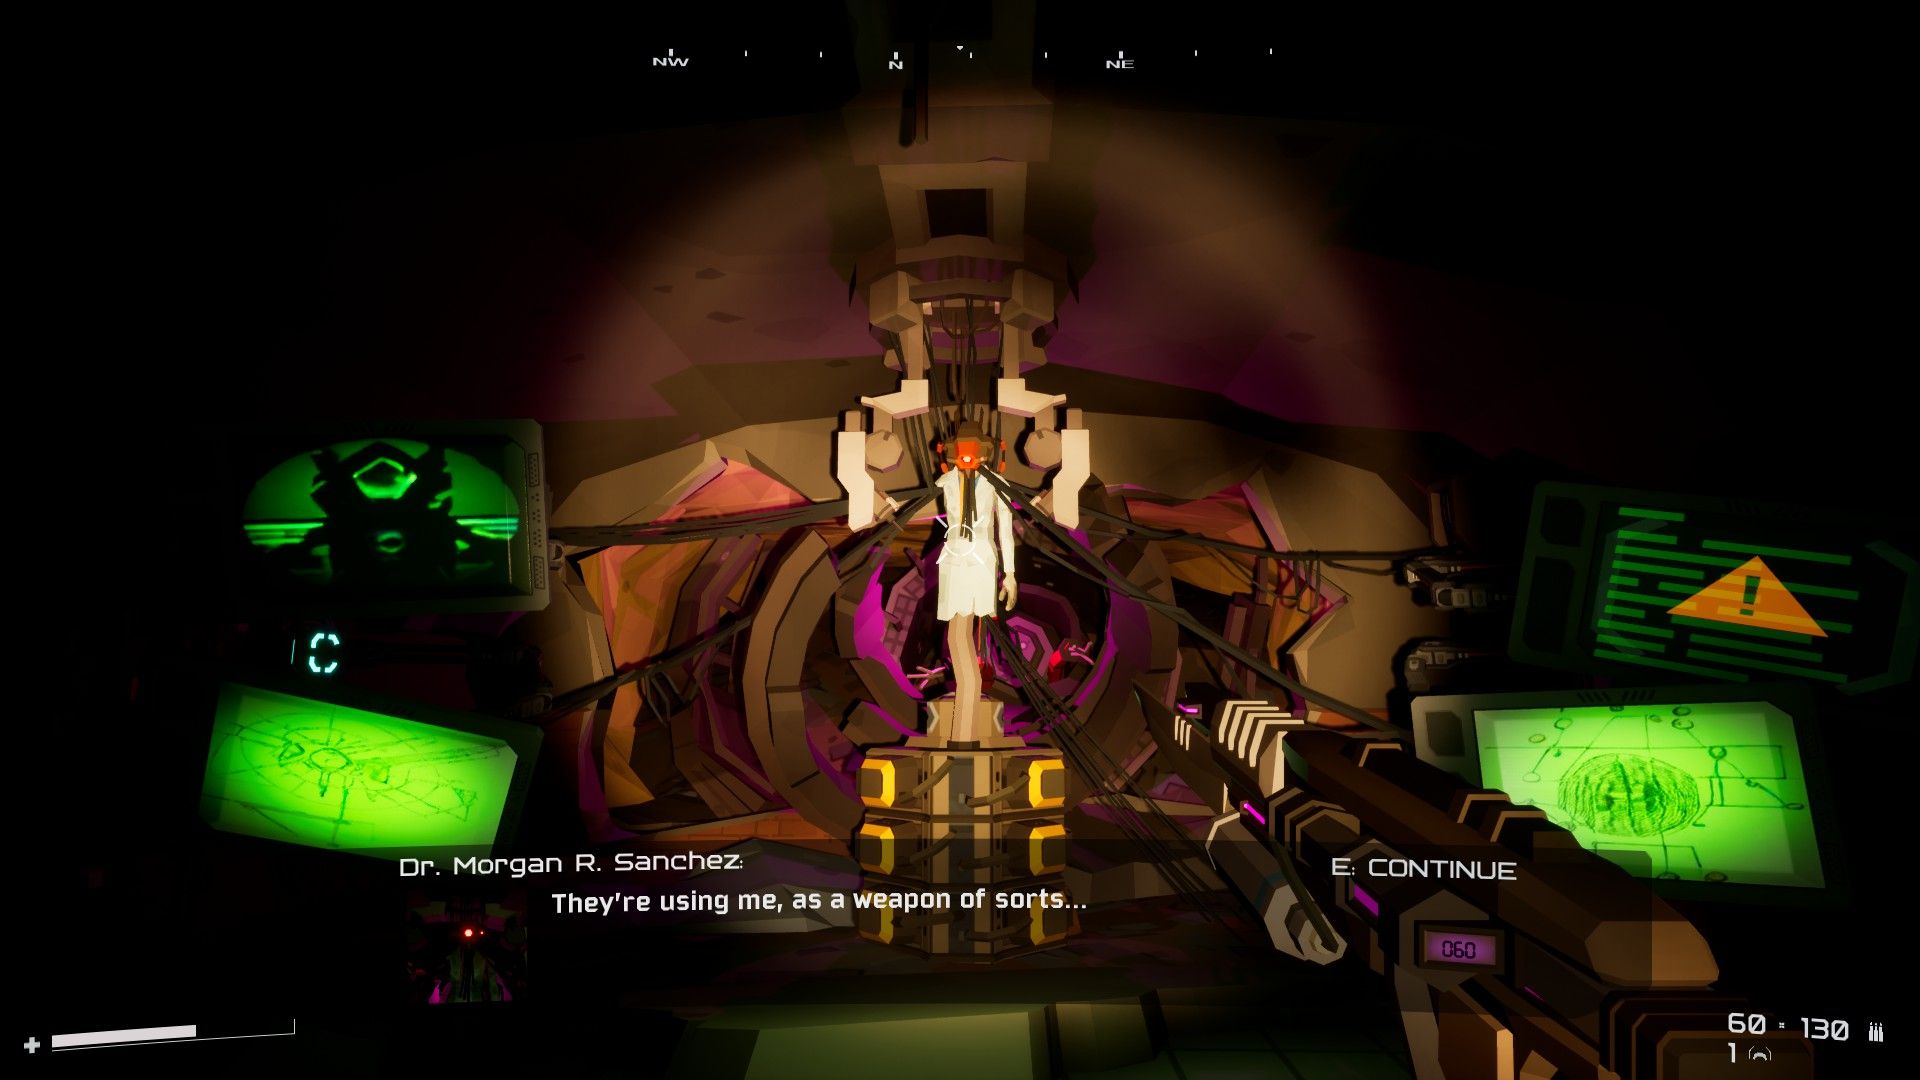 Dr. Sanchez has likely had better days
Killing him ends the mission, but what has it unleashed?
There’s nothing stopping us from continuing to explore the Zone from here. In fact, South Peak is a logical next step from Priory and we’ll definitely want to head there some time soon. However, in an effort to keep this part of the guide a semi-reasonable length, I’ll be saving South Peak for next time.
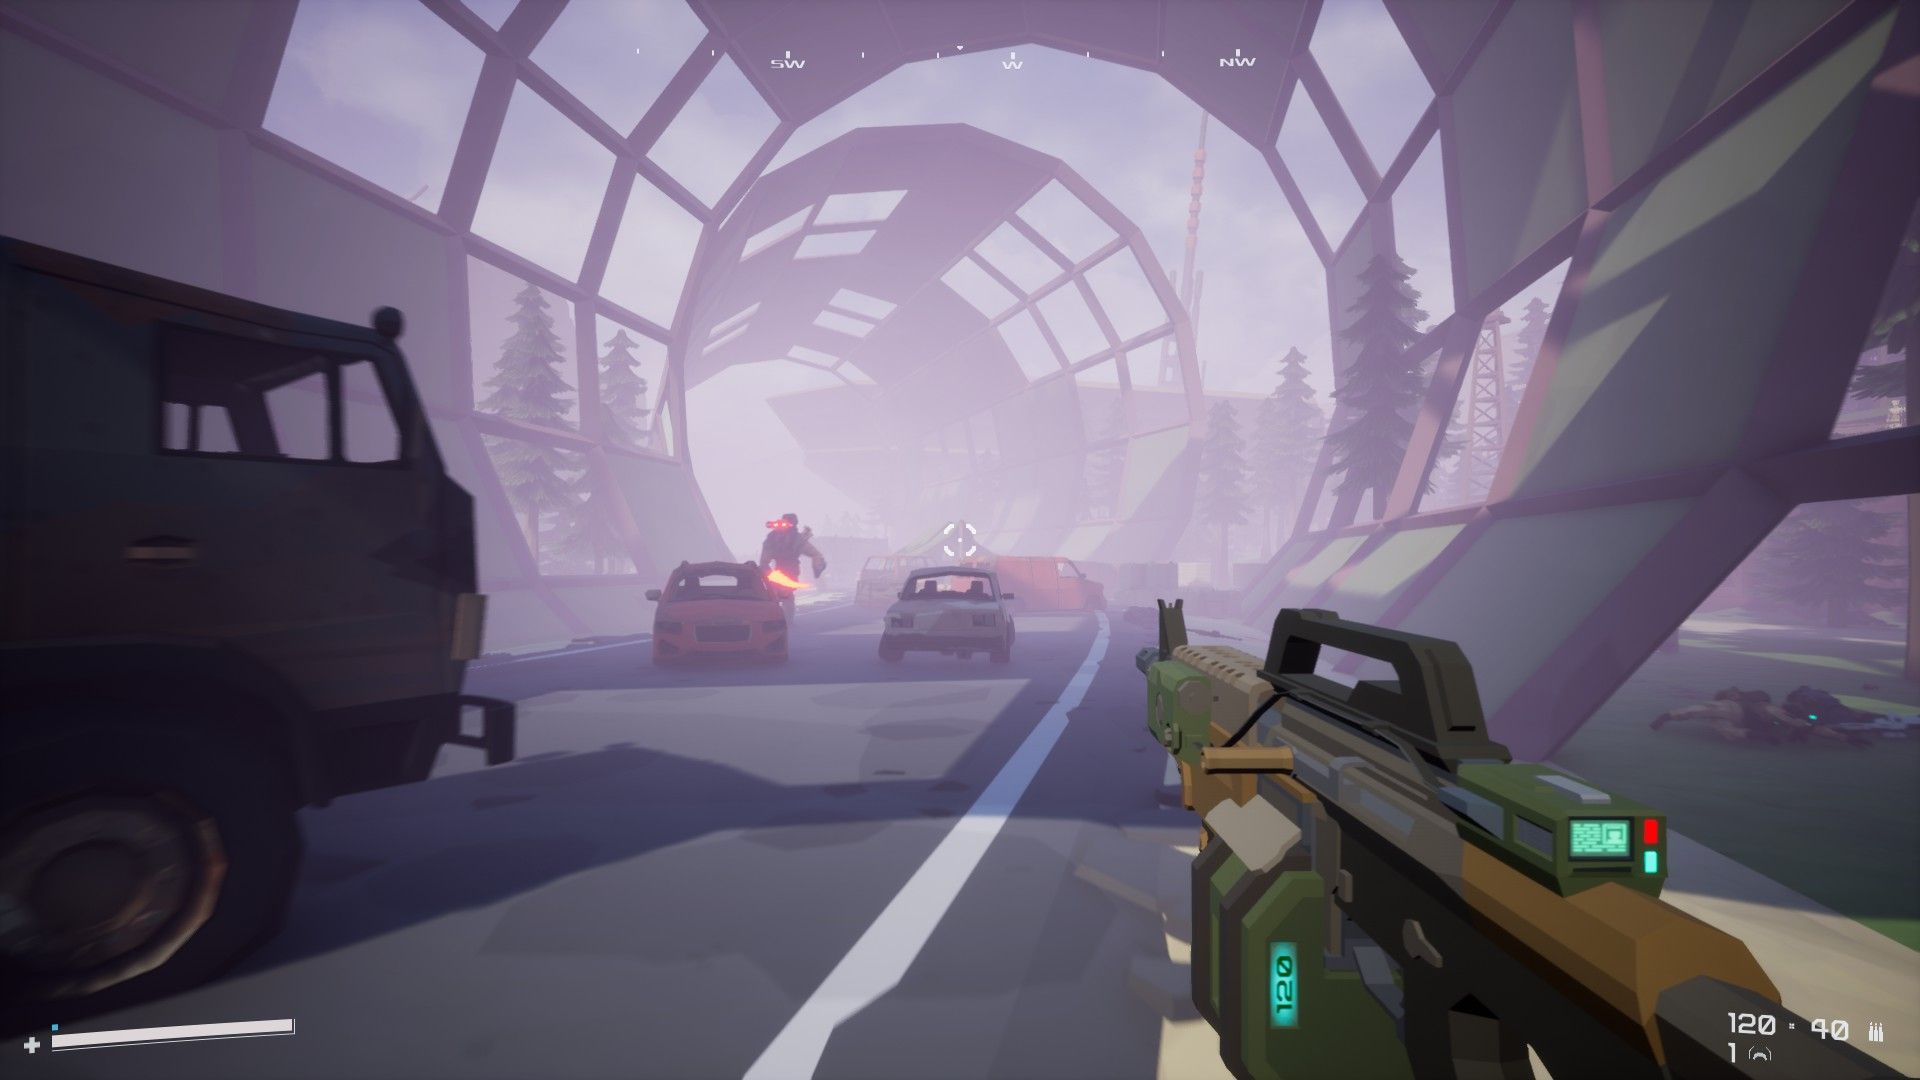
We’ll kick off Operation Arrowhead from back aboard the Vakt ship. It’s a straight-forward assault on a fortified NNM base. We haven’t talked a whole lot about the NNM Mercenary Company so far, though chances are good you’ve run into a few of their patrols by now (as well as their Sniper Team). They’re a heavily-armed, paramilitary group outfitted with assault rifles, DMRs, and automatic shotguns. We’ll run into most of what they have to offer on this mission.
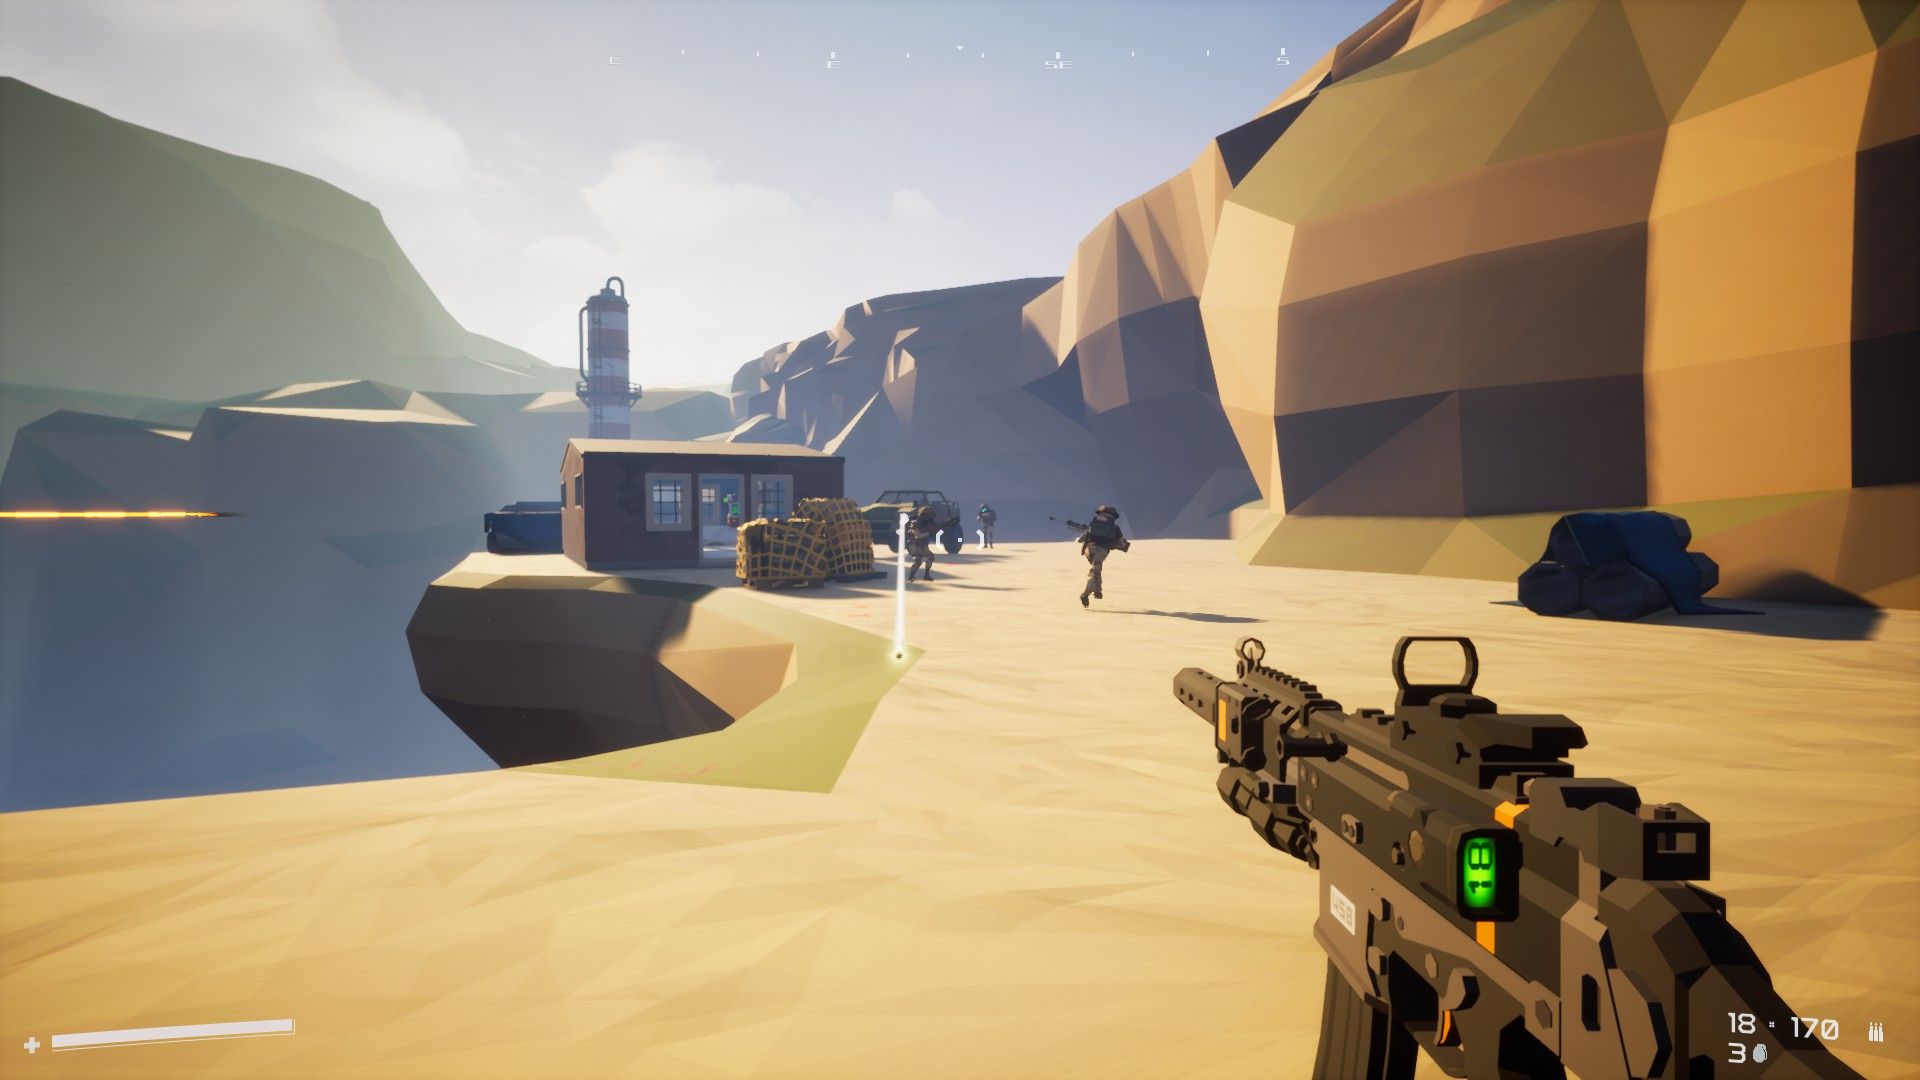 The NNM are here in force
 And there’s a lot of them
Work your way through the NNM defenses until you reach the Arrowhead artifact and the main NNM camp.
 Extract the data drive
Once you grab the data, the NNM will launch a prolonged assault on your position with everything they have to offer. Hold them off until the dropship arrives to extract you.
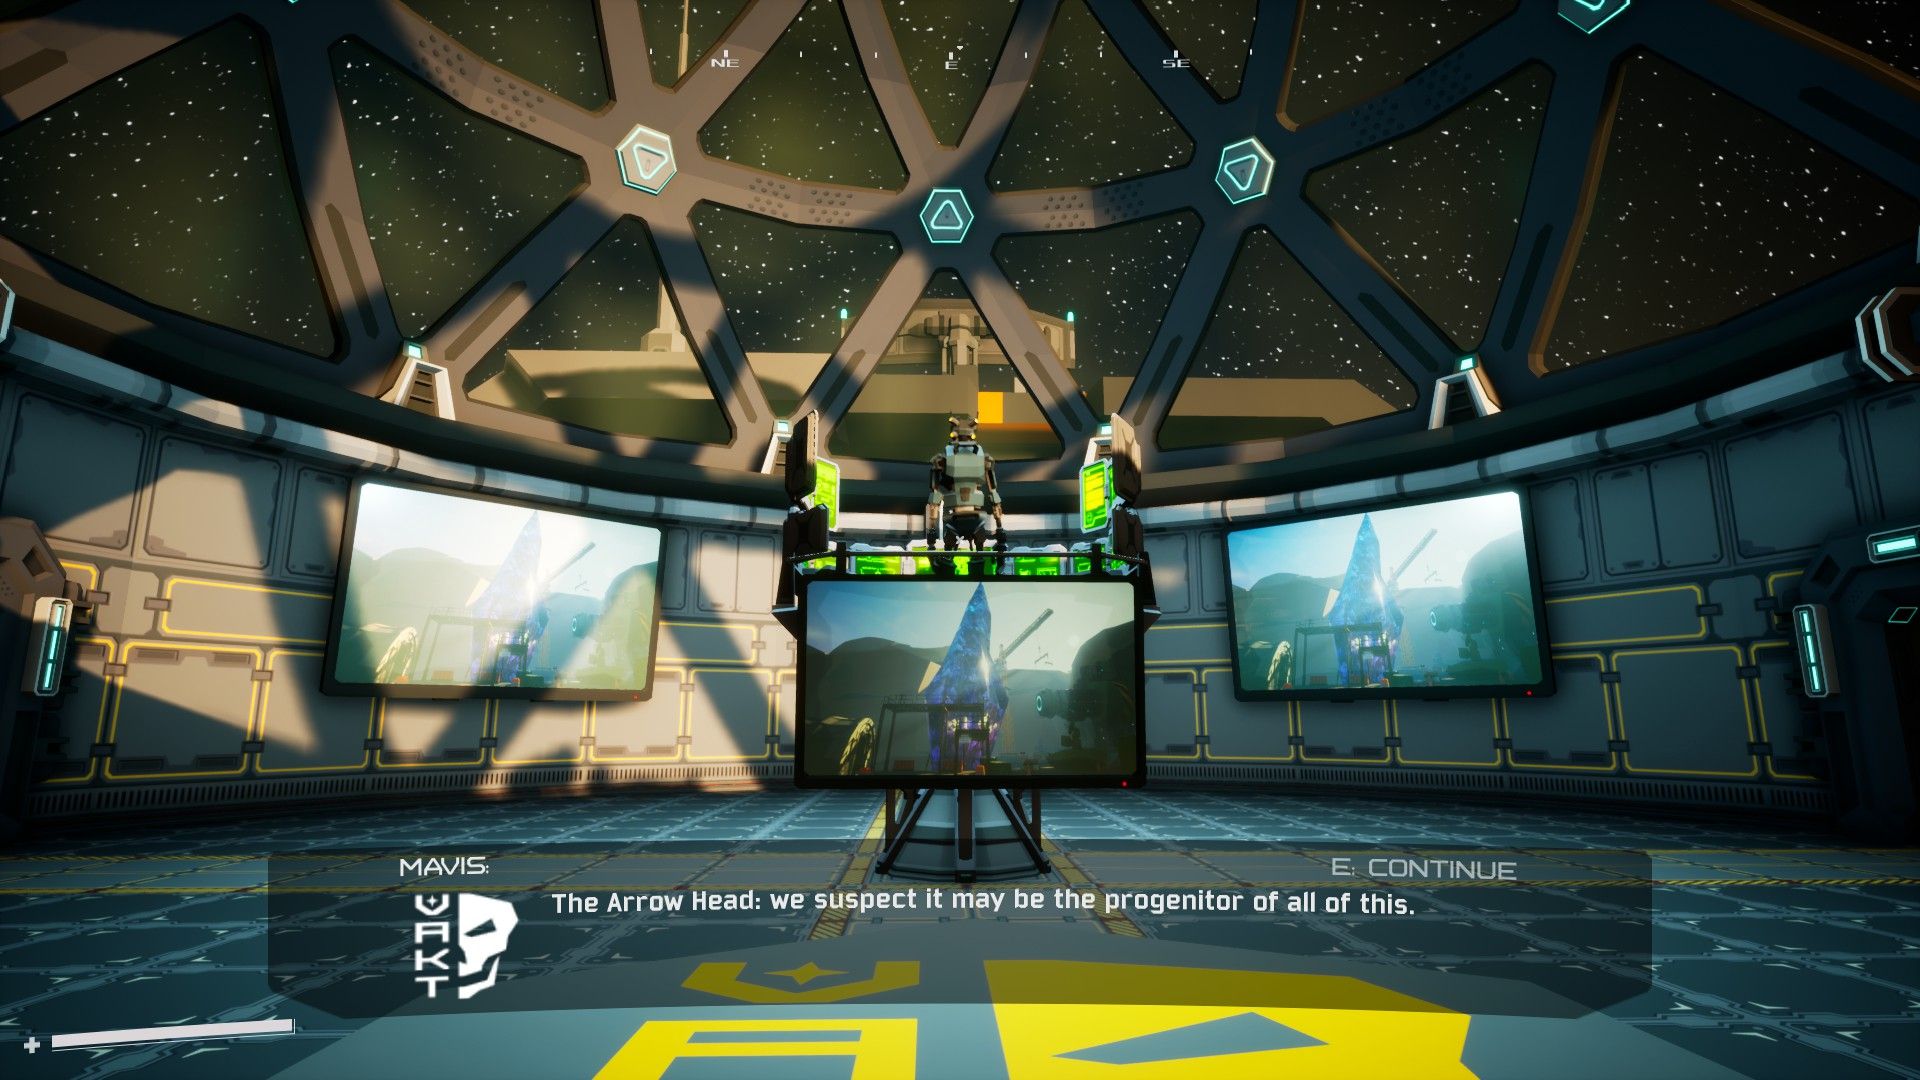 MAVIS is happy with our performance and has more lore to share
We have a few new missions to take on next time. We’ll be hunting down the Cardinals with Casadoor, exploring South Peak, and maybe even finding something altogether new.
I’m hitting pause on this series for a while — here’s my post about that decision.