|||
|||
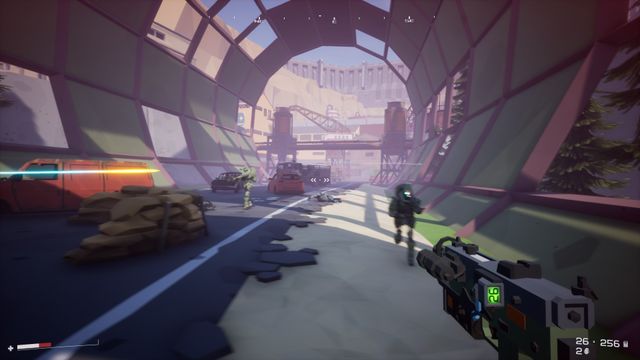
 Mass combat defending the ADACA Radar Tower
Welcome back — let’s get into it. We’ll be tackling Operation Earhorn, tracking down the Tier 1 Keycard so we can unlock some new areas, and adding a few more missions to our quest log.
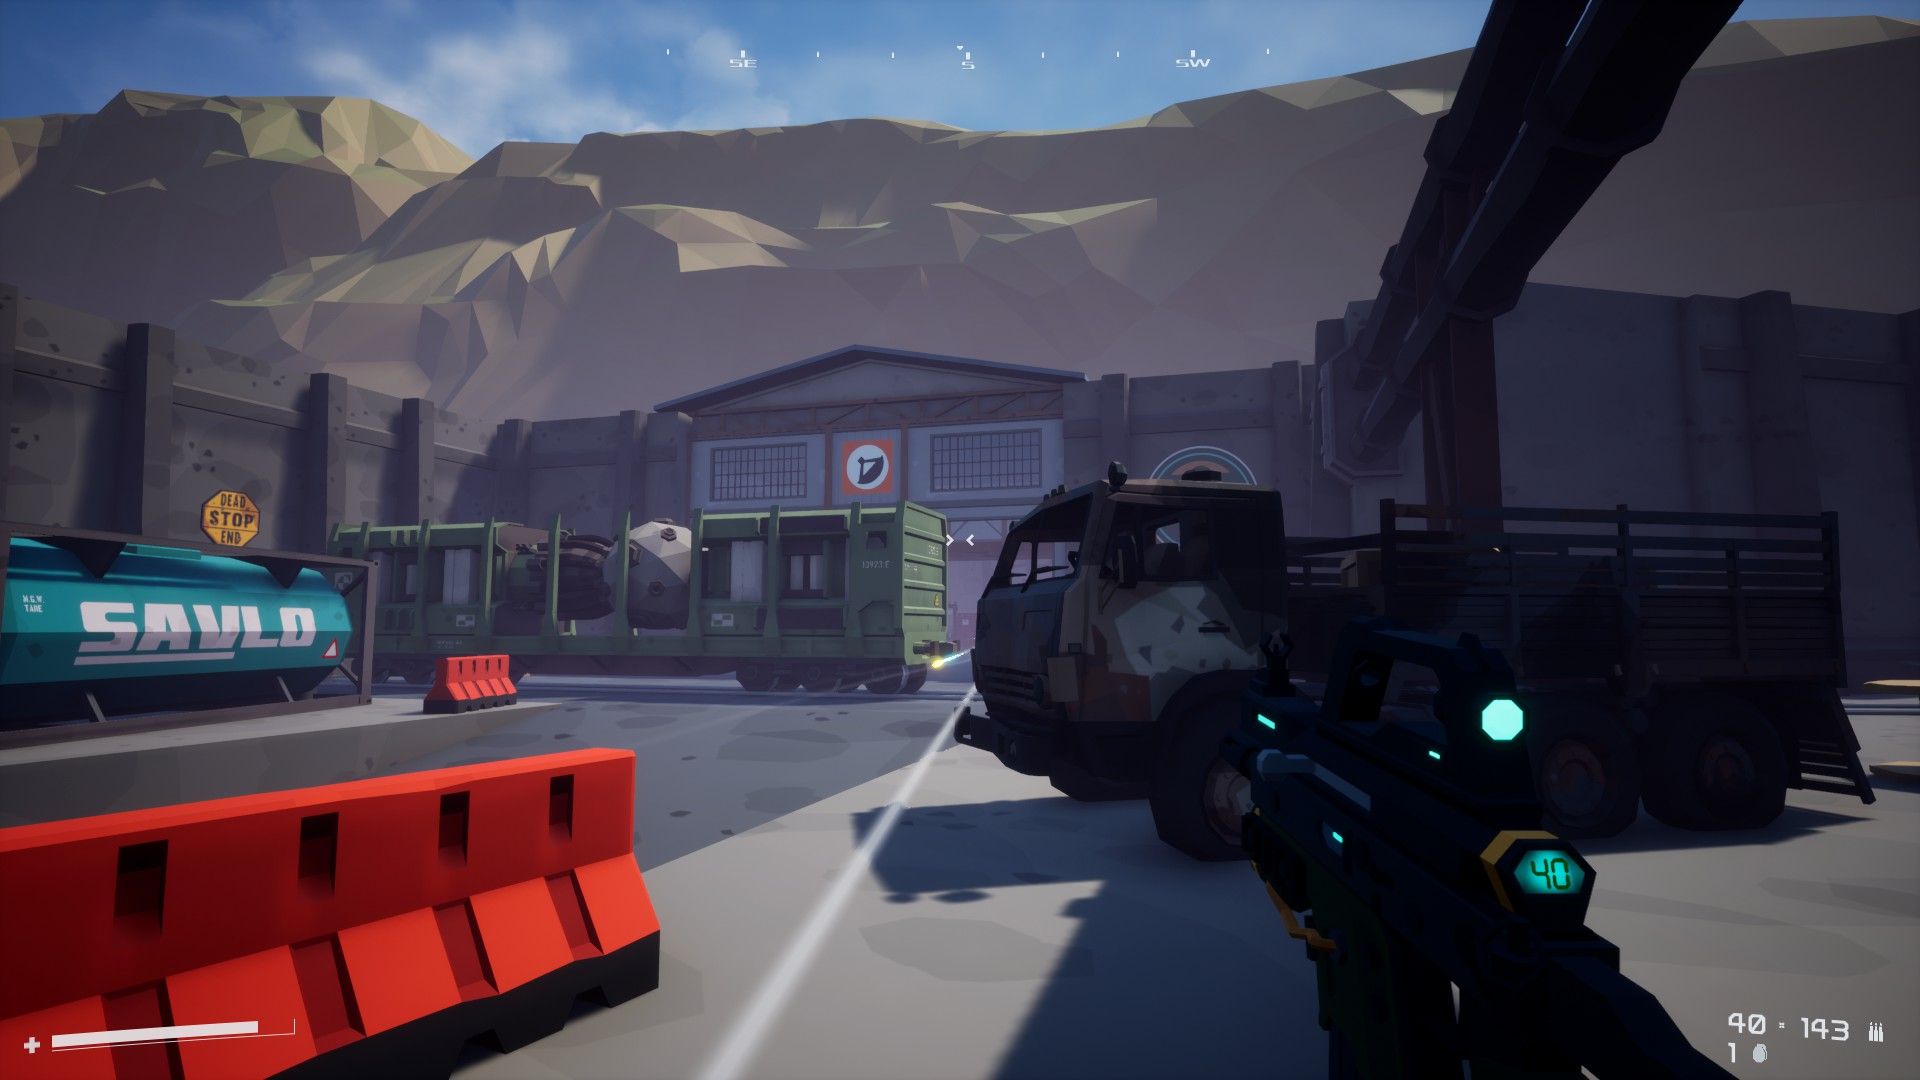
Operation Earhorn is our first mission that breaks from the regular Zone Patrol formula. Instead of wandering around and discovering secrets, we’ll be fighting the Conflux in a pitched battle to defend the Radar Tower. They’ll be coming at us in waves that run the full gamut of Conflux forces, so it’s worth spending some Artifacts to get our gear into a better state before we head down to the planet. Otherwise you might find yourself restarting 10+ times the way I did on my most recent set of attempts…
I recommend grabbing an Assault Rifle as your first pick from the Armory. It’s a solid option all around, with an underslung grenade launcher for groups and full-auto fire to finish off any stragglers. Its biggest weakness is its slow reload time, so watch your ammo to avoid an untimely delay in damage output.
As your last item of prep, make sure you select a companion at Mission Control. You can also do this at any time from your journal, but either way you’ll want the help on this one.
 The Defense Begins
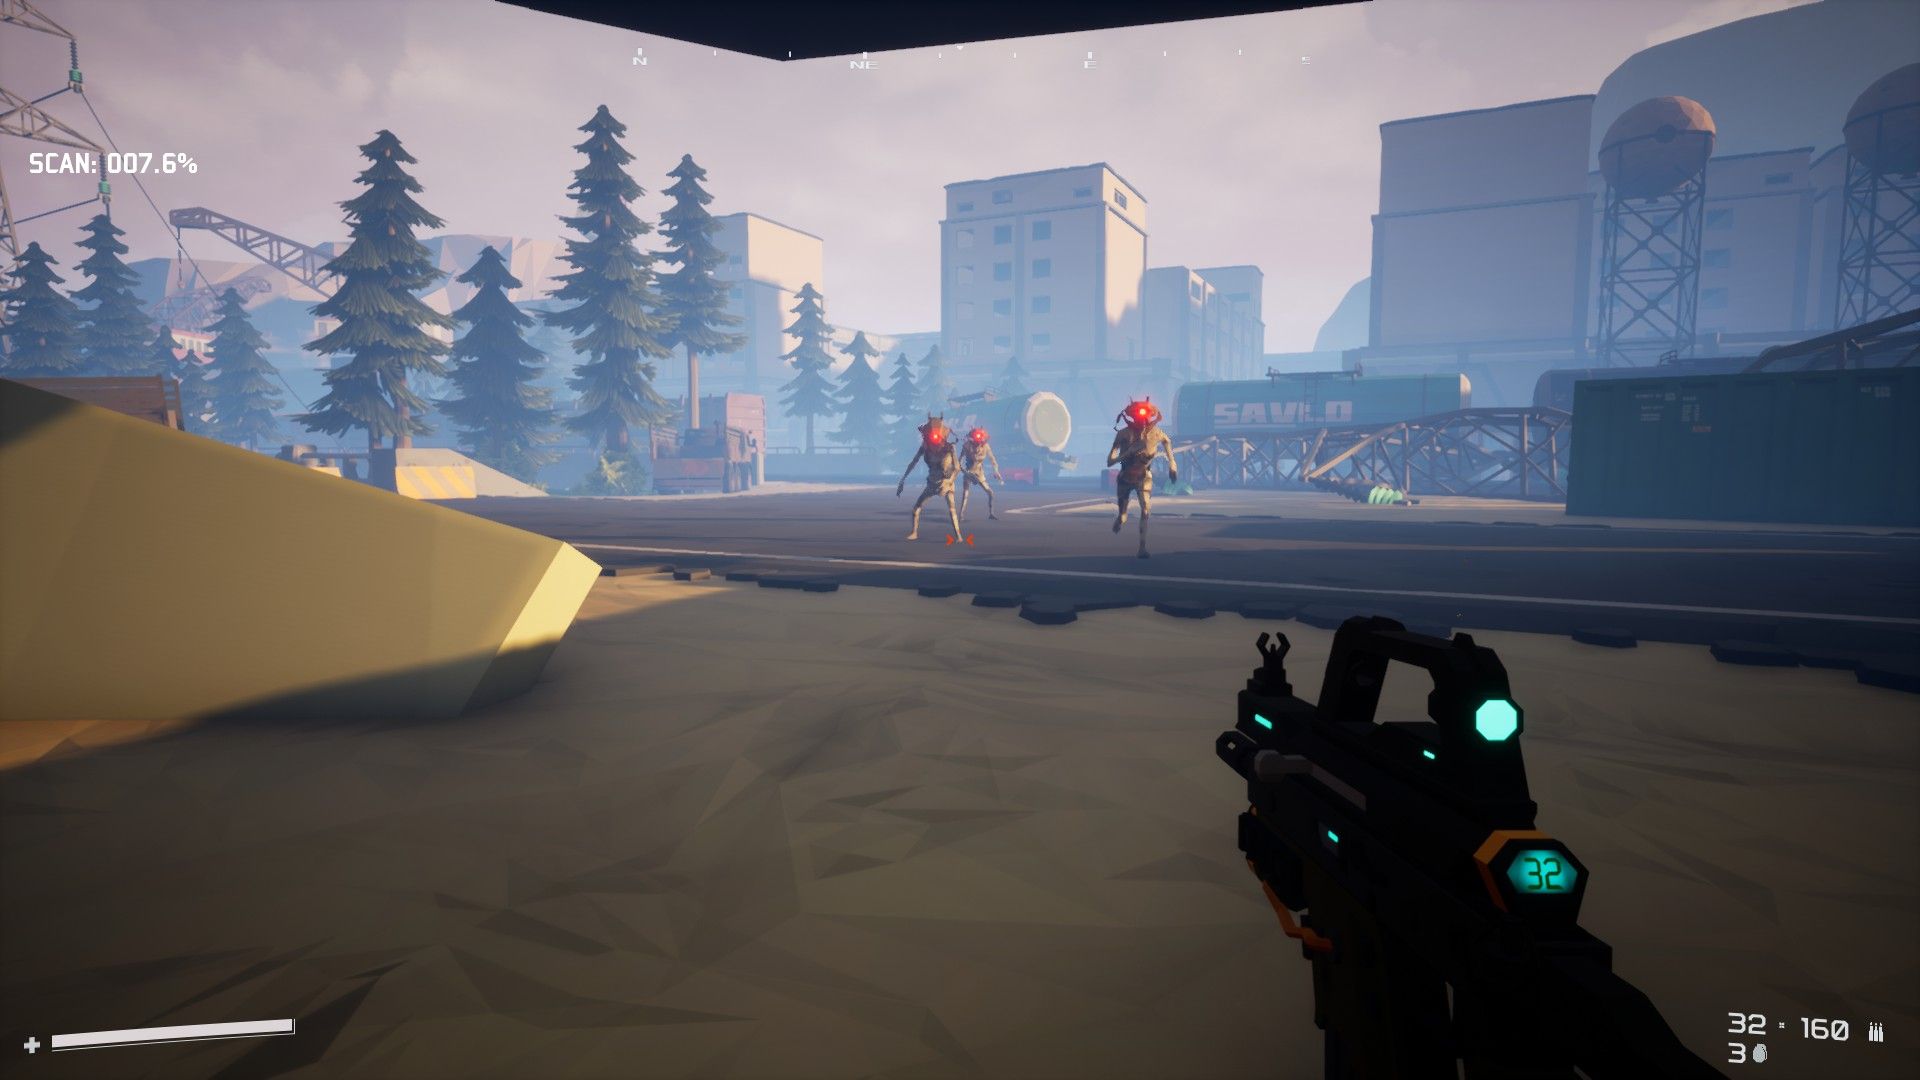
Once we land at Beachhead alongside our fellow Vakt soldiers, we’ll need to head to the Radar Tower and start the scan. The Conflux will be hitting us in waves that gradually ramp in difficulty over time. First up are cyborg zombies wielding melee weapons — I recommend sticking to your gravity arm and saving your ammo for later waves. They go down easily enough to thrown pickaxes and barrels. If your health gets low you can grab some health kits from the sandbags near the dropship.
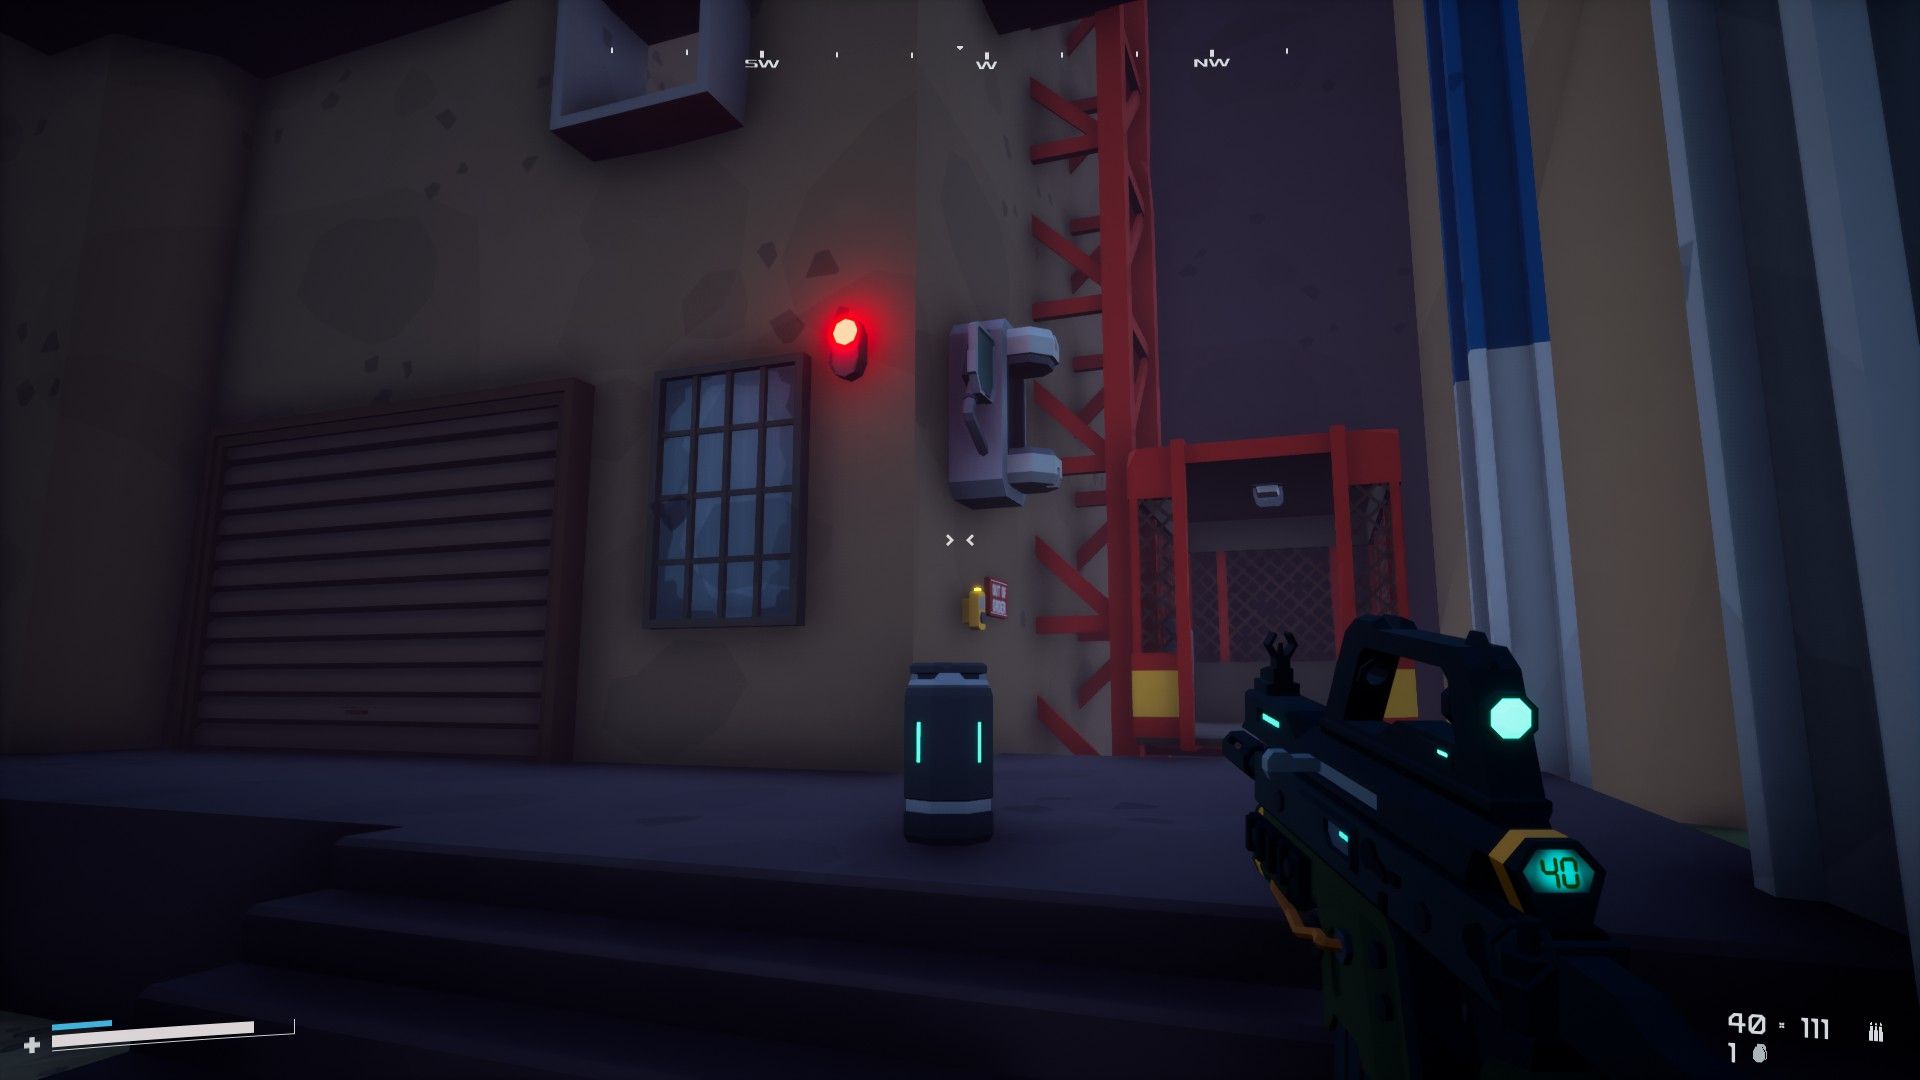
At some point during your defense the Conflux will activate jamming towers to stop the scan.
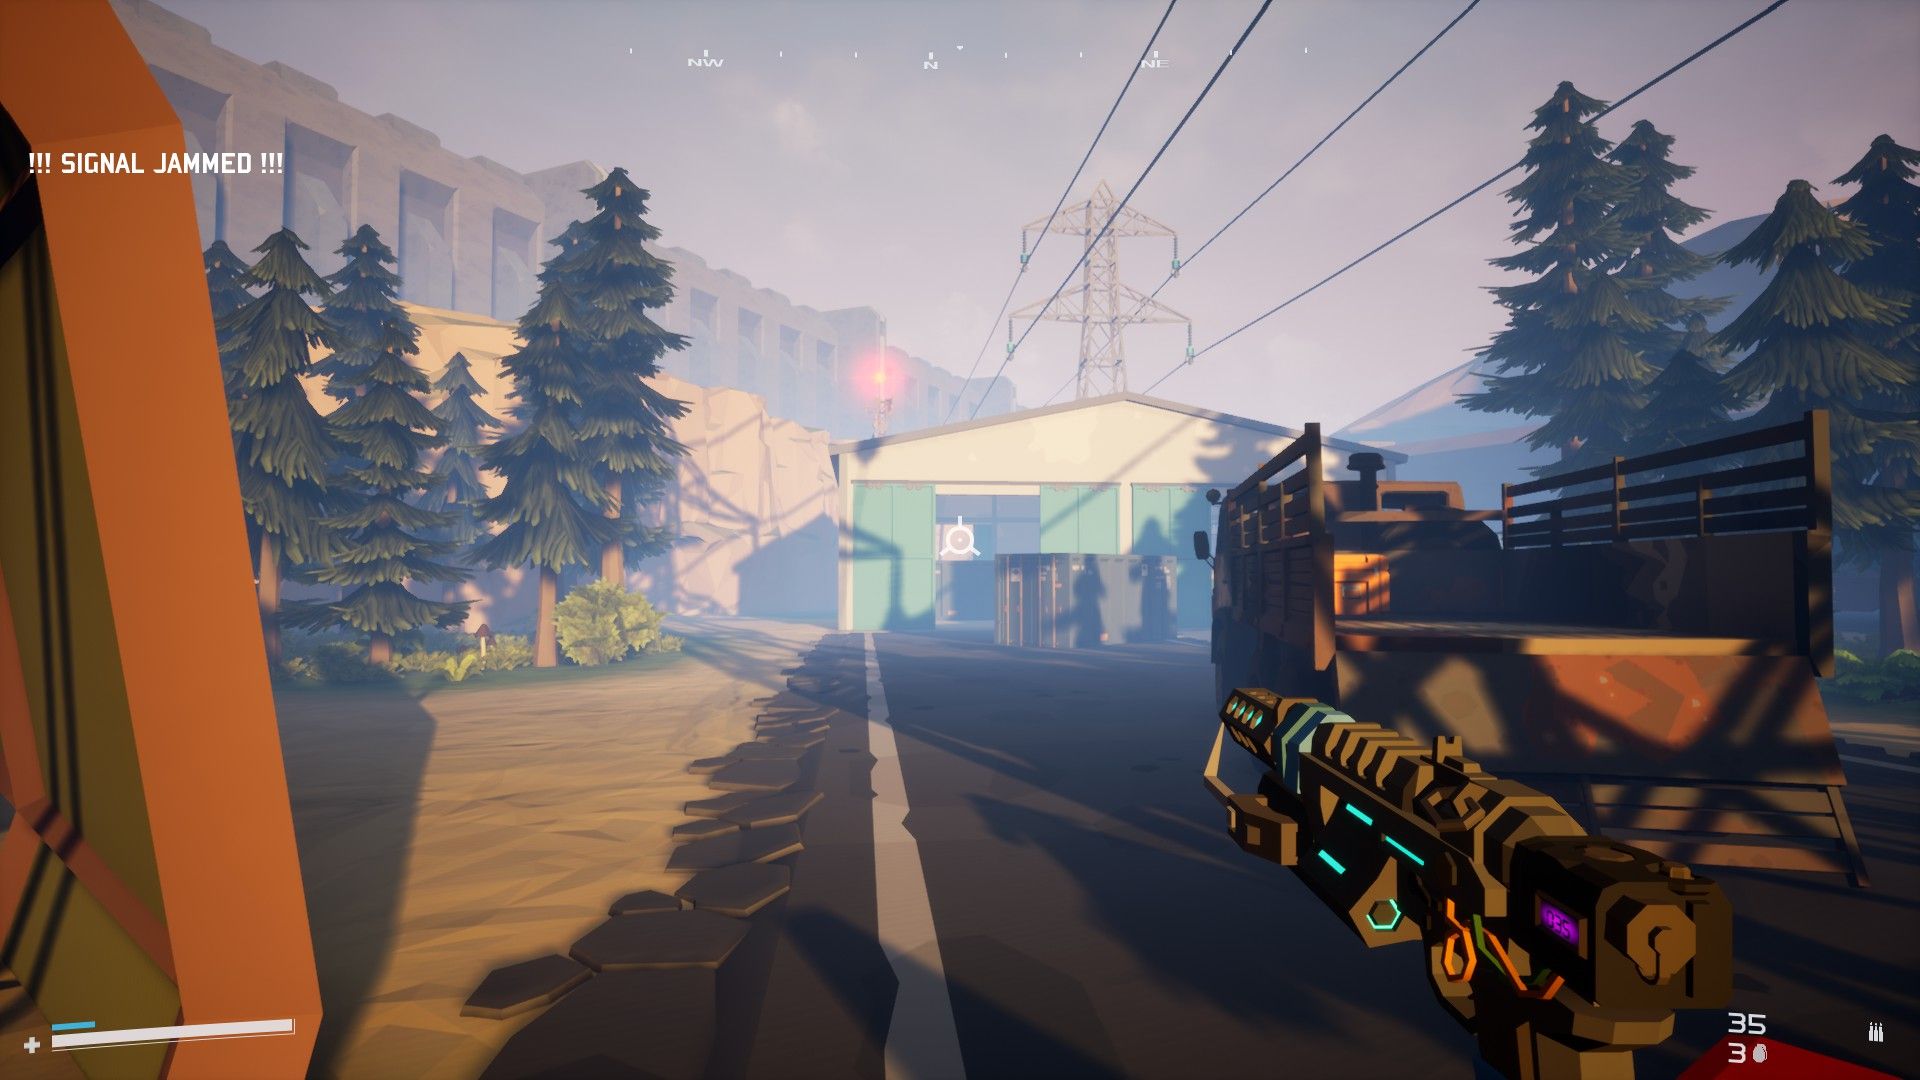 Jammer Towers — they’re the ones with the blinking red lights on top
Each one will be defended by a squad of Conflux, and they’ll get tougher and tougher as the scan inches closer to completion. Let’s dive into what you’ll be facing and talk Conflux.
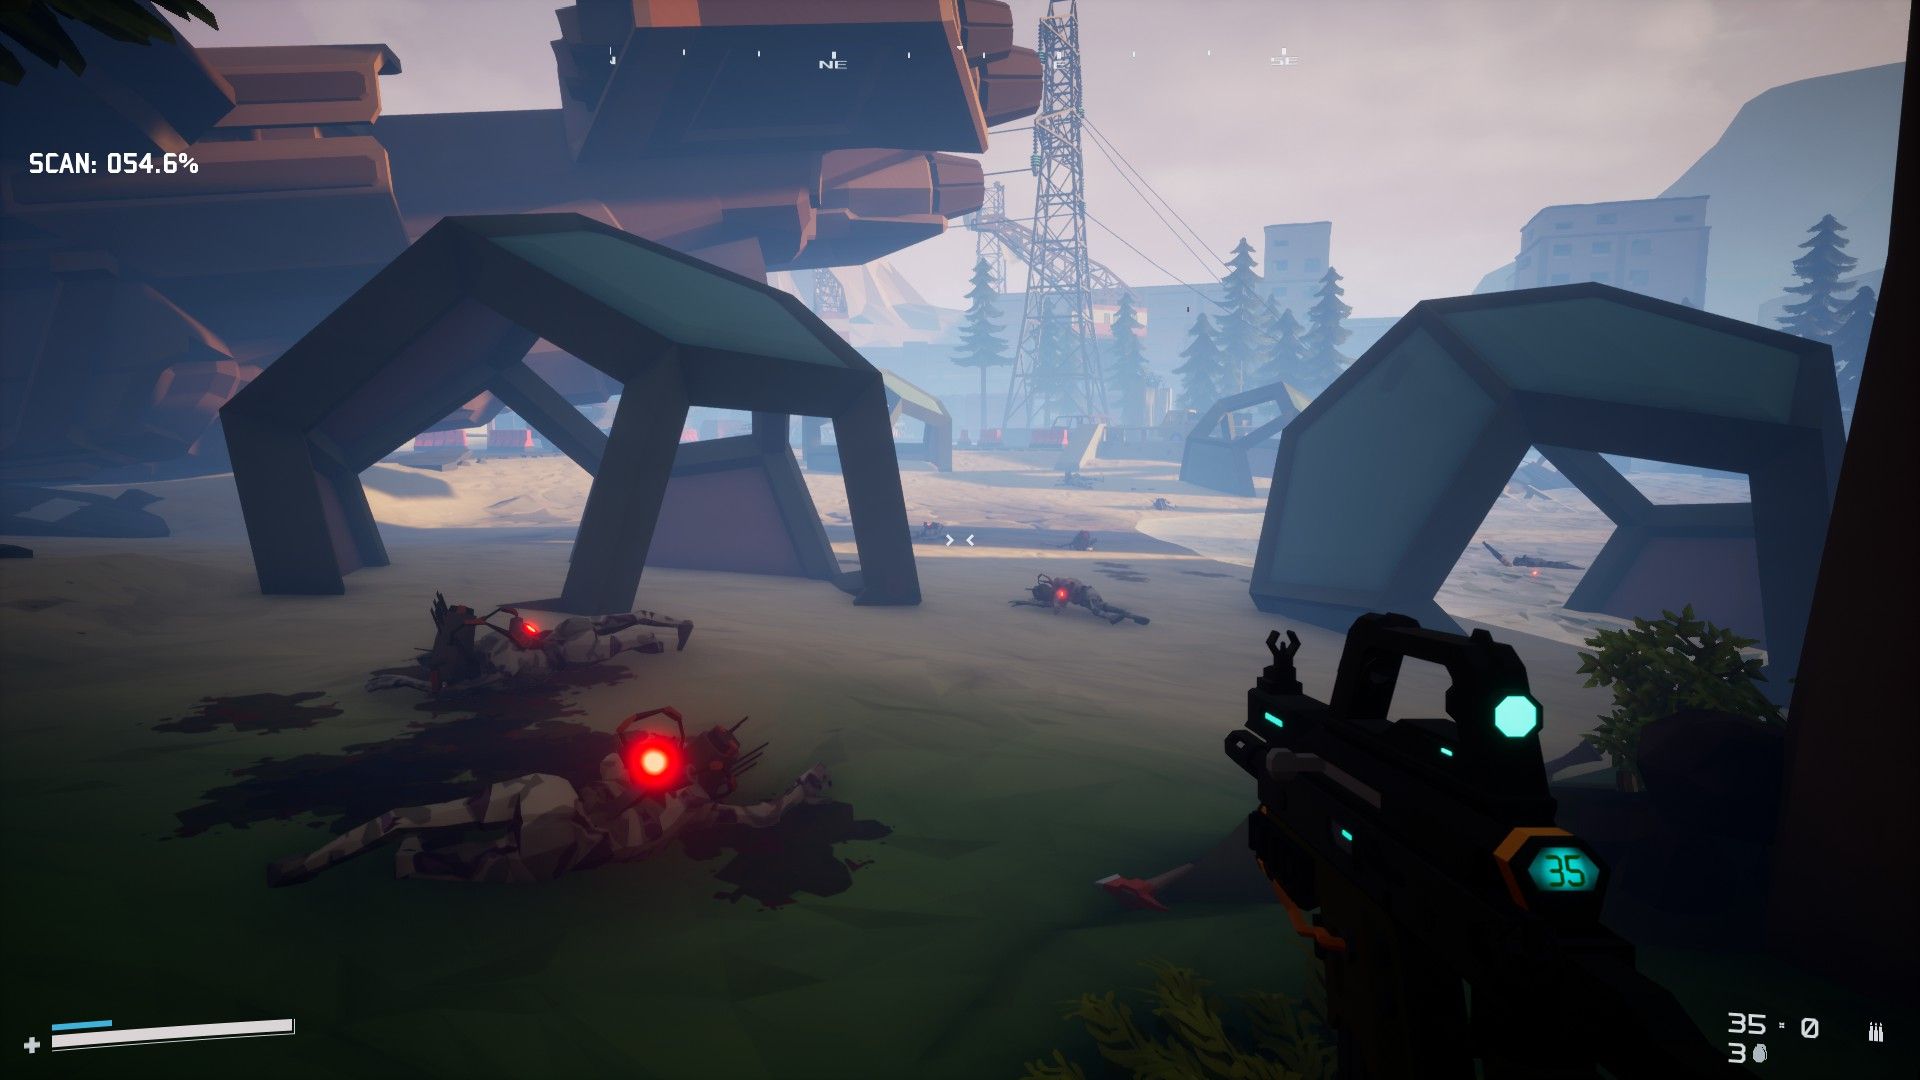
 Cyborg Zombies come in swarms
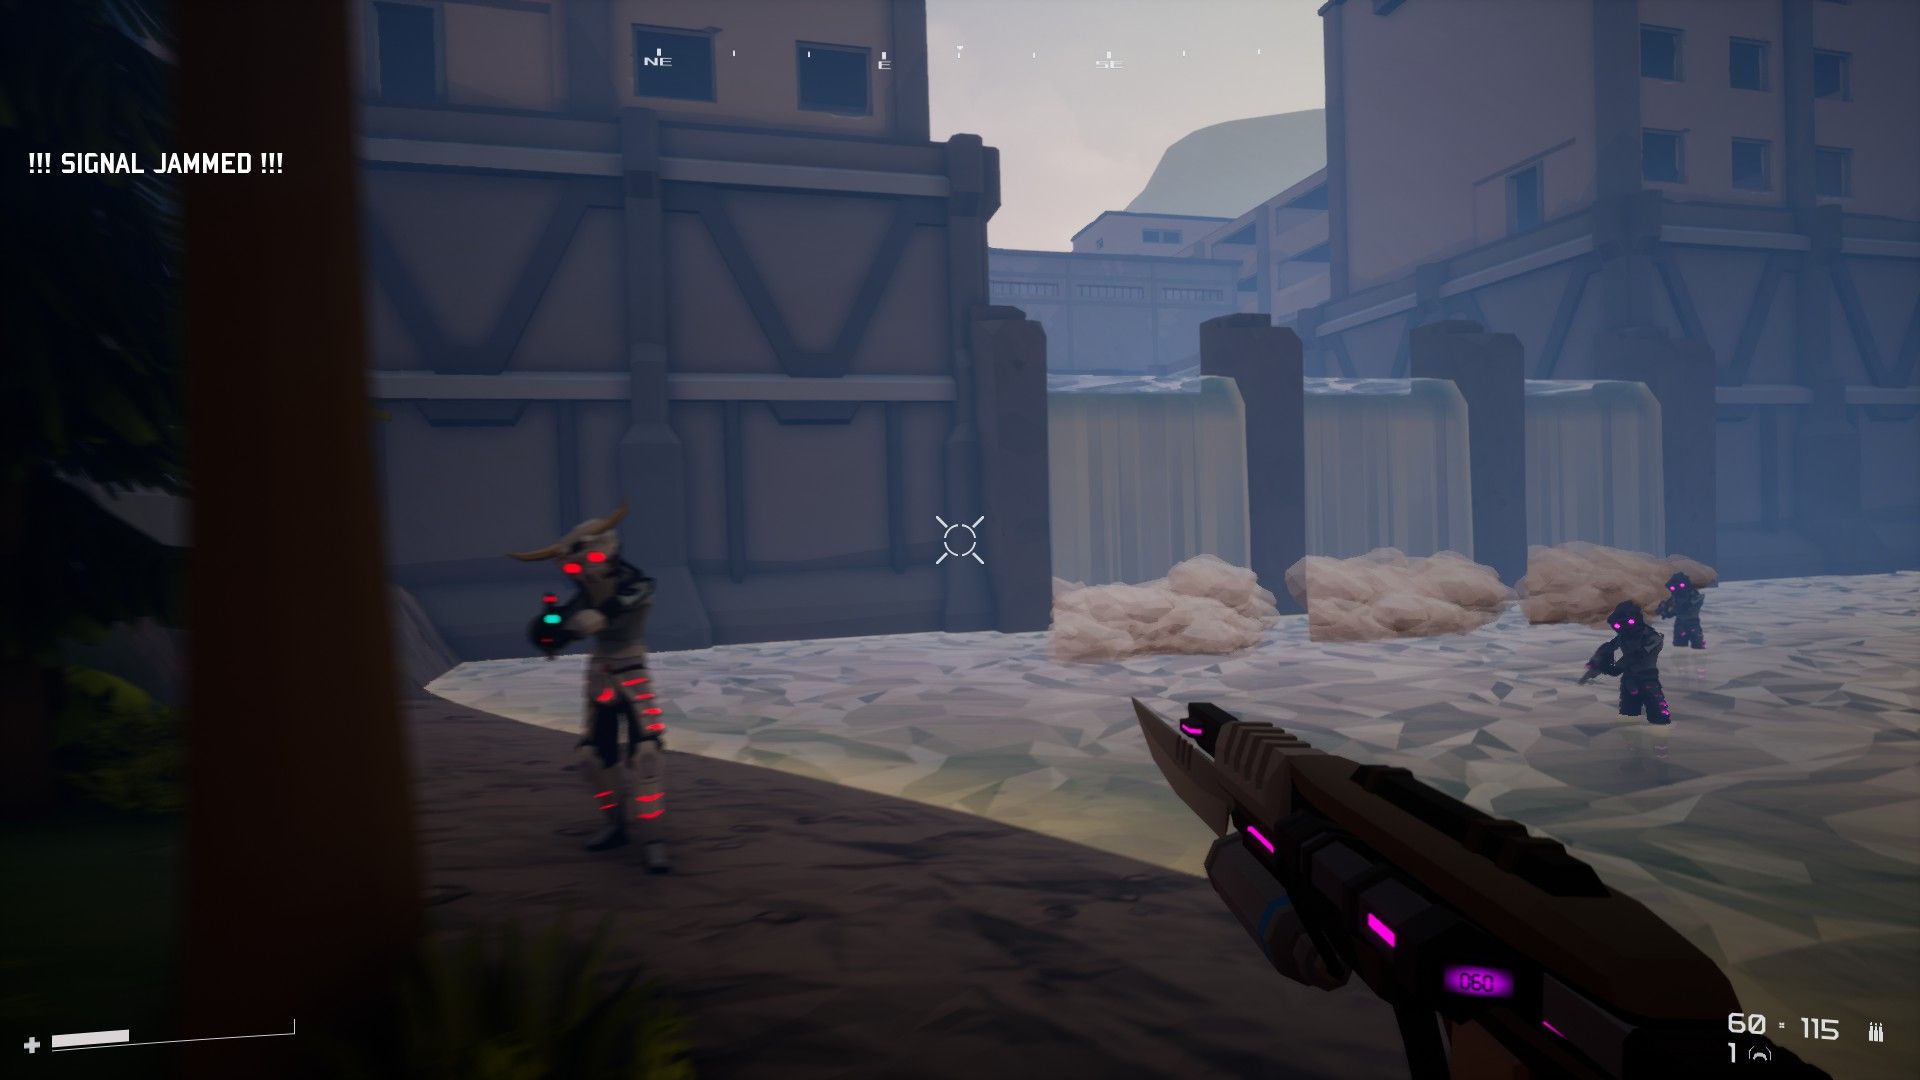 Conflux Cleric and two Purple Riflemen
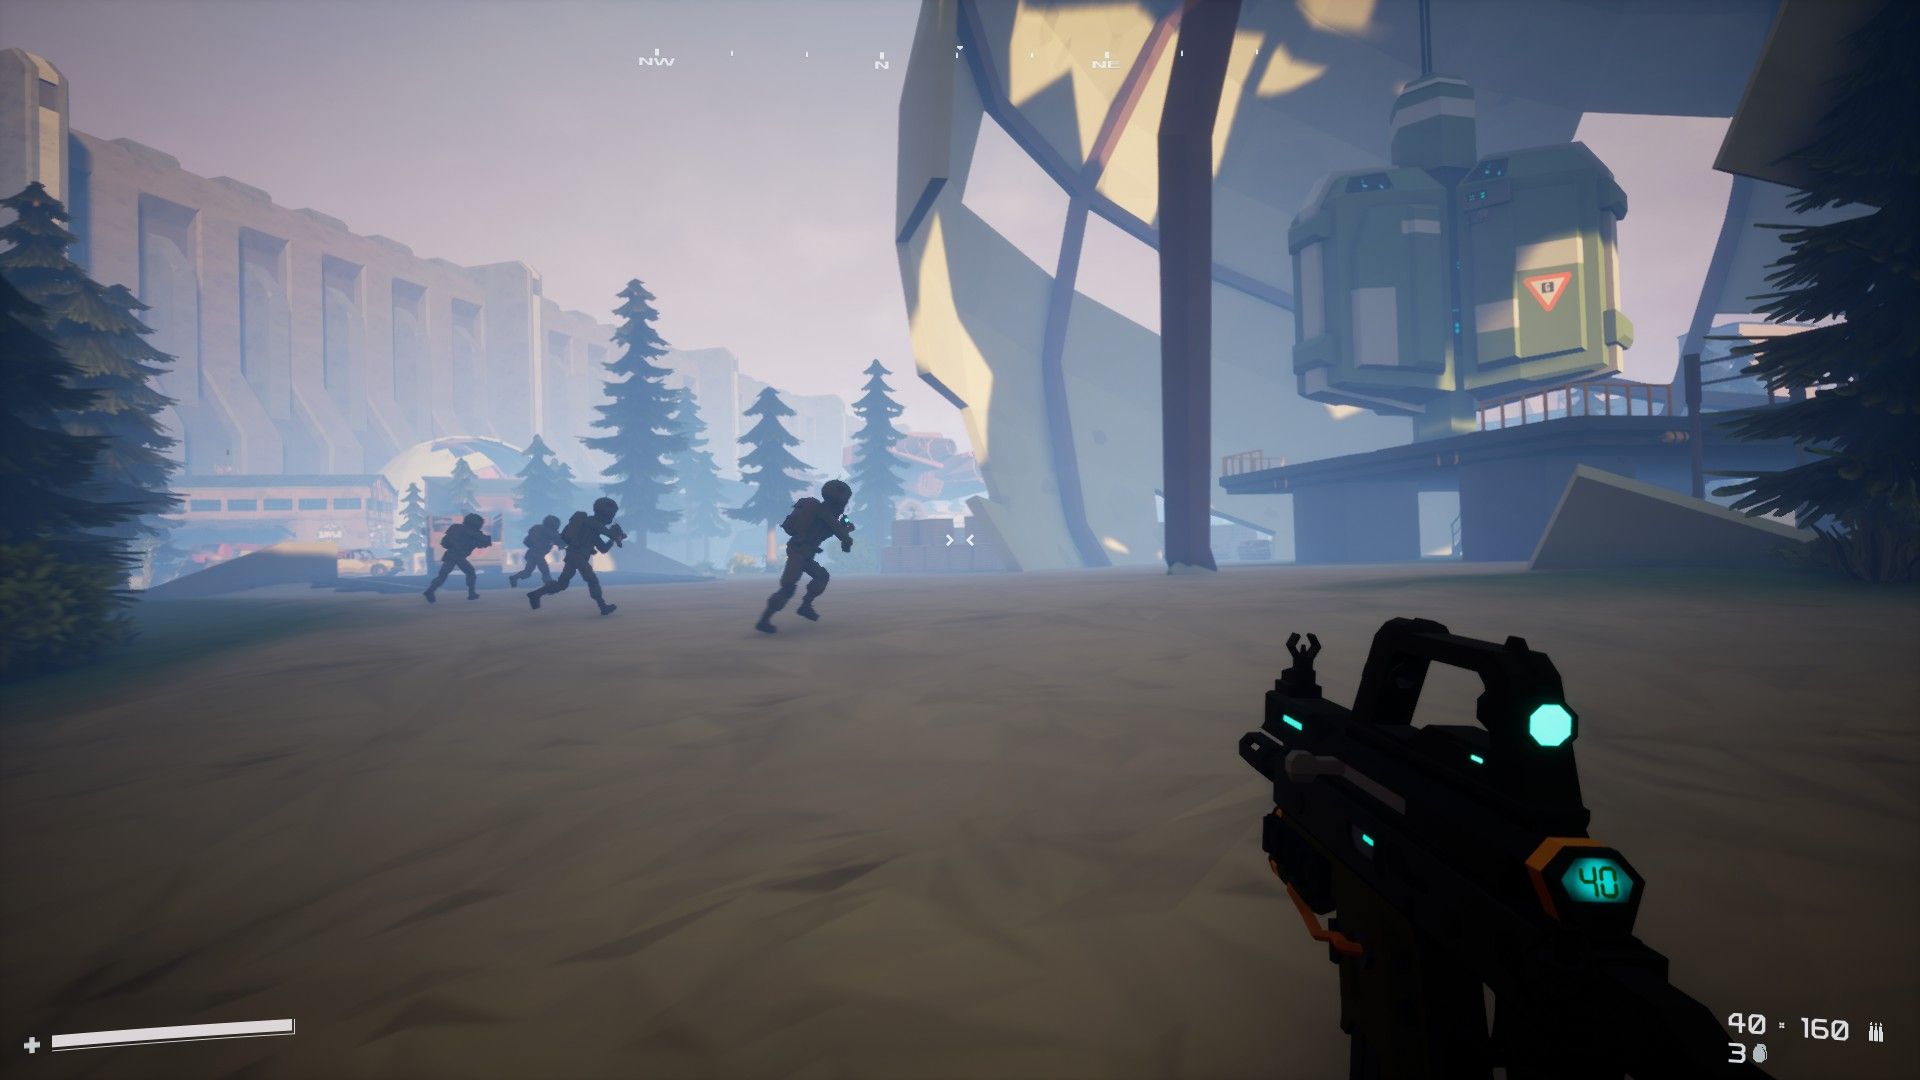
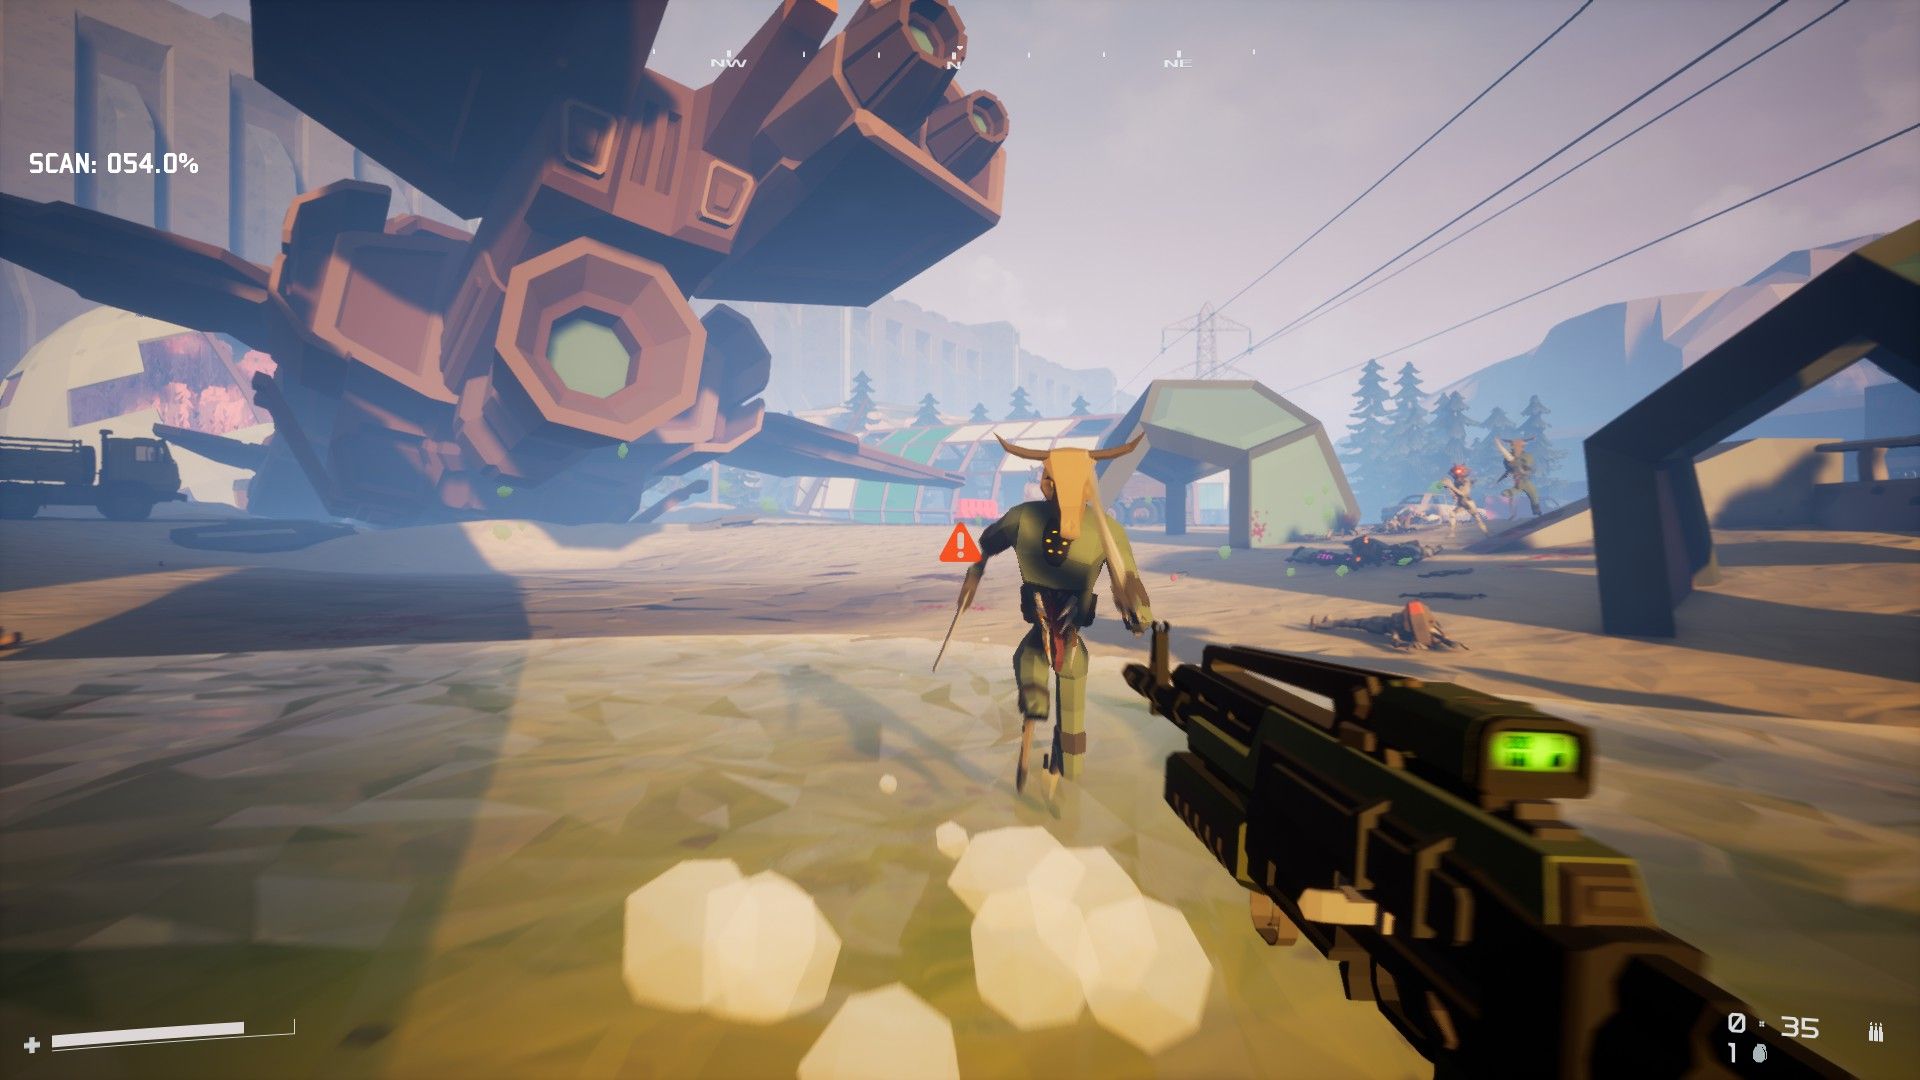 Antler Demons get close quick…
Not much else to say here! Finish off the scan and sprint back to the dropship to finish this one off.
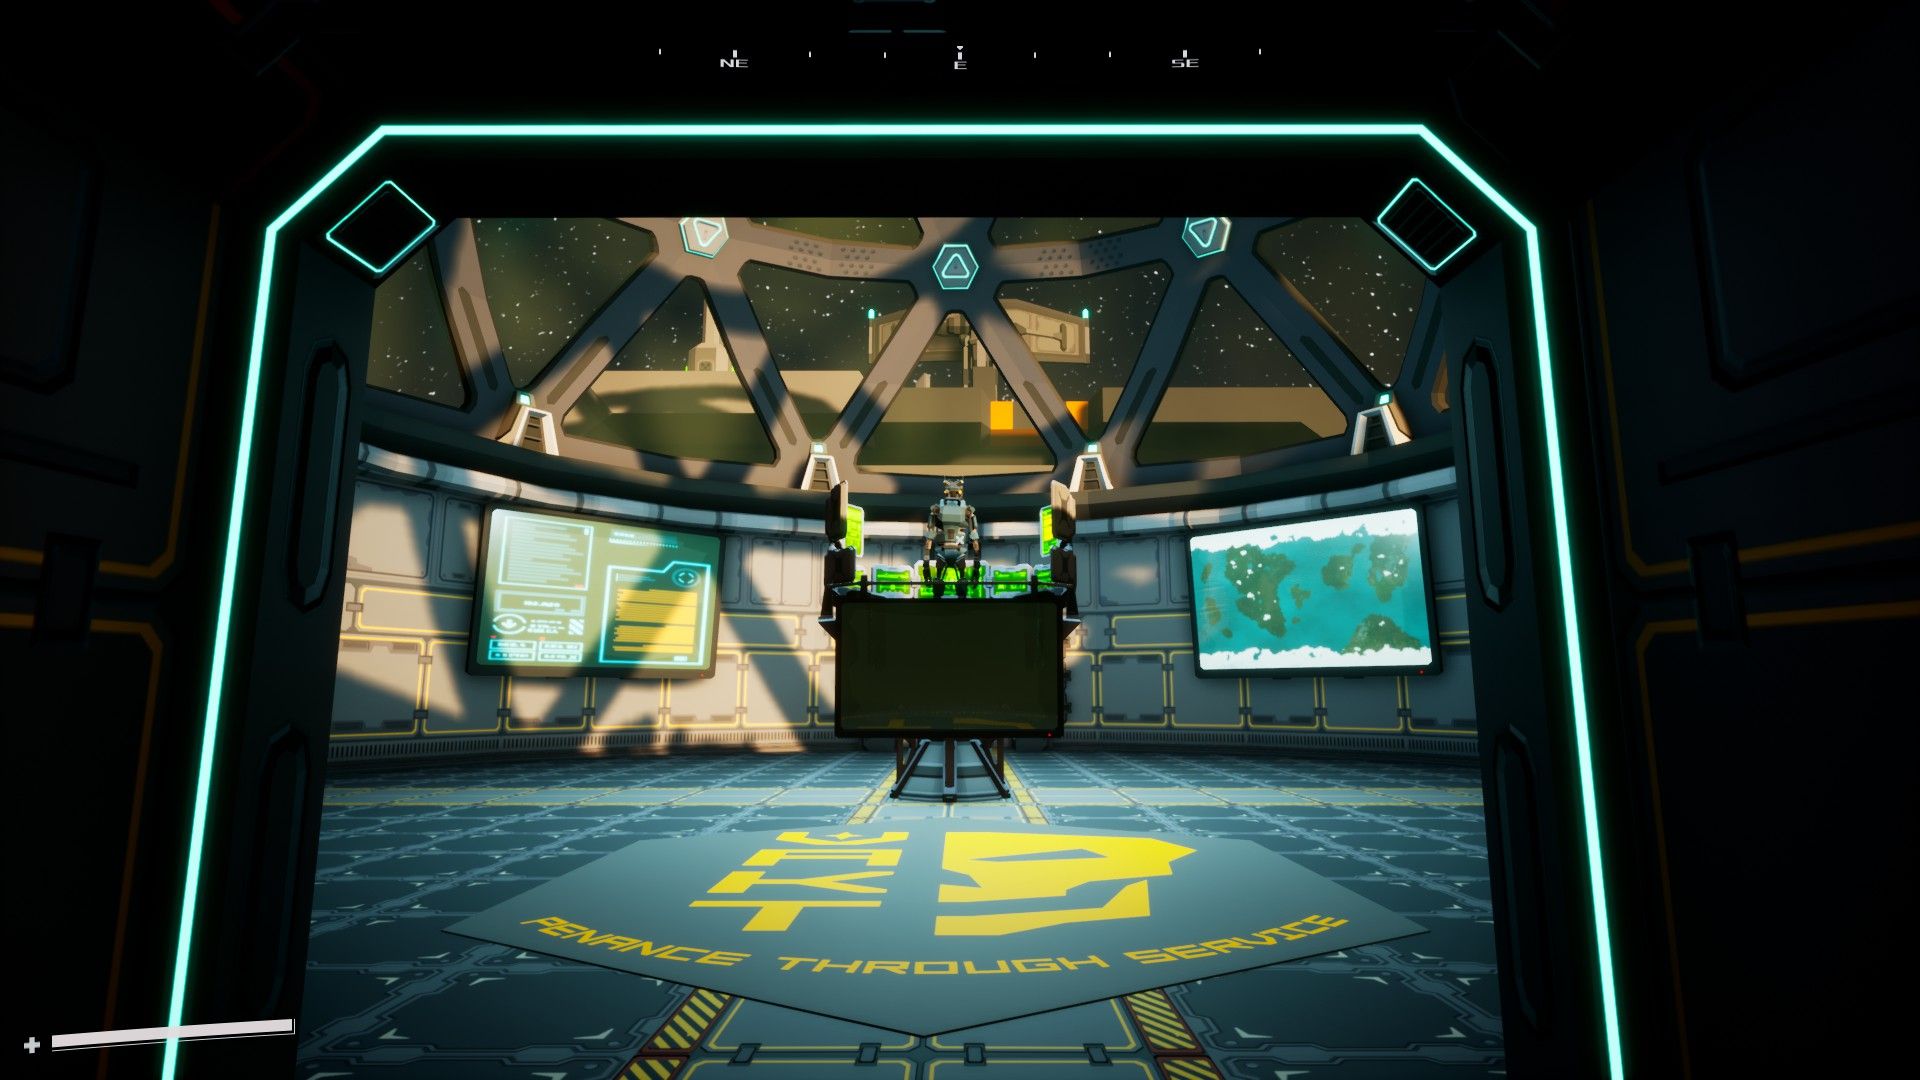 Reporting to the Boss
Back aboard the Vakt ship you’ll report to the ship’s commander, MAVIS, in a new room at the back. And that’s it for Operation Earhorn!
We’ll be returning to the Zone once again to hunt down a Tier 1 keycard. There’s three Tiers of keycard in Zone Patrol and you’ll need all three to access every area. However, there’s a few different places these keycards can spawn in, which makes things a bit more difficult for us.
 Tier 1 Keycard - Junction 06 Location
I’ve found the Tier 1 keycard in Junction 06 a few times, once in one of the small buildings in Beachhead, as well as in Data Center South in The Dish. Others have even found it in Catacombs. You’ll need to do some hunting of your own on this one, but this is a great opportunity to introduce The Dish, the Free Scrappers, and our next set of quests.
To access The Dish, head to Storm Drain and follow the canal all the way to the end. You’ll find a warehouse ahead of you marked with the symbol of The Dish. Head on through.
 Entrance to The Dish
The Dish itself is a heavily forested area dominated by a large, partially destroyed radar dish. It offers access to both The Haunt and, of course, Storm Drain. More importantly, it contains a new merchant, a new source of quests, and Data Center South.
When you first enter The Dish from Storm Drain, you’ll end up in Data Center South.
 Floating vehicles and strange anomalies abound
There’s a decent number of secrets to find in this area, but we’ll be focusing on accessing the Data Center itself. It’s at the top of a disabled elevator located directly to the right of the entrance from Storm Drain.
 Disabled Elevator to Data Center South
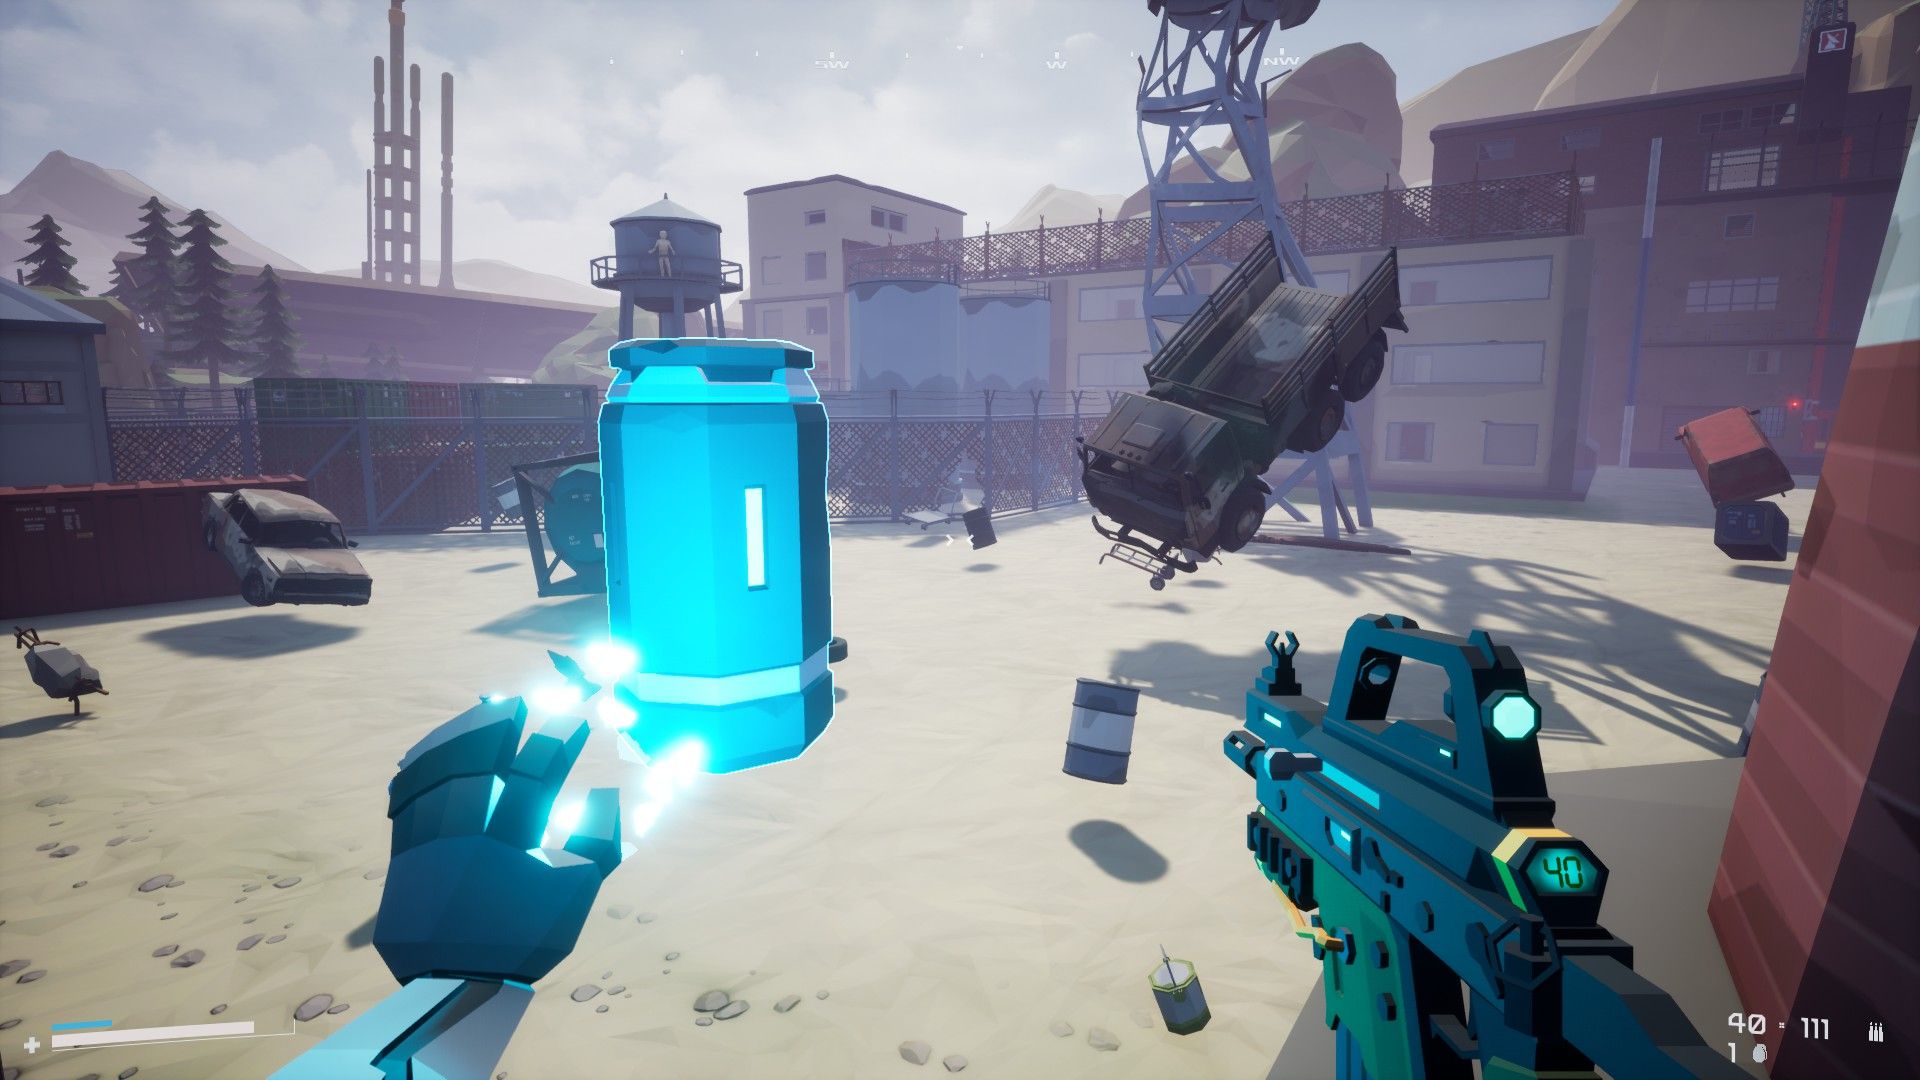
To reactivate it, you’ll need to grab a power canister from a nearby building and place it in the empty receptacle near the elevator itself.
 Power Canisters are stored here with a handy dispenser if you need more
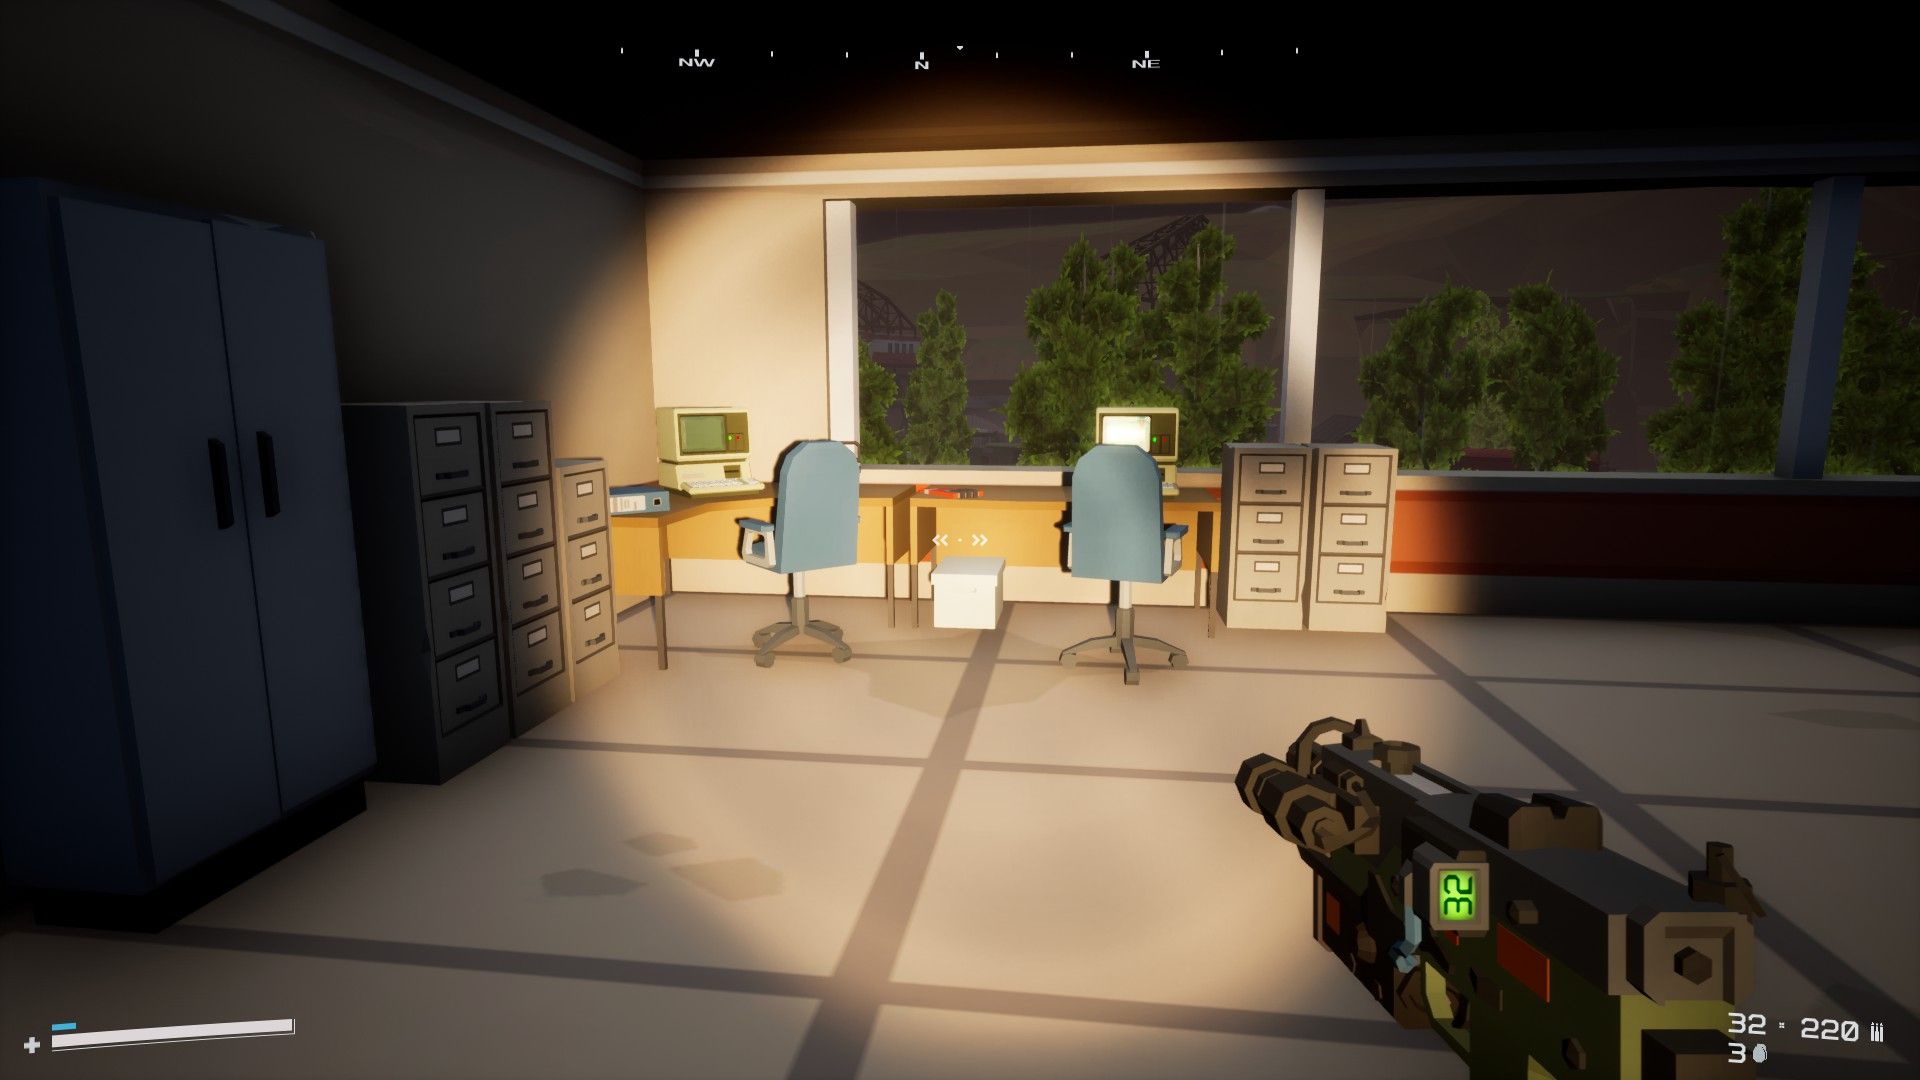
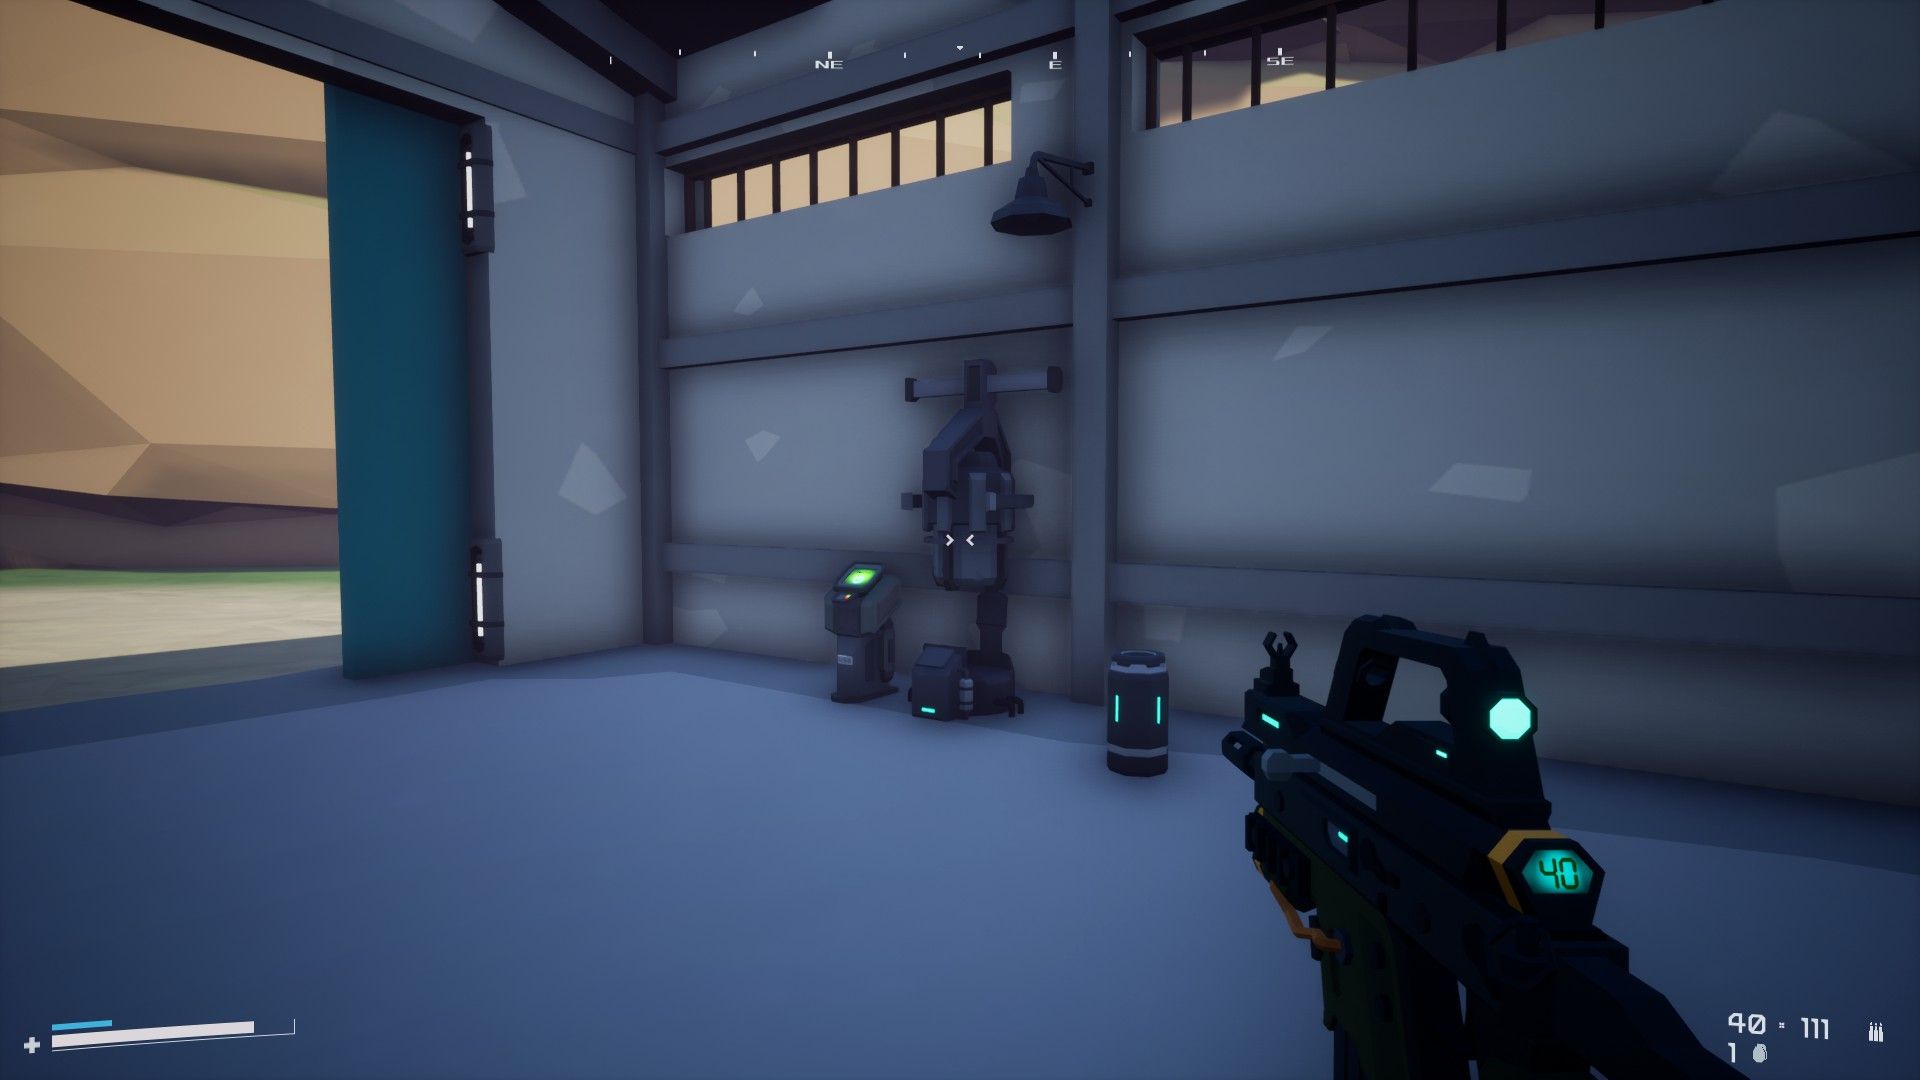
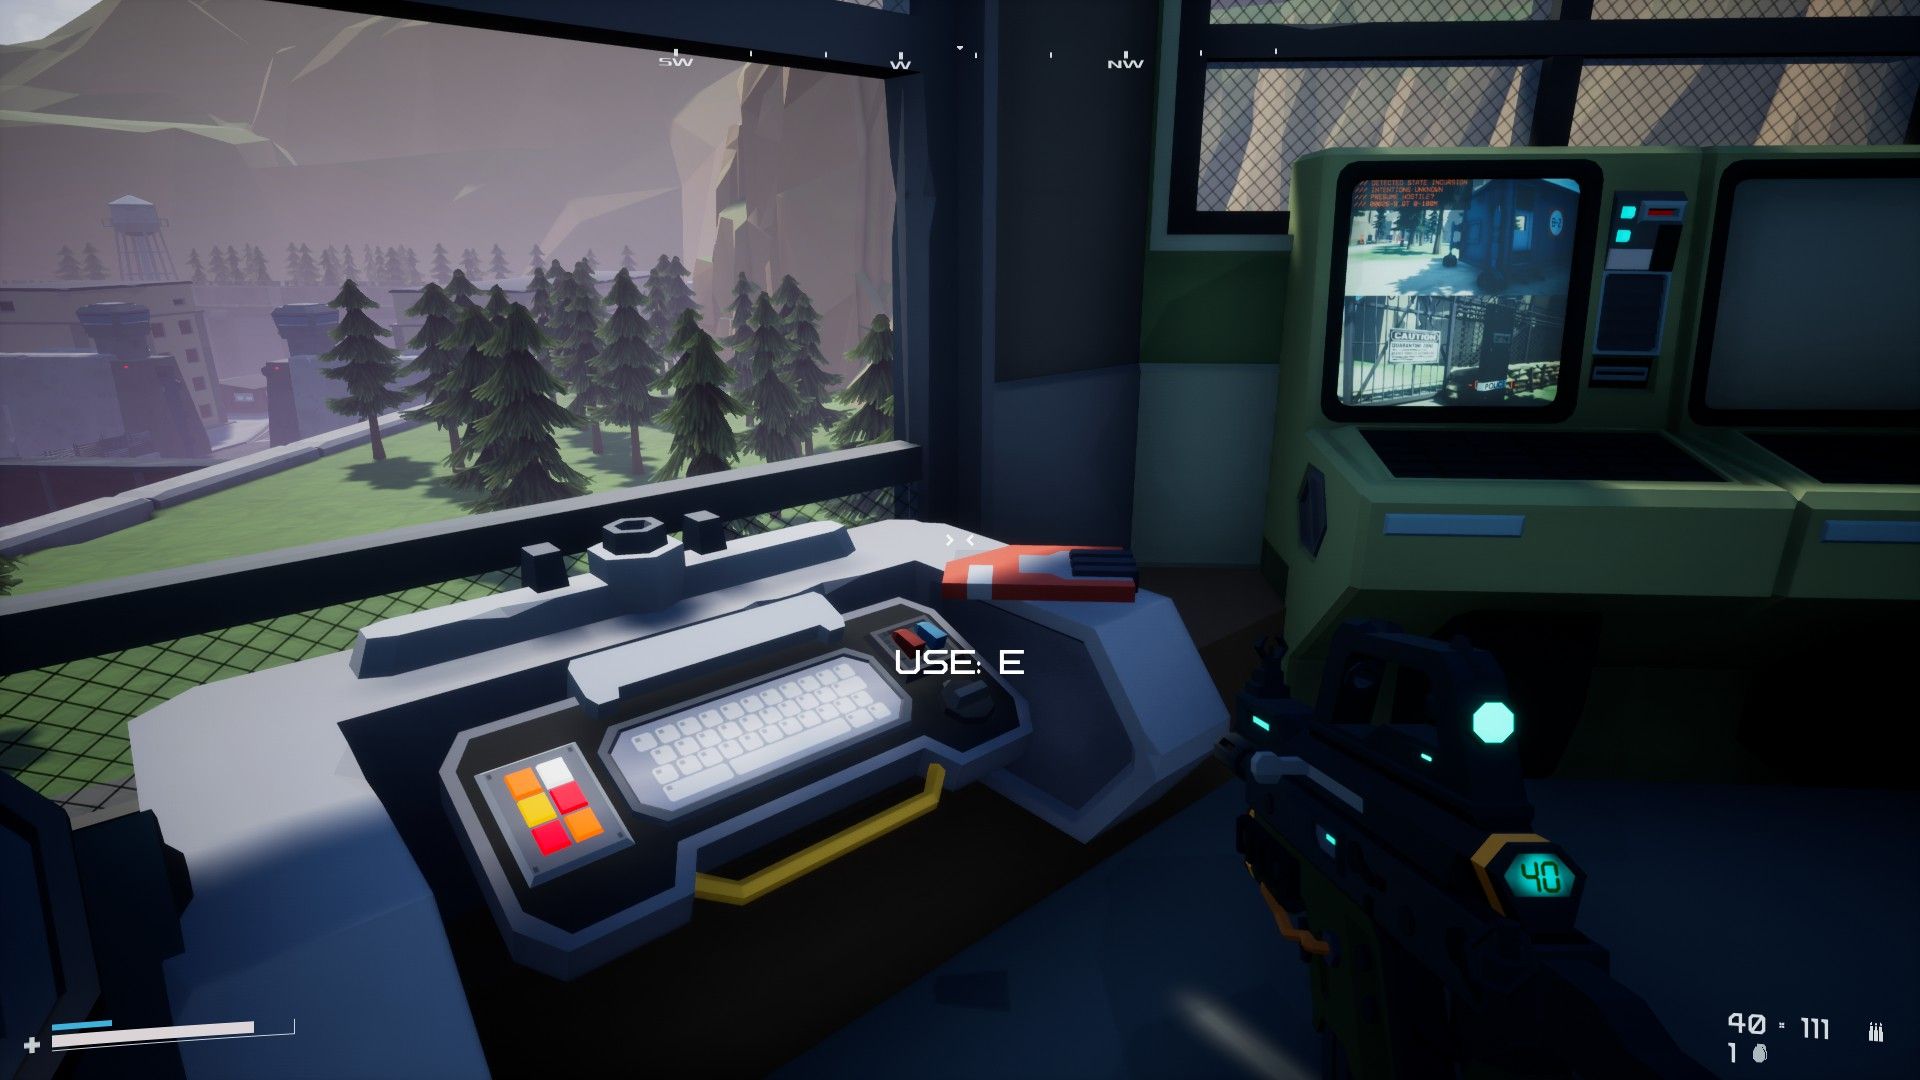
Once the elevator’s back online, ride it to the top to enter Data Center South. Inside you’ll several terminals including N-01 and the start of another quest, along with a Tier 1 Keycard (potentially — I’ve also found a Tier 2 keycard here at times so your mileage may vary).
 One potential Tier 1 Keycard location
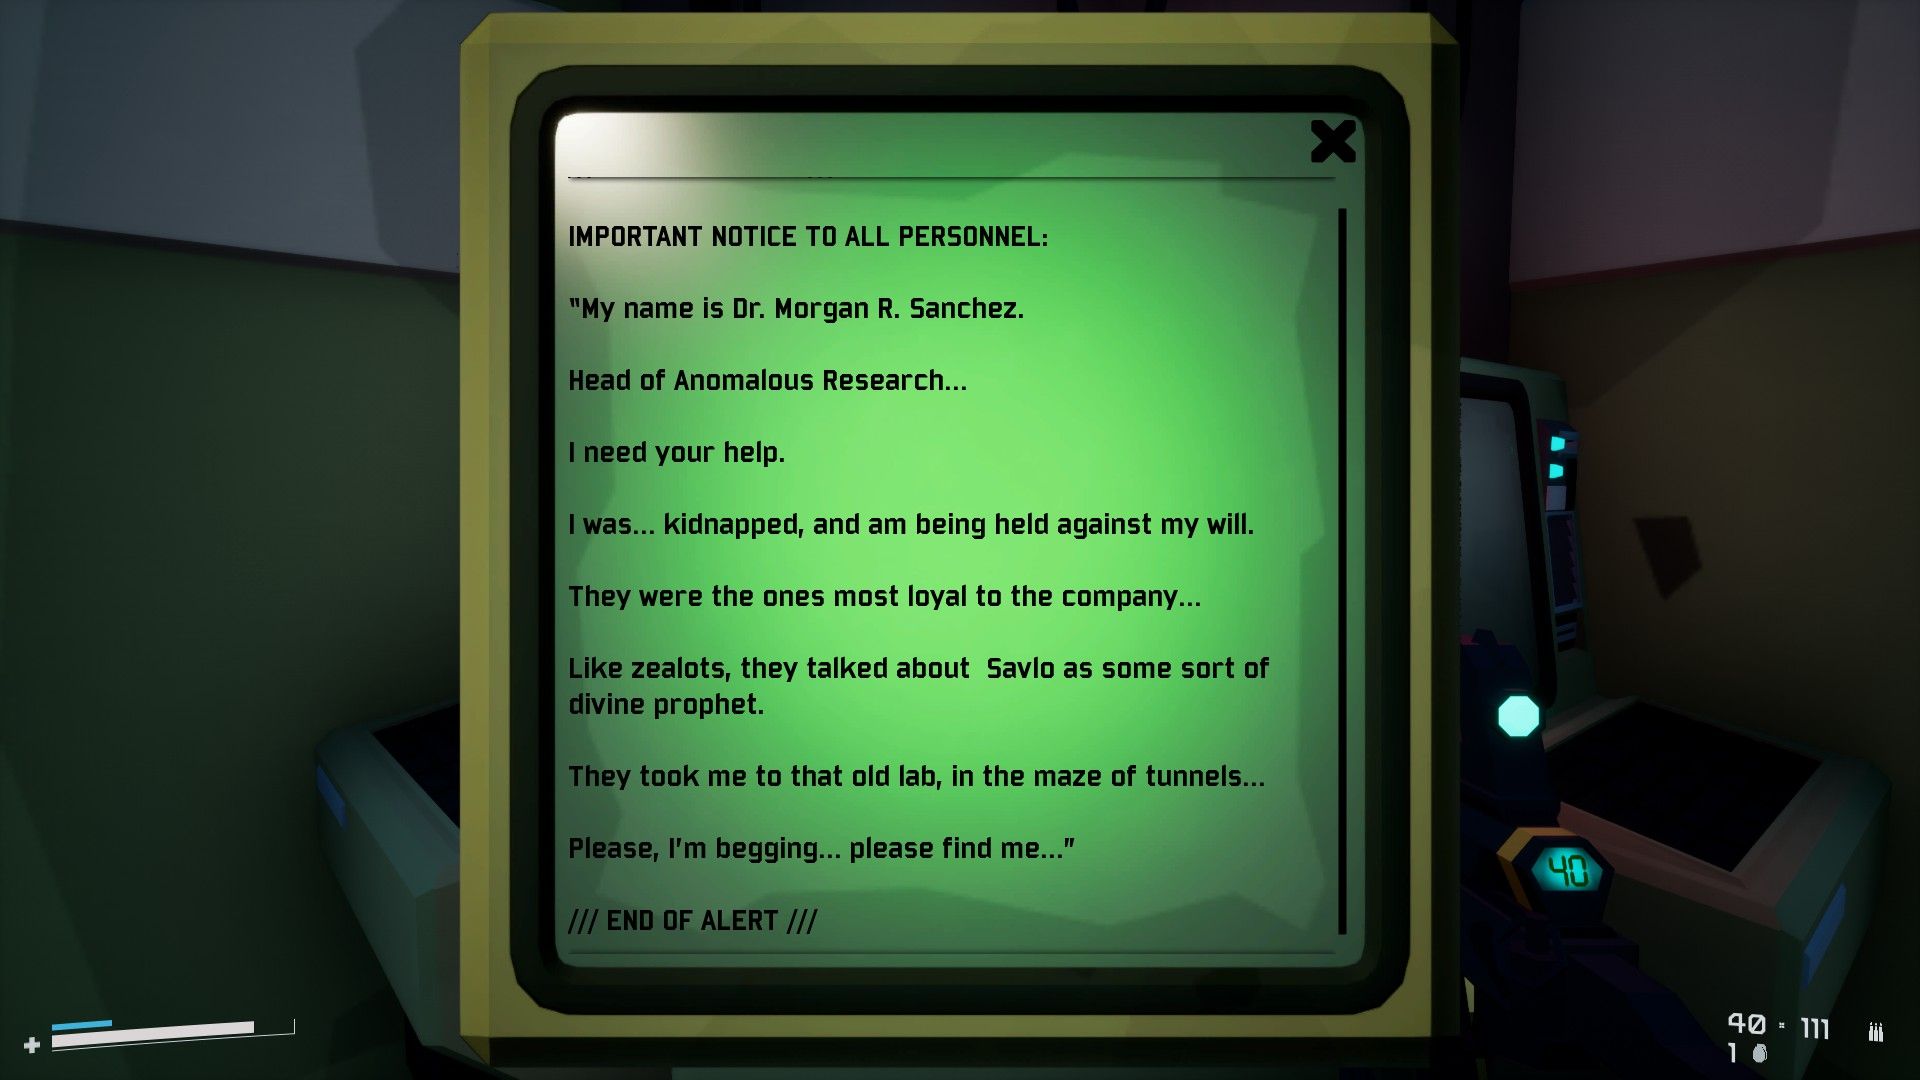 A scientist has been taken by Conflux and is in need to rescue
Outside of the main room you’ll find an entrance to some air vents; follow them and you’ll find a weapon chest with something good inside!
The N-01 terminal is located at Data Center South in The Dish. The correct symbol is The Star.
Outside of Data Center South and opposite the entrance to The Haunt, you’ll find the Pit. 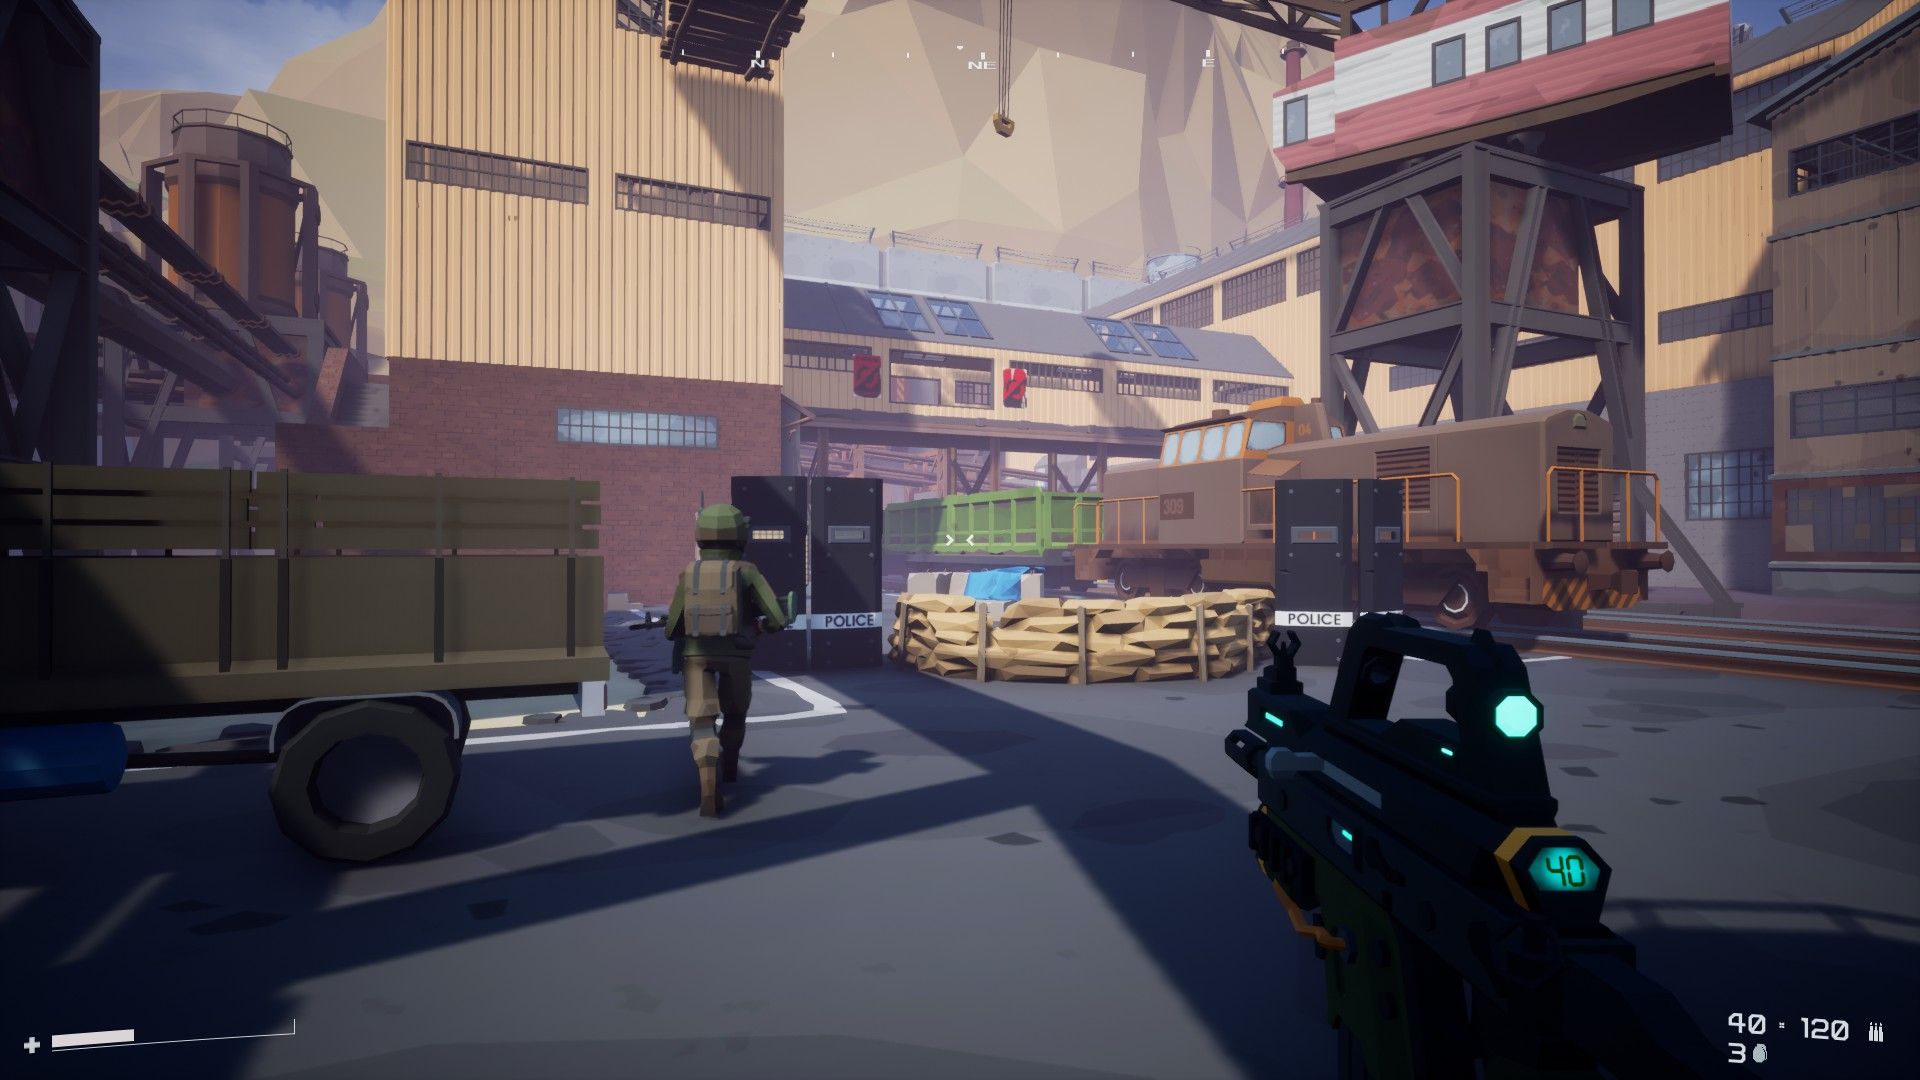
This is the main base of our first friendly faction — the Free Scrappers. They’re your primary allies during the campaign and they’ll be helping us out in Zone Patrol as well. In The Pit you’ll find a new merchant and a new quest to track down a missing scout. He’s been leaving geo-markers all over the Zone and we’ll need to retrace his steps to track him down.
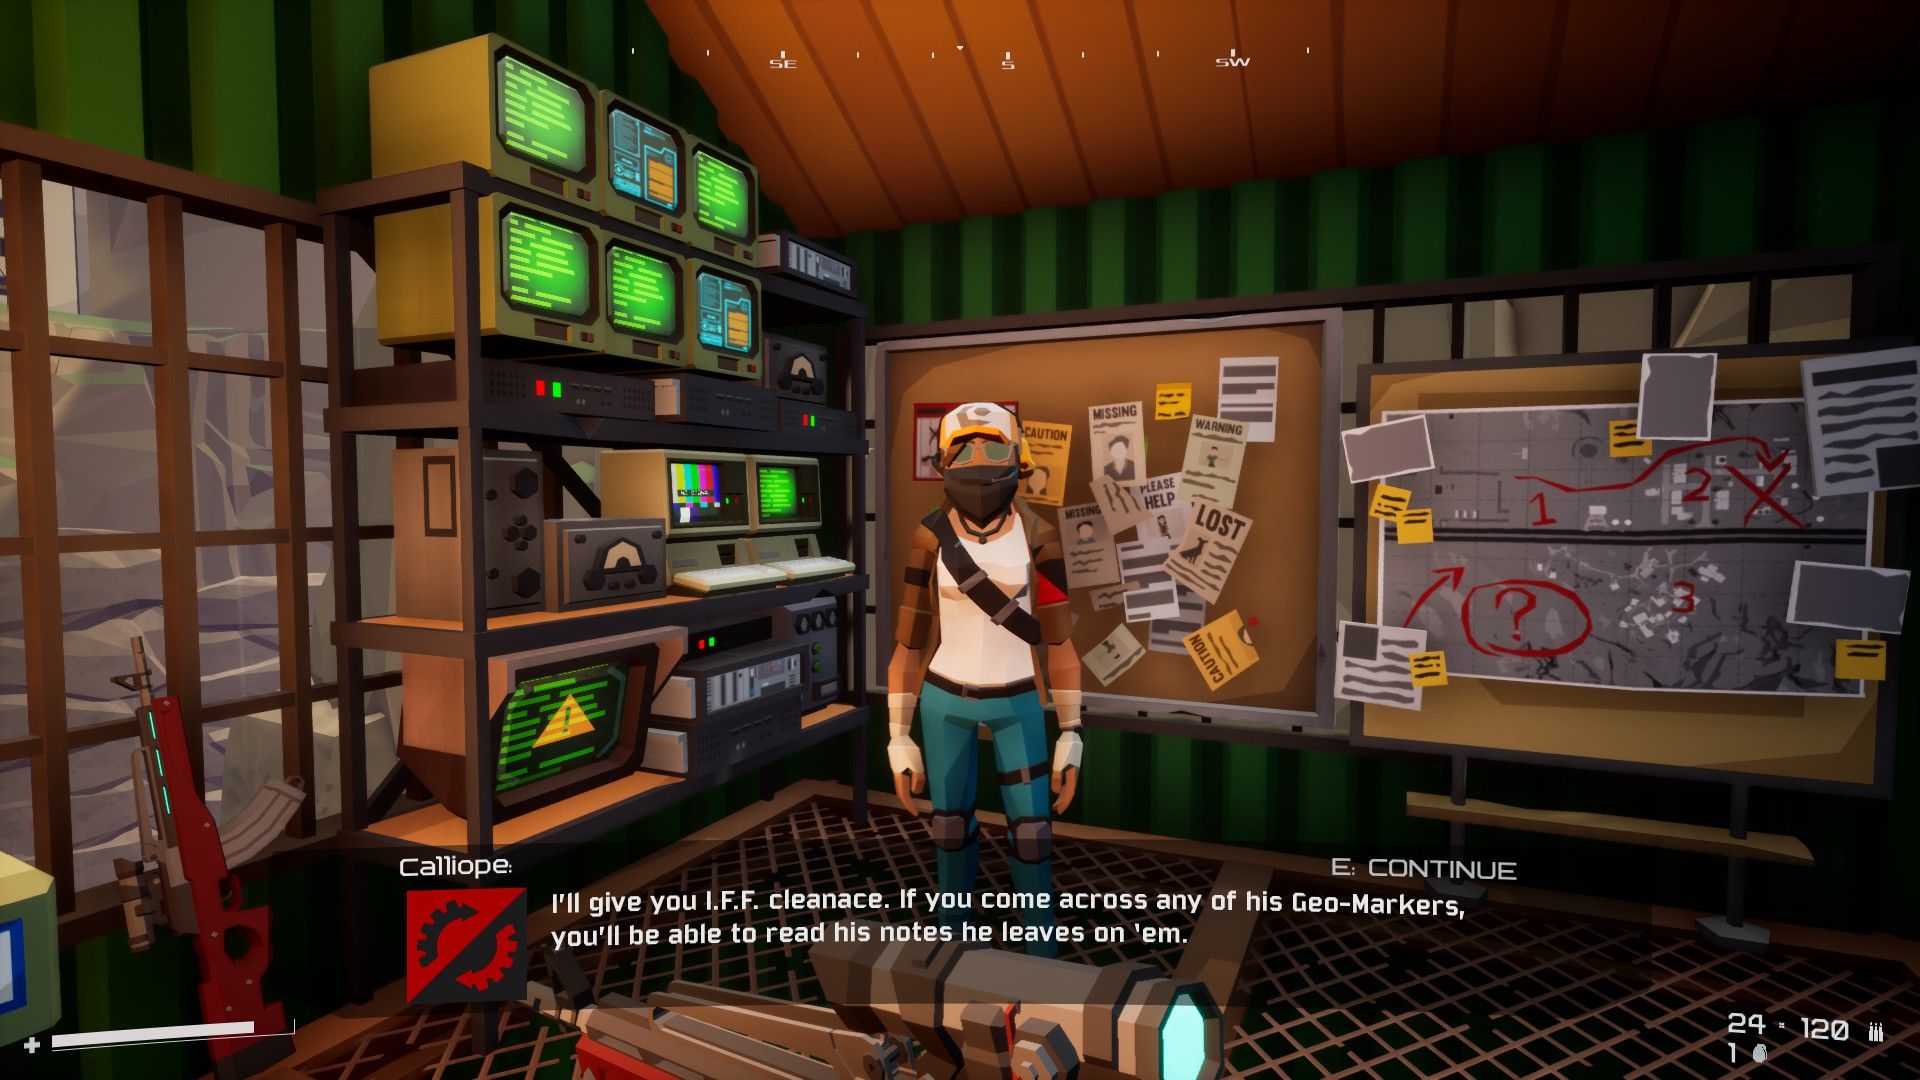 Calliope needs some help
The Free Scrappers Scout is located on the third floor of a building in Necropol guarded by three high-level Police.
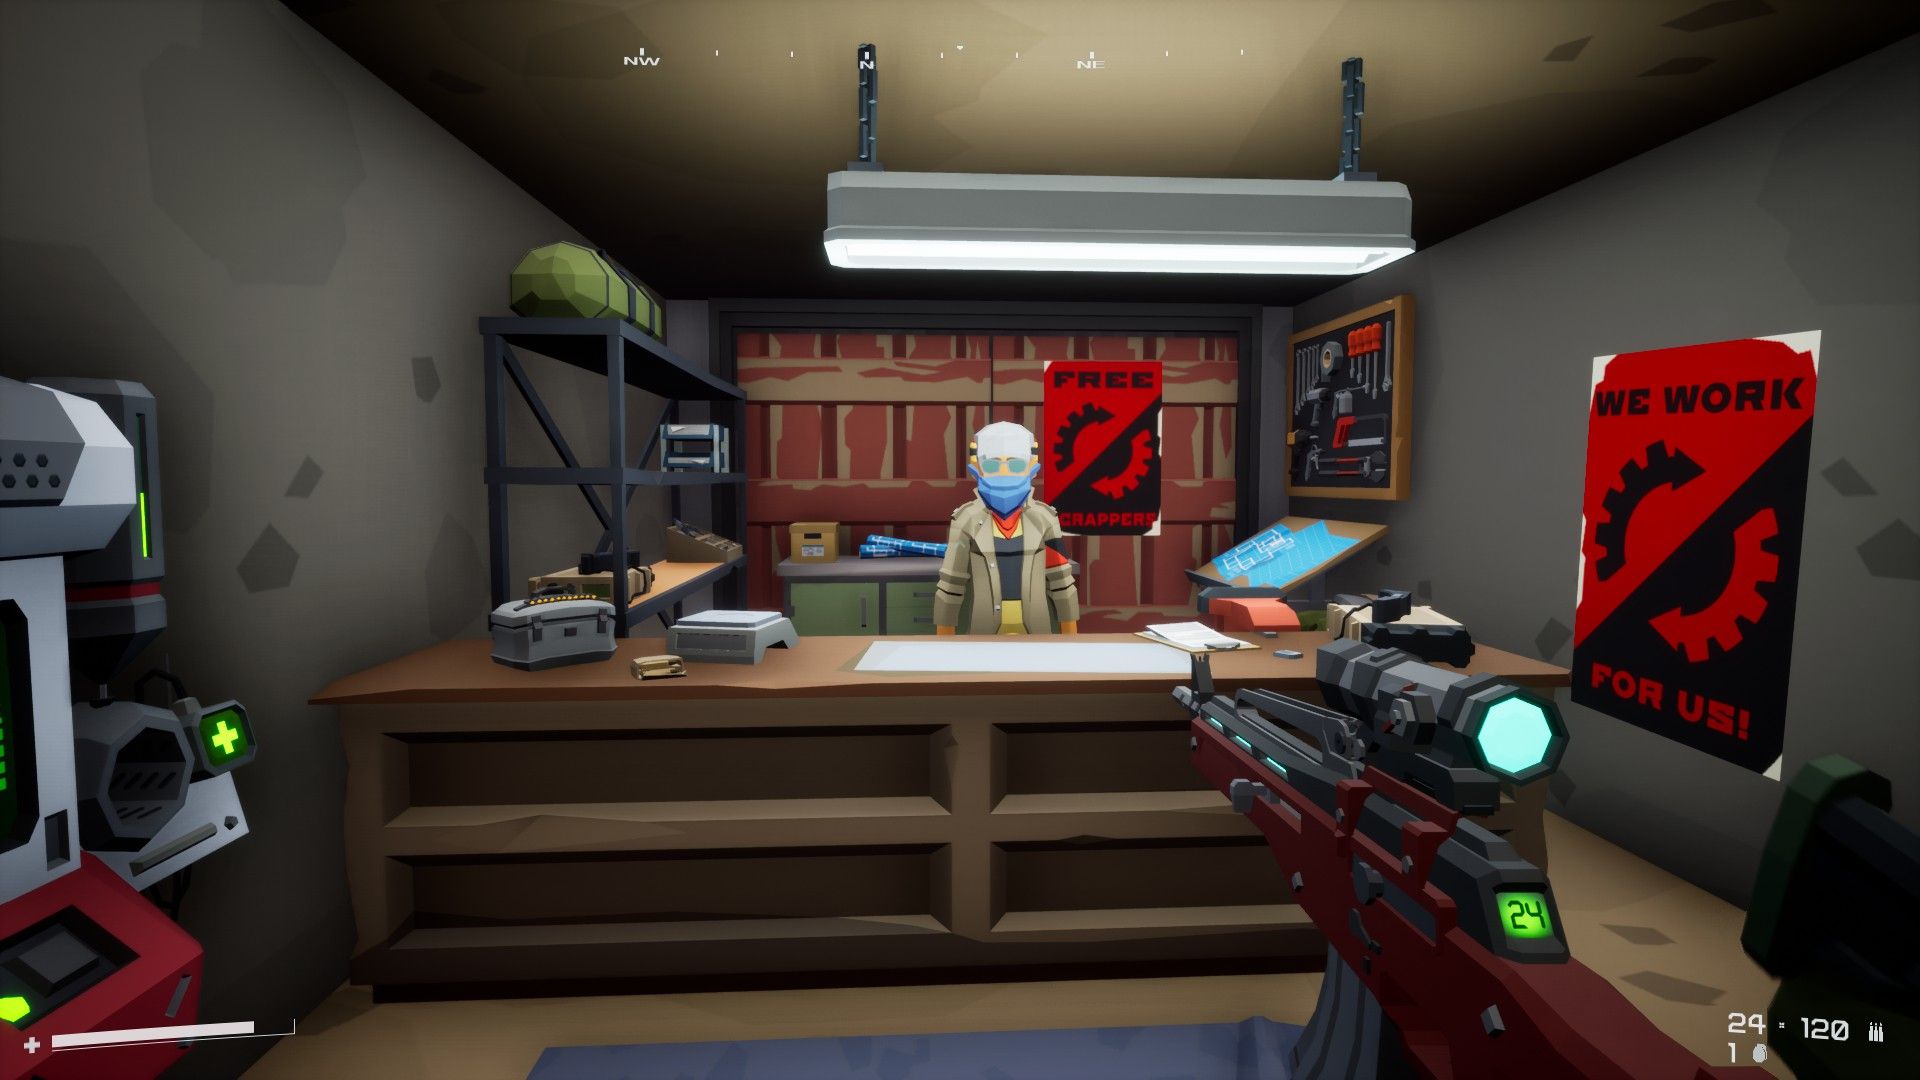 Merchant with upgraded gear
The last step for today is unlocking Operation Arrowhead. If you’ve been keeping your ears open you may have heard the code on one of the radio broadcasts — listen for “Arrowhead” followed by a string of numbers.
The code to enter Arrowhead 01 is 325174. You can hear it on radio broadcasts in a few areas; I first heard it in The Haunt.
Inside Arrowhead-01 you’ll find a rail gun that shoots through walls. Take the elevator all the way up to the top to unlock Operation Arrowhead!
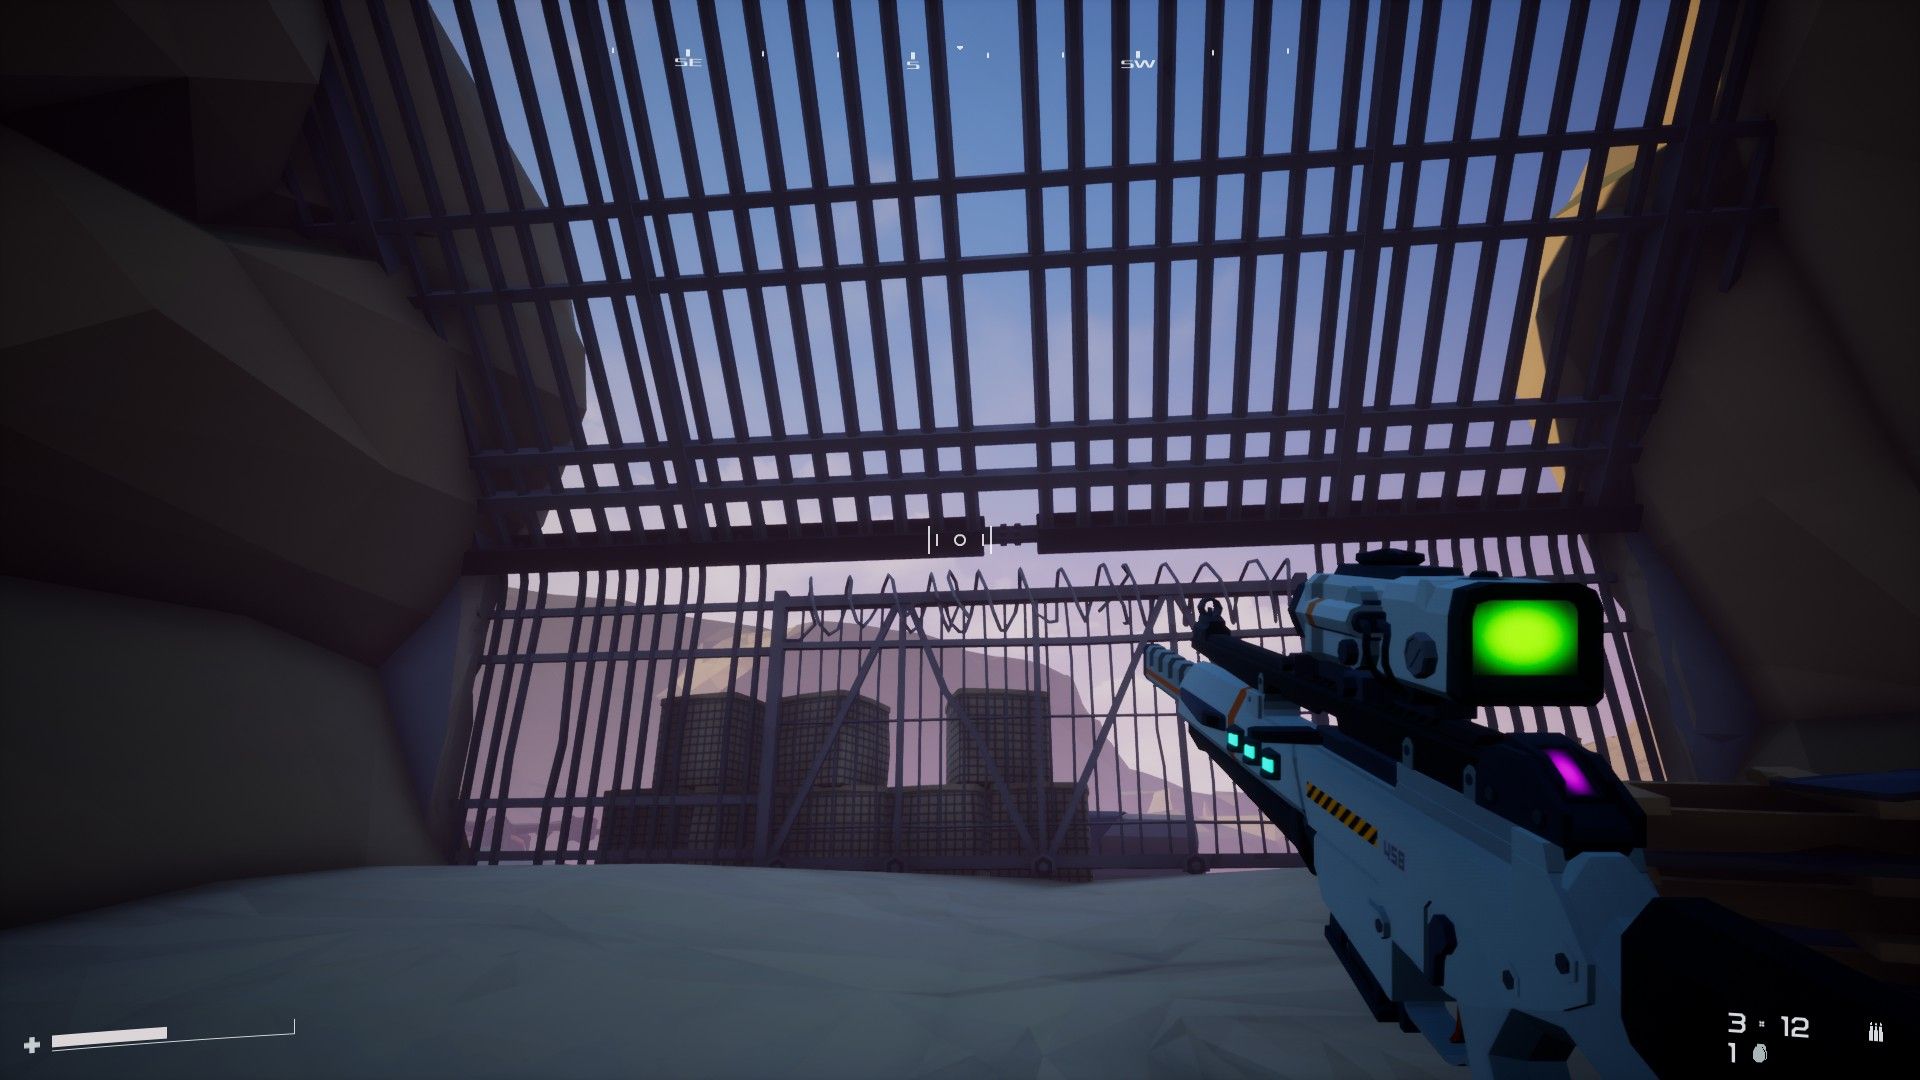 Rail gun time
After leaving the area, you’ll also get a mission from command that the Shadow Client wants you to investigate The Haunt. Sounds like we’ll need to take a jaunt into one of the creepiest areas in the game some time soon…
Things are heating up and we have a lot of quests to work on! Next time around we’ll be attacking Arrowhead, combing Catacombs, and tracking down the missing Free Scrappers scout.
As always you can buy ADACA on Steam using the link below.
That’s all for Part 2! You can find Part 3 here.