|||
|||
Alright, let’s kick things off!
I’ll be focusing the bulk of this portion of the ADACA guide on Beach Head and finding the parts to repair the Radar Station. In the process we’ll be visiting Junction 06 and Storm Drain. I’ll highlight any locked doors along the way and do my best to hide any codes behind spoiler warnings — you can find every code within the game somewhere, so it’s worth trying to track them down yourself if you’ve got the patience. Exploration is your friend in Zone Patrol! That said I can’t guarantee I’ll catch every spoiler so you might want to stay away if that’s something you worry about.
Onwards!
You’ll start your journey aboard the Vakt ship in orbit about the planet of Adaca. From here you’ll choose your missions, pick up purchased weapons from the armory, and descend to the planet below. Any time you quit the game, you’ll start here.
You begin in your cabin with the option to brush up on your skills in a Training Simulator. If you’ve played an FPS before, you probably don’t need to do this, though if you haven’t played the campaign you might want to fool around with your gravity arm for a bit to get the hang of things. When you’re ready, head to the Command Deck to accept your first mission: to Explore the Zone.
 The Vakt Command Deck - Pick quests and select companions to accompany you at this terminal
Then head downstairs to the Vakt Armory. To start with, you’ll be able to pick up the following weapons:
As you progress and gather Artifacts you’ll be able to purchase additional weapons from the Armorer and two other vendors within the Zone. No matter where you get them, you’ll be able to grab them here before setting out.
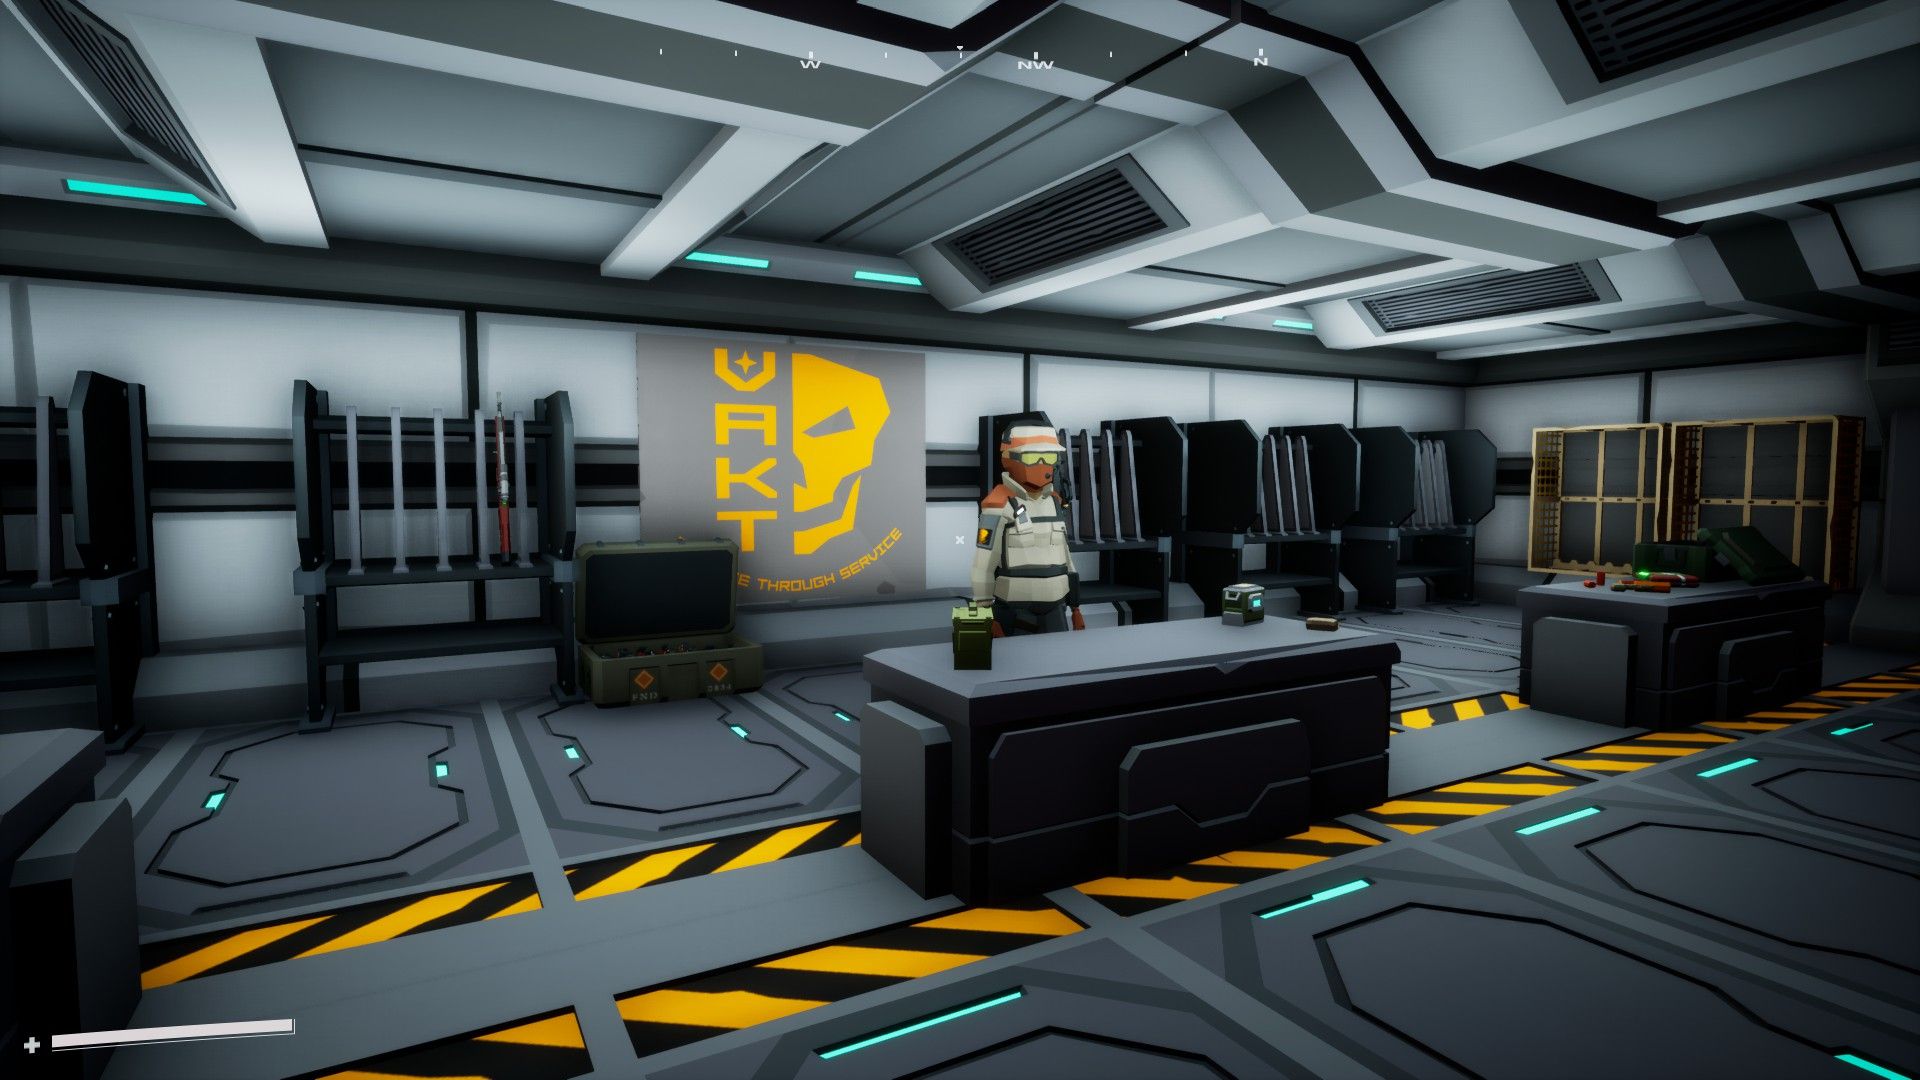 The Vakt Armory - You can use artifacts to purchase basic weapons here
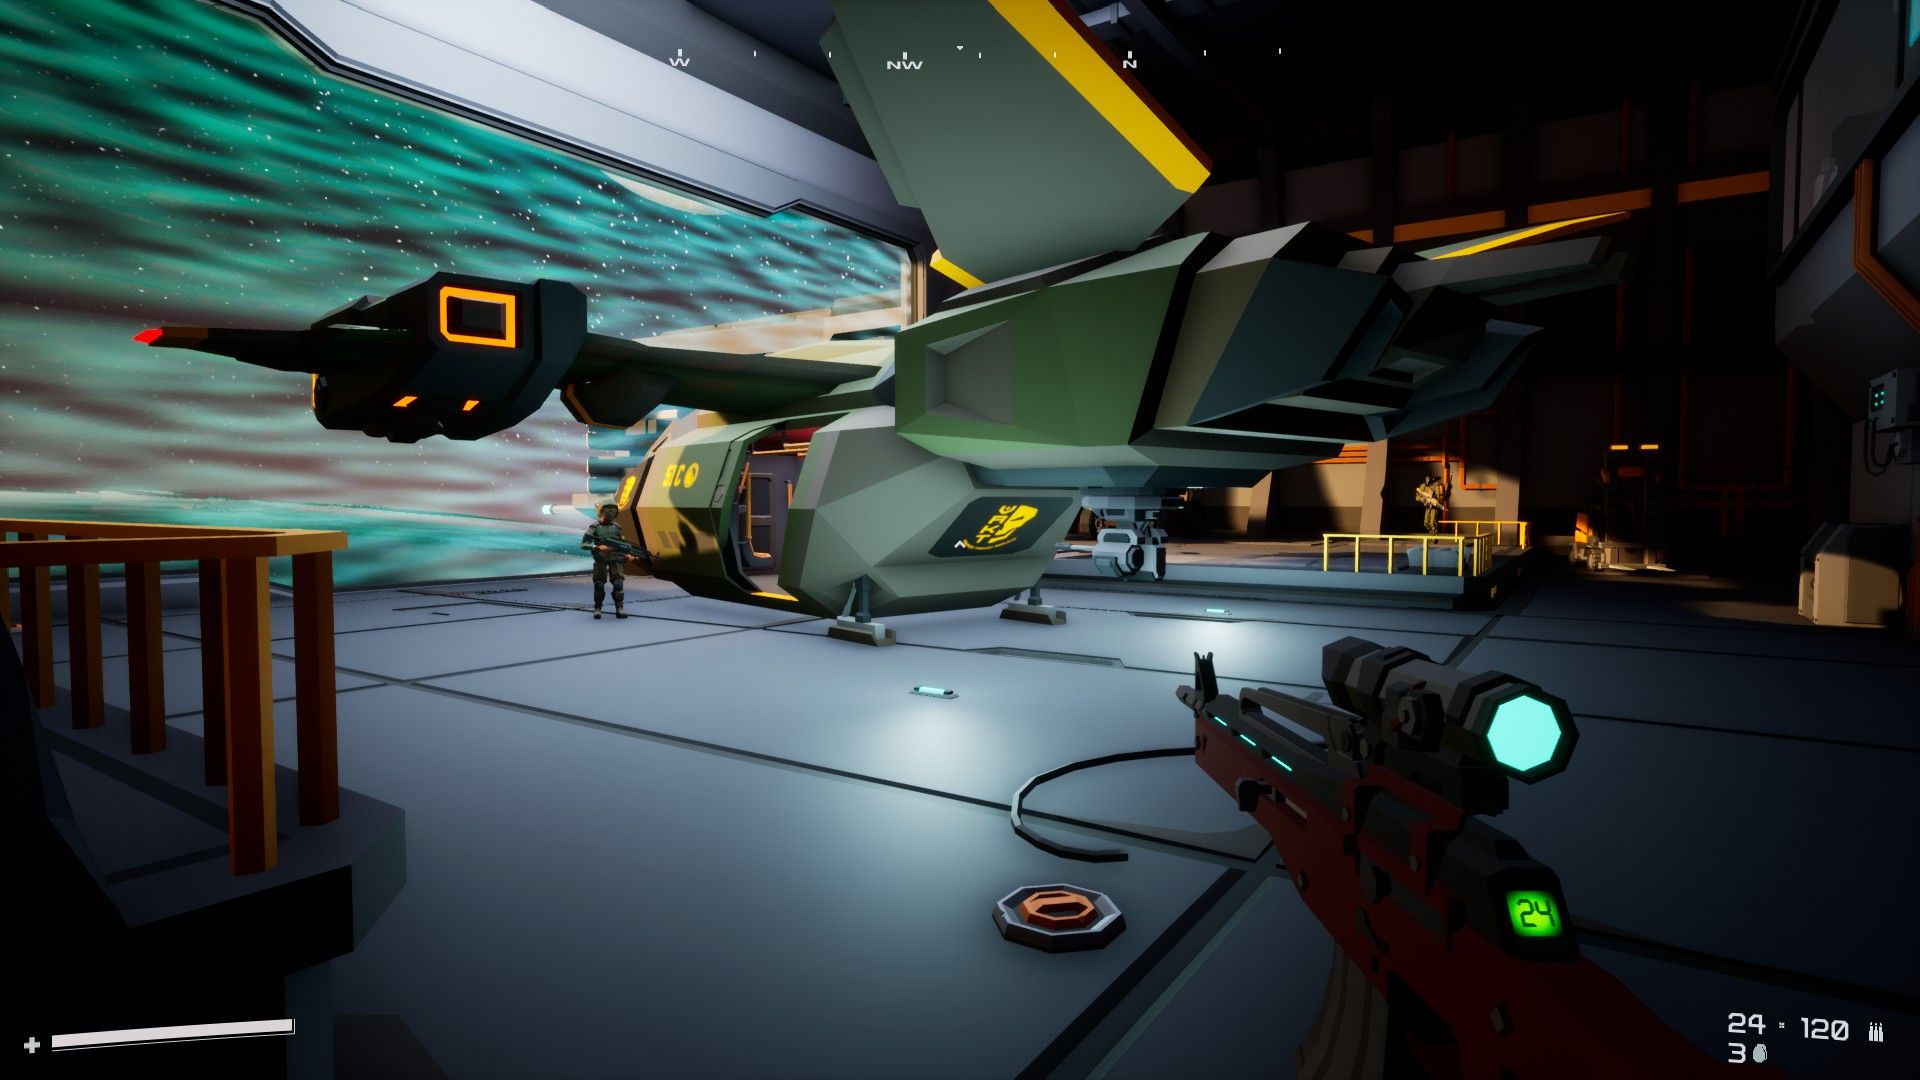 The Vakt Hangar - Board the dropship to enter the Exclusion Zone
When you’re properly equipped, head to the hangar and board the dropship.
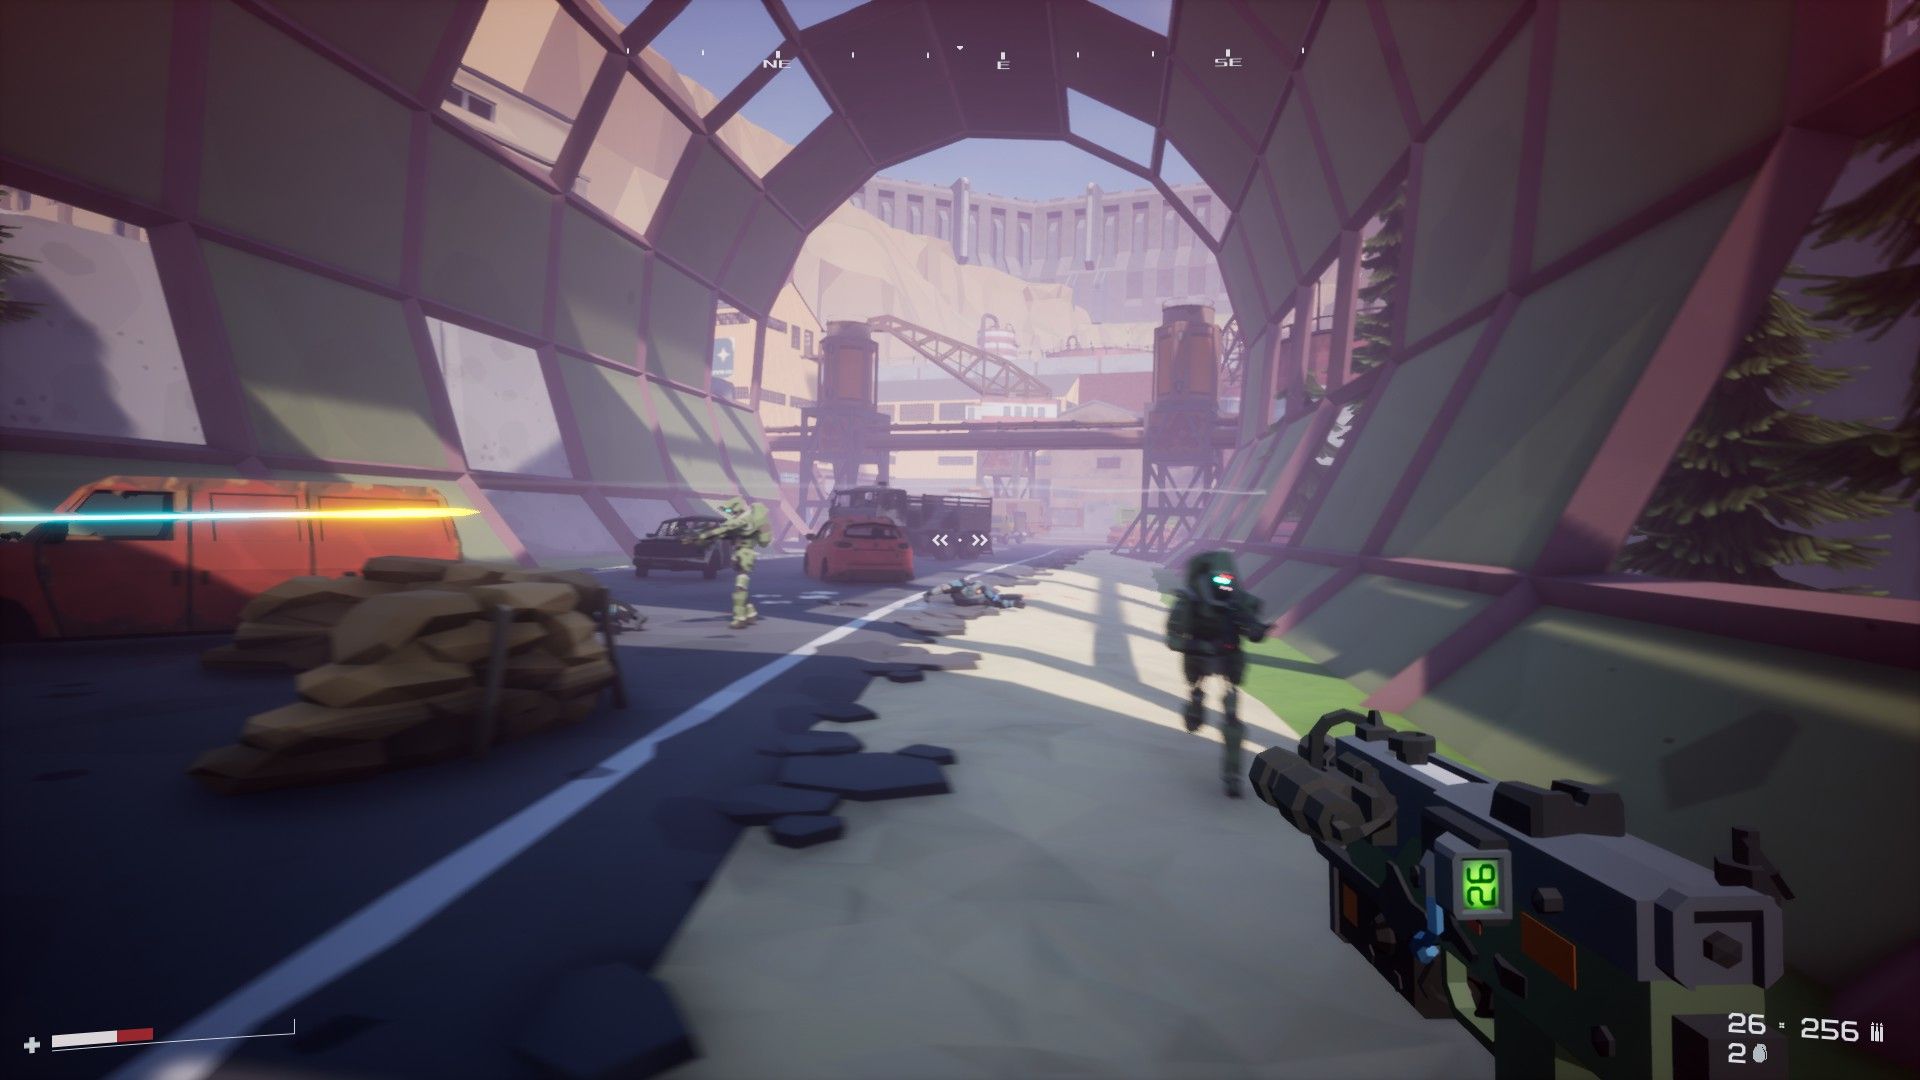
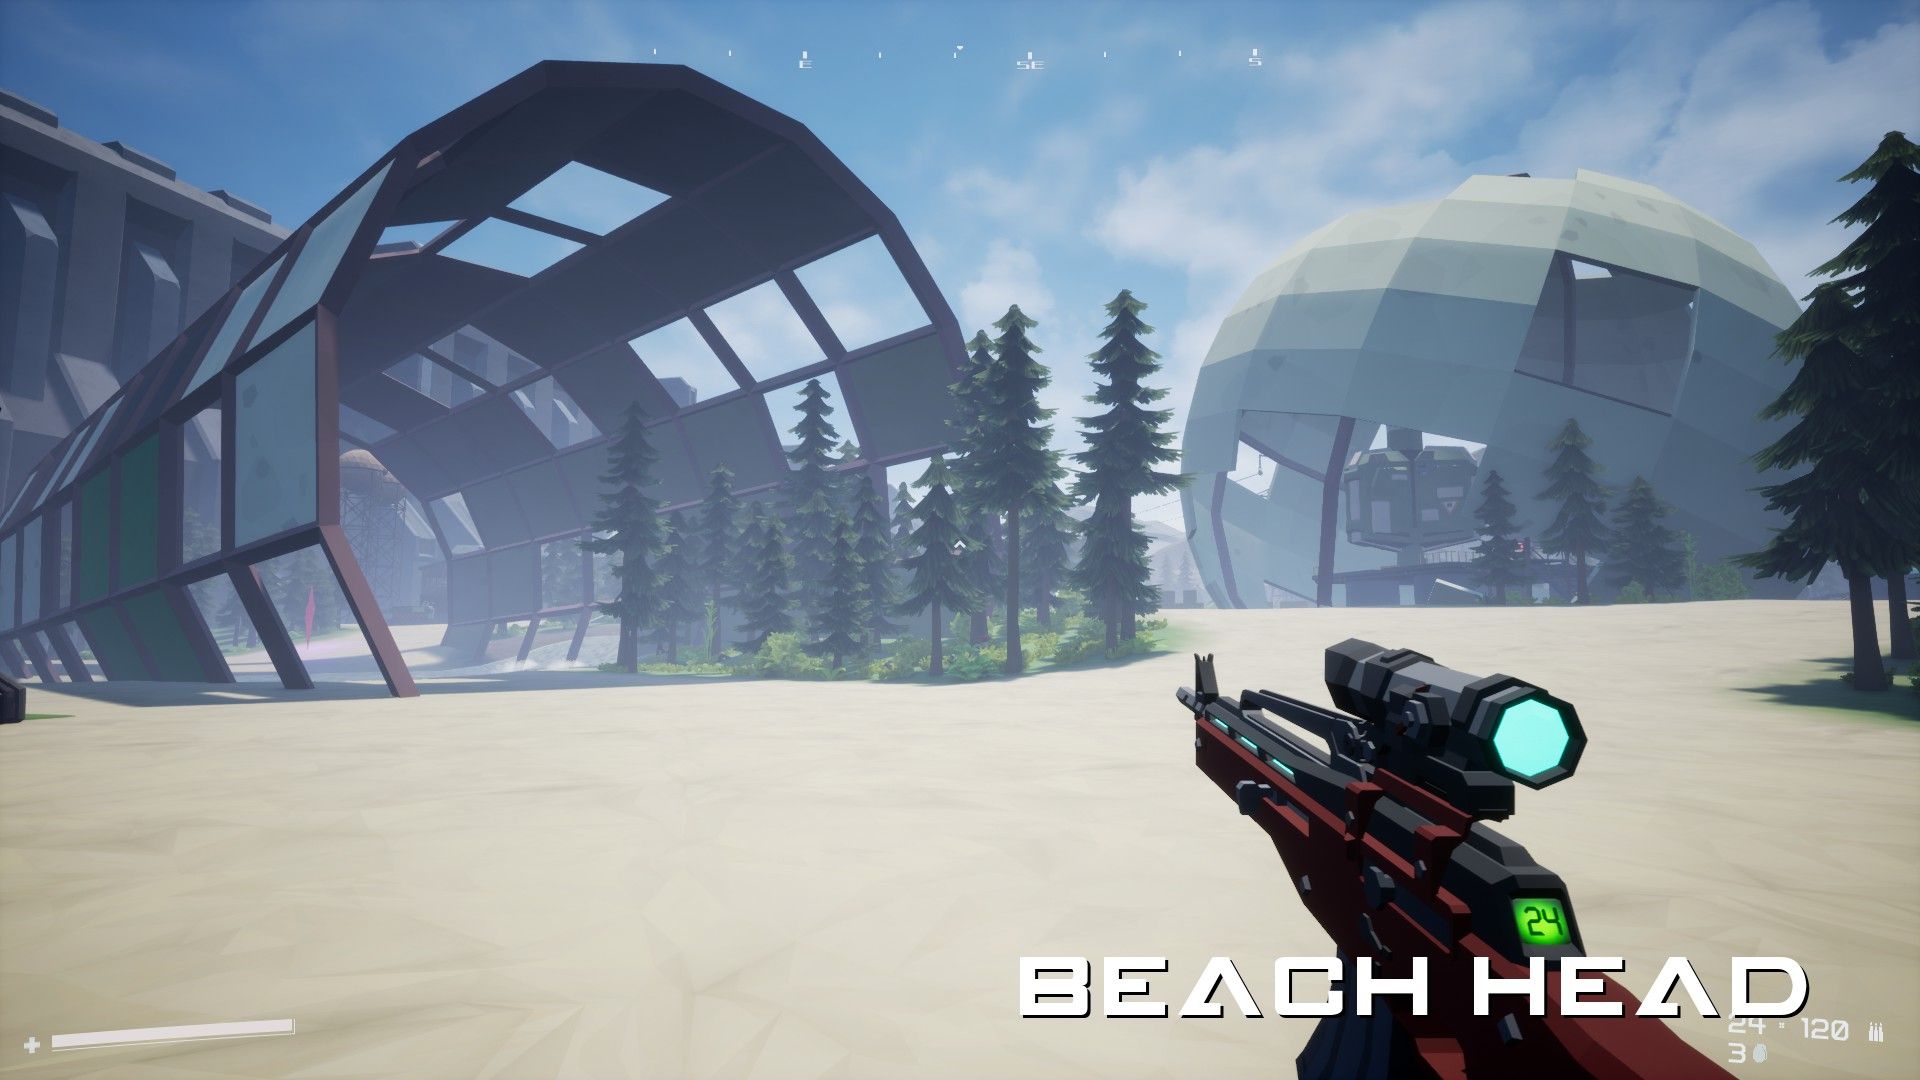 Starting at Beach Head
Beach Head is an open area with scattered warehouses, rail cars, and access to both Storm Drain and Junction 06.
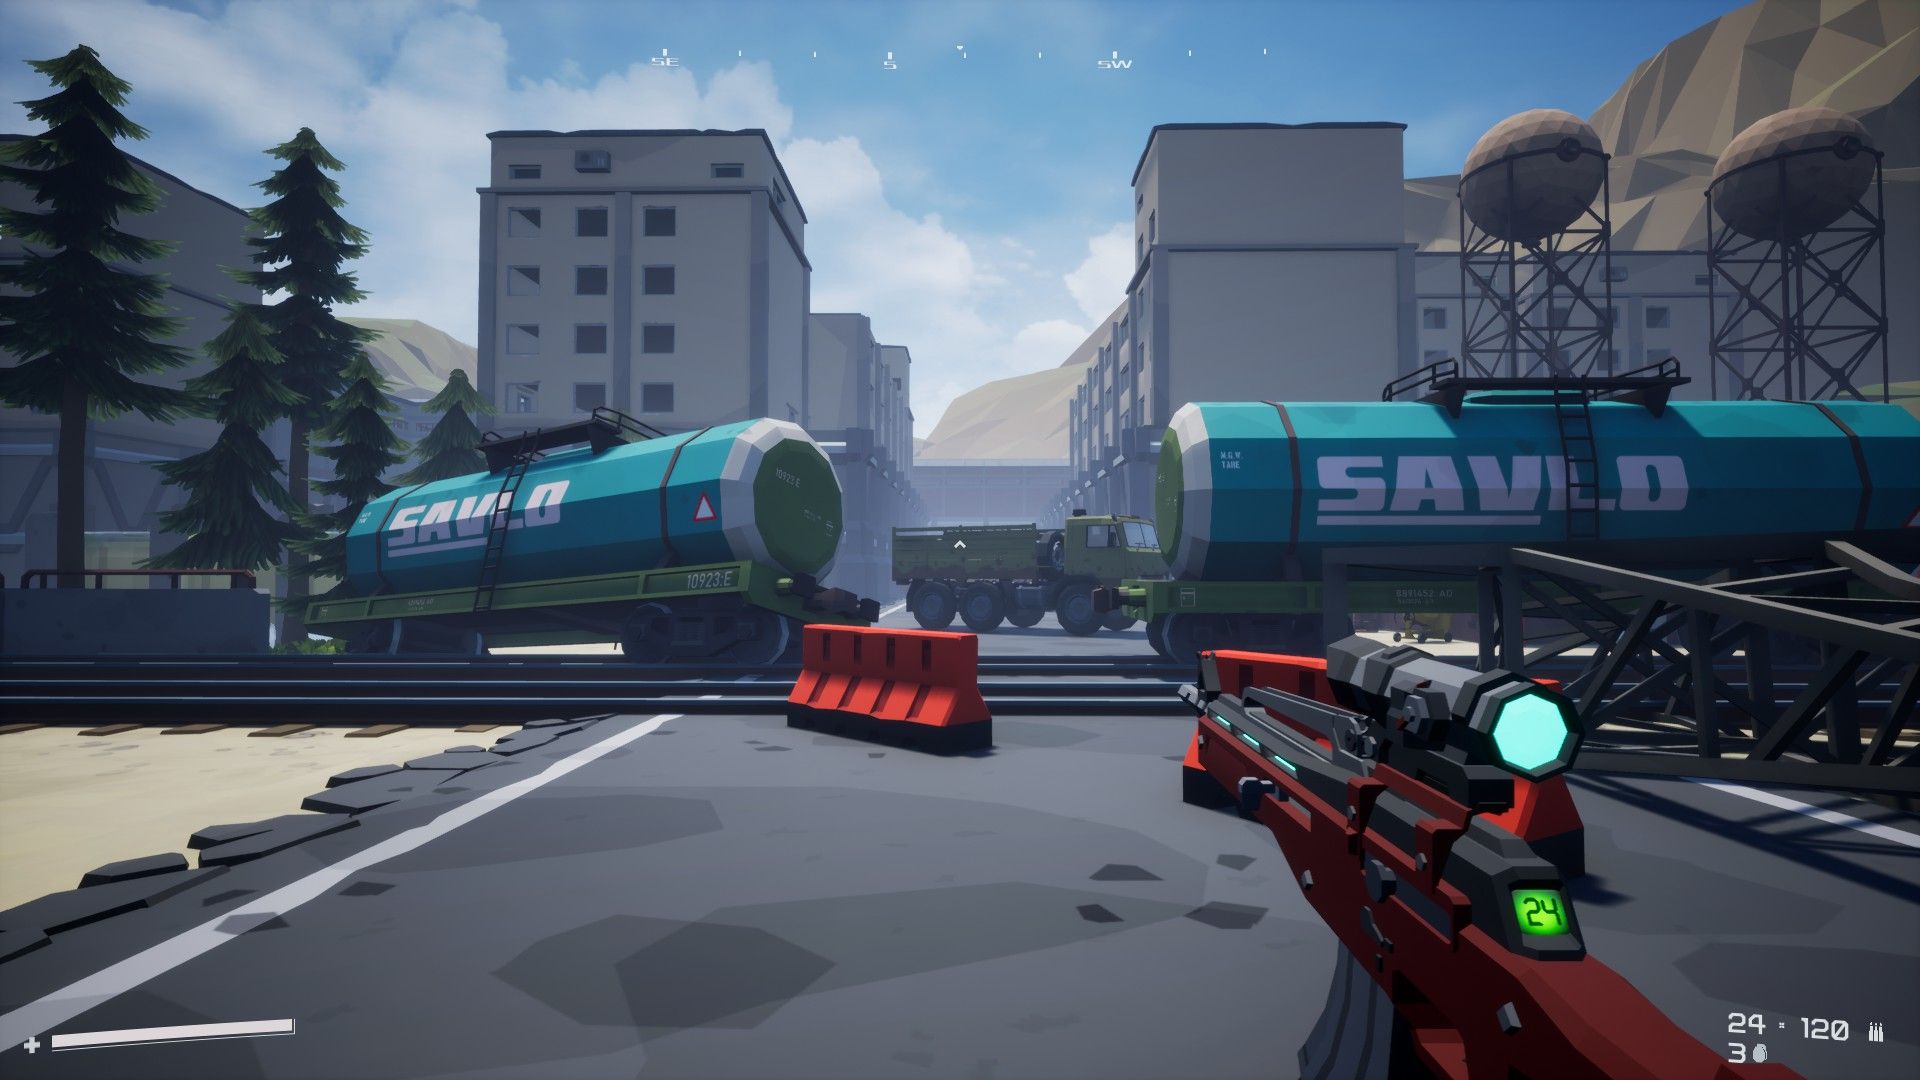 Storm Drain lies between these Savlo train cars
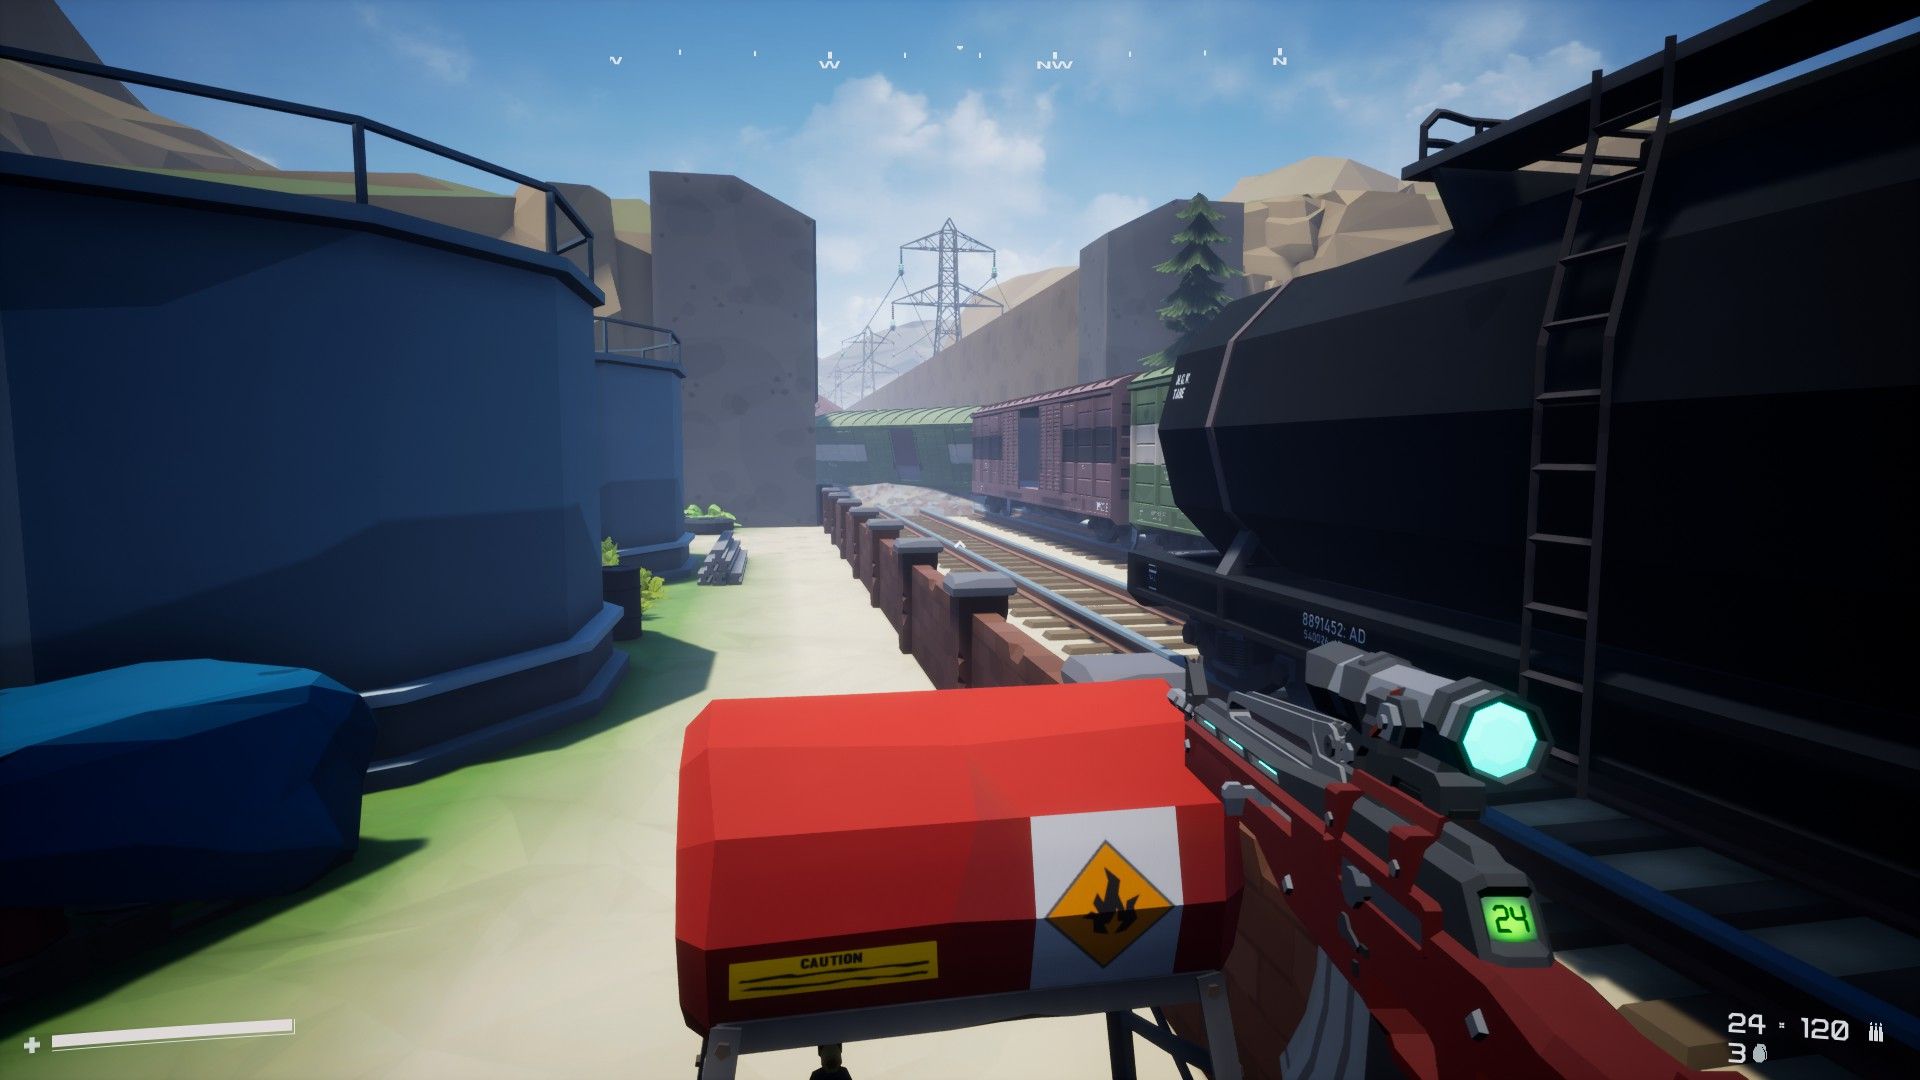 Duck beneath this derailed train car to reach Junction 06
If you’re just starting out, take some time to look around and get a sense for the game’s basic rhythms. Each time you enter an area several orange chests with weapons and ammunition are randomly distributed throughout — there’s always something to find and it’s worth rooting around for artifacts as well. Enemies will spawn in packs as you move around, and you’ll find several terminals to interact with along with codex entries that expose the game’s lore. Keep an eye out for terminals with a blue screen — these informational terminals contain two useful maps: the Rail Network and the Sys-Comm Map.
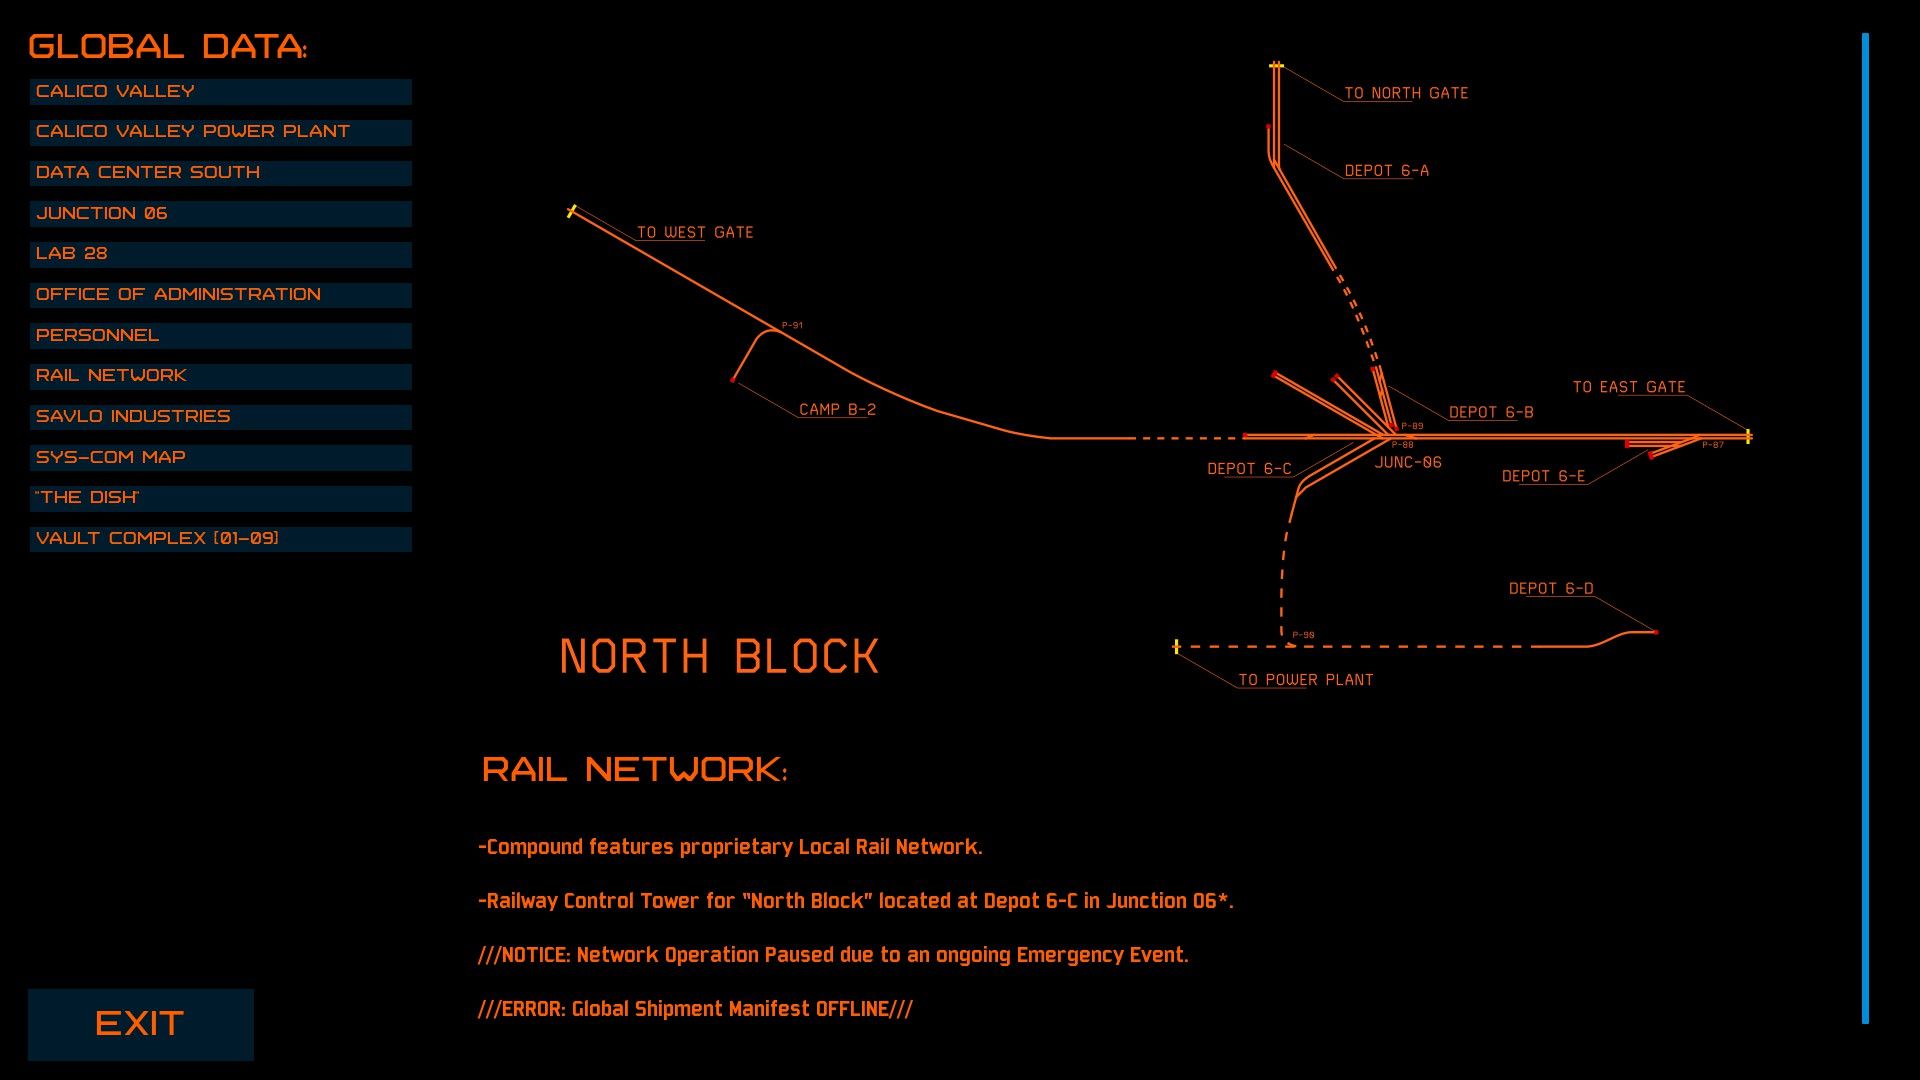 The Rail Network
 The Sys-Comm Map
Unfortunately, there’s no way to save these maps to your journal, but thankfully there’s a lot of these informational terminals scattered around the map. The Sys-Comm Map in particular provides a great reference for many of the area’s secrets.
Once you’re oriented, make your way to the Radar Tower near your landing site. The Tower’s currently offline and you’ll be tasked with finding the parts to repair. Thus begins your first side-quest!
 The Radar Tower
Our quest for the radar tower parts will take us to Storm Drain and Junction 06 — these areas both serve as useful hubs with access to many other areas; we’ll be returning to them a lot over the course of this walkthrough.
The radar parts are in Warehouse 27 in Junction 06 inside of shipping container near the back.
First up, we’ll be checking on an old Work Order. Someone else wanted this Radar Tower up and running…
Across the bridge from the Radar Tower, you’ll find a Savlo warehouse next to two water towers.
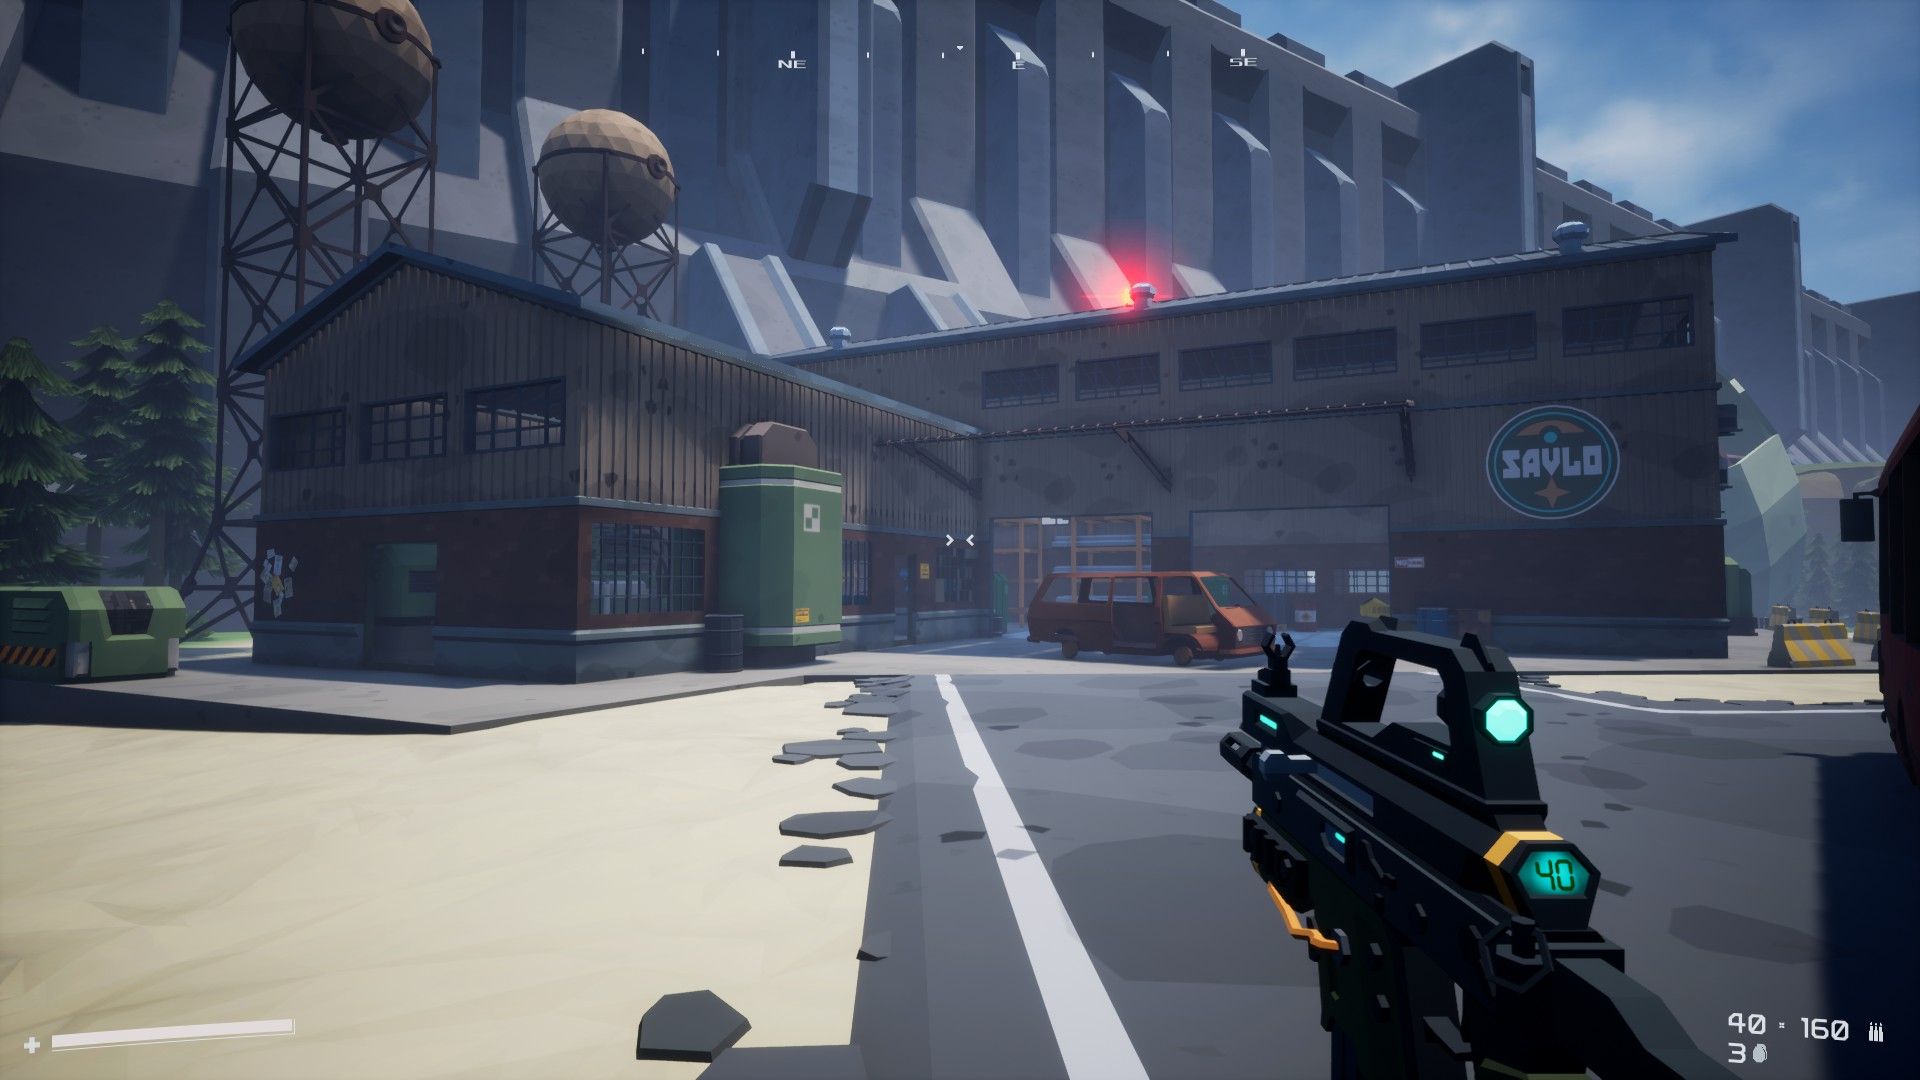 Savlo Warehouse
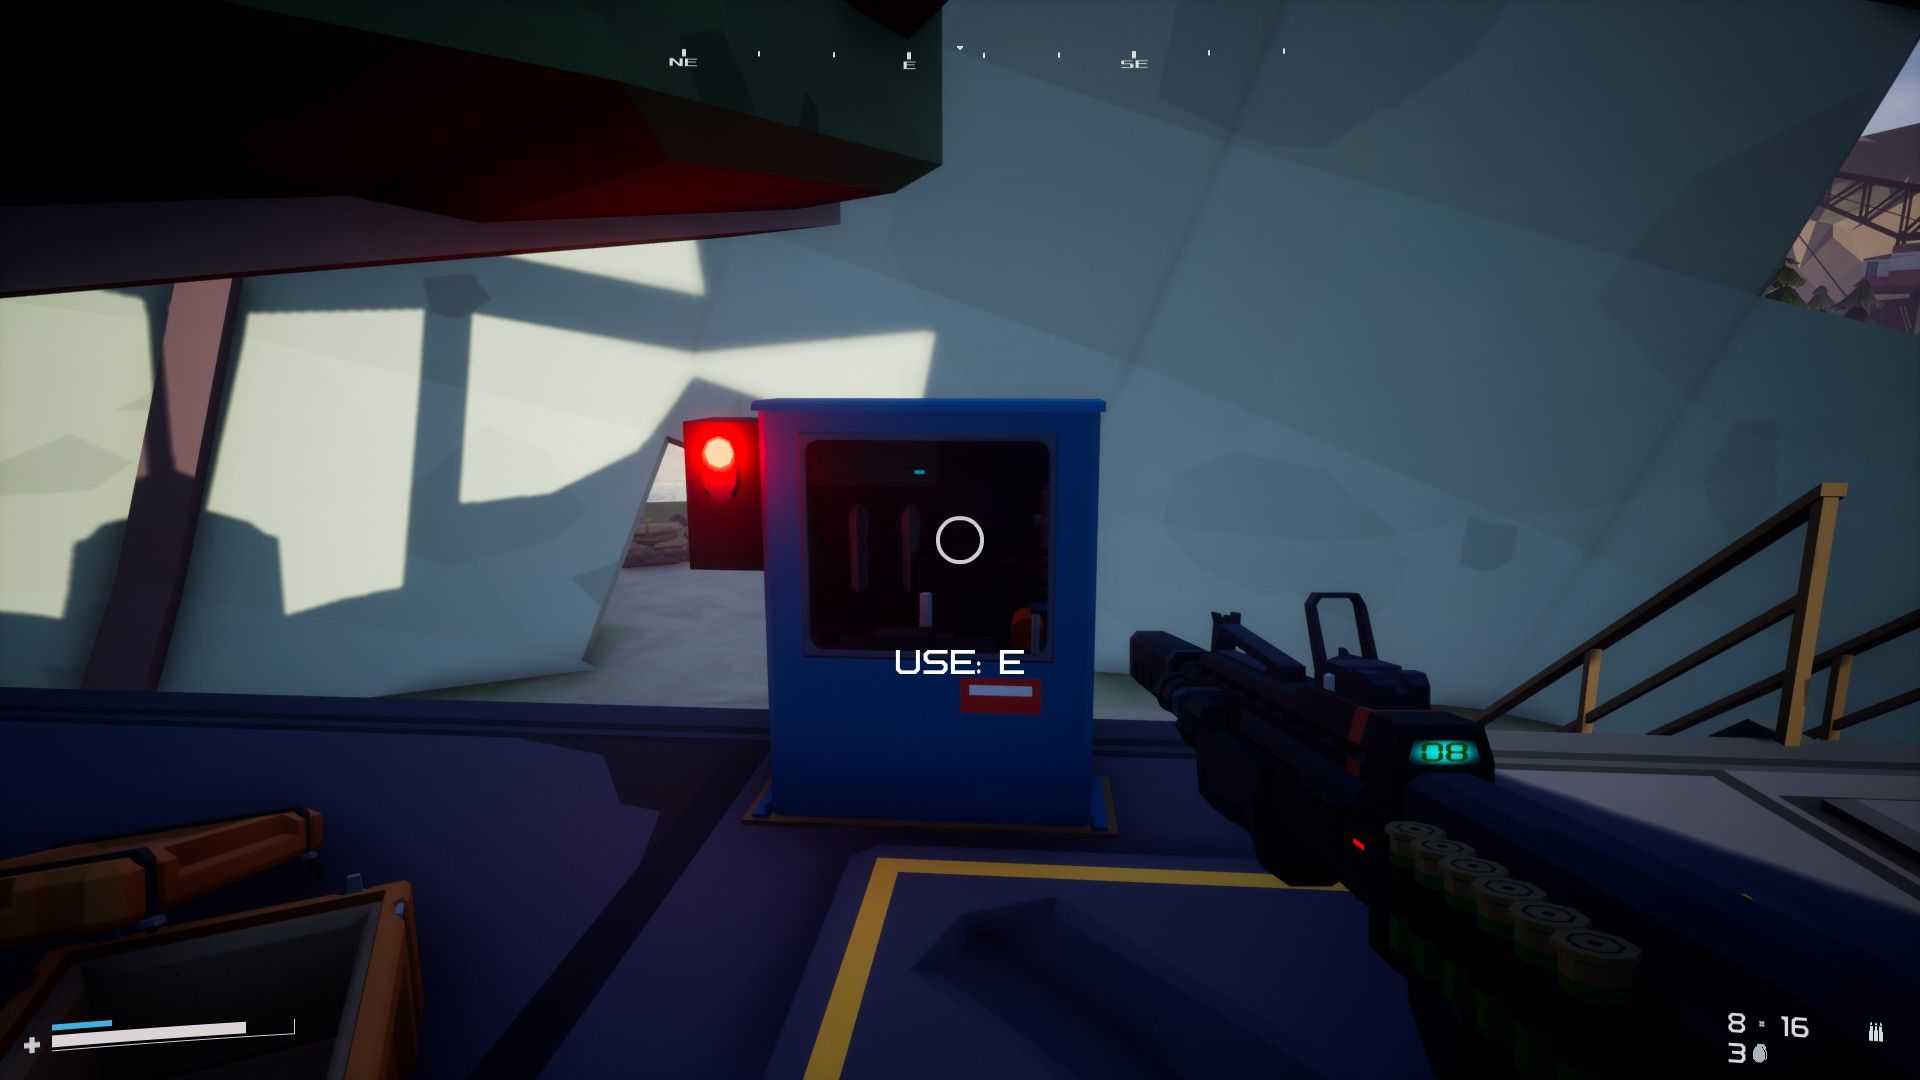
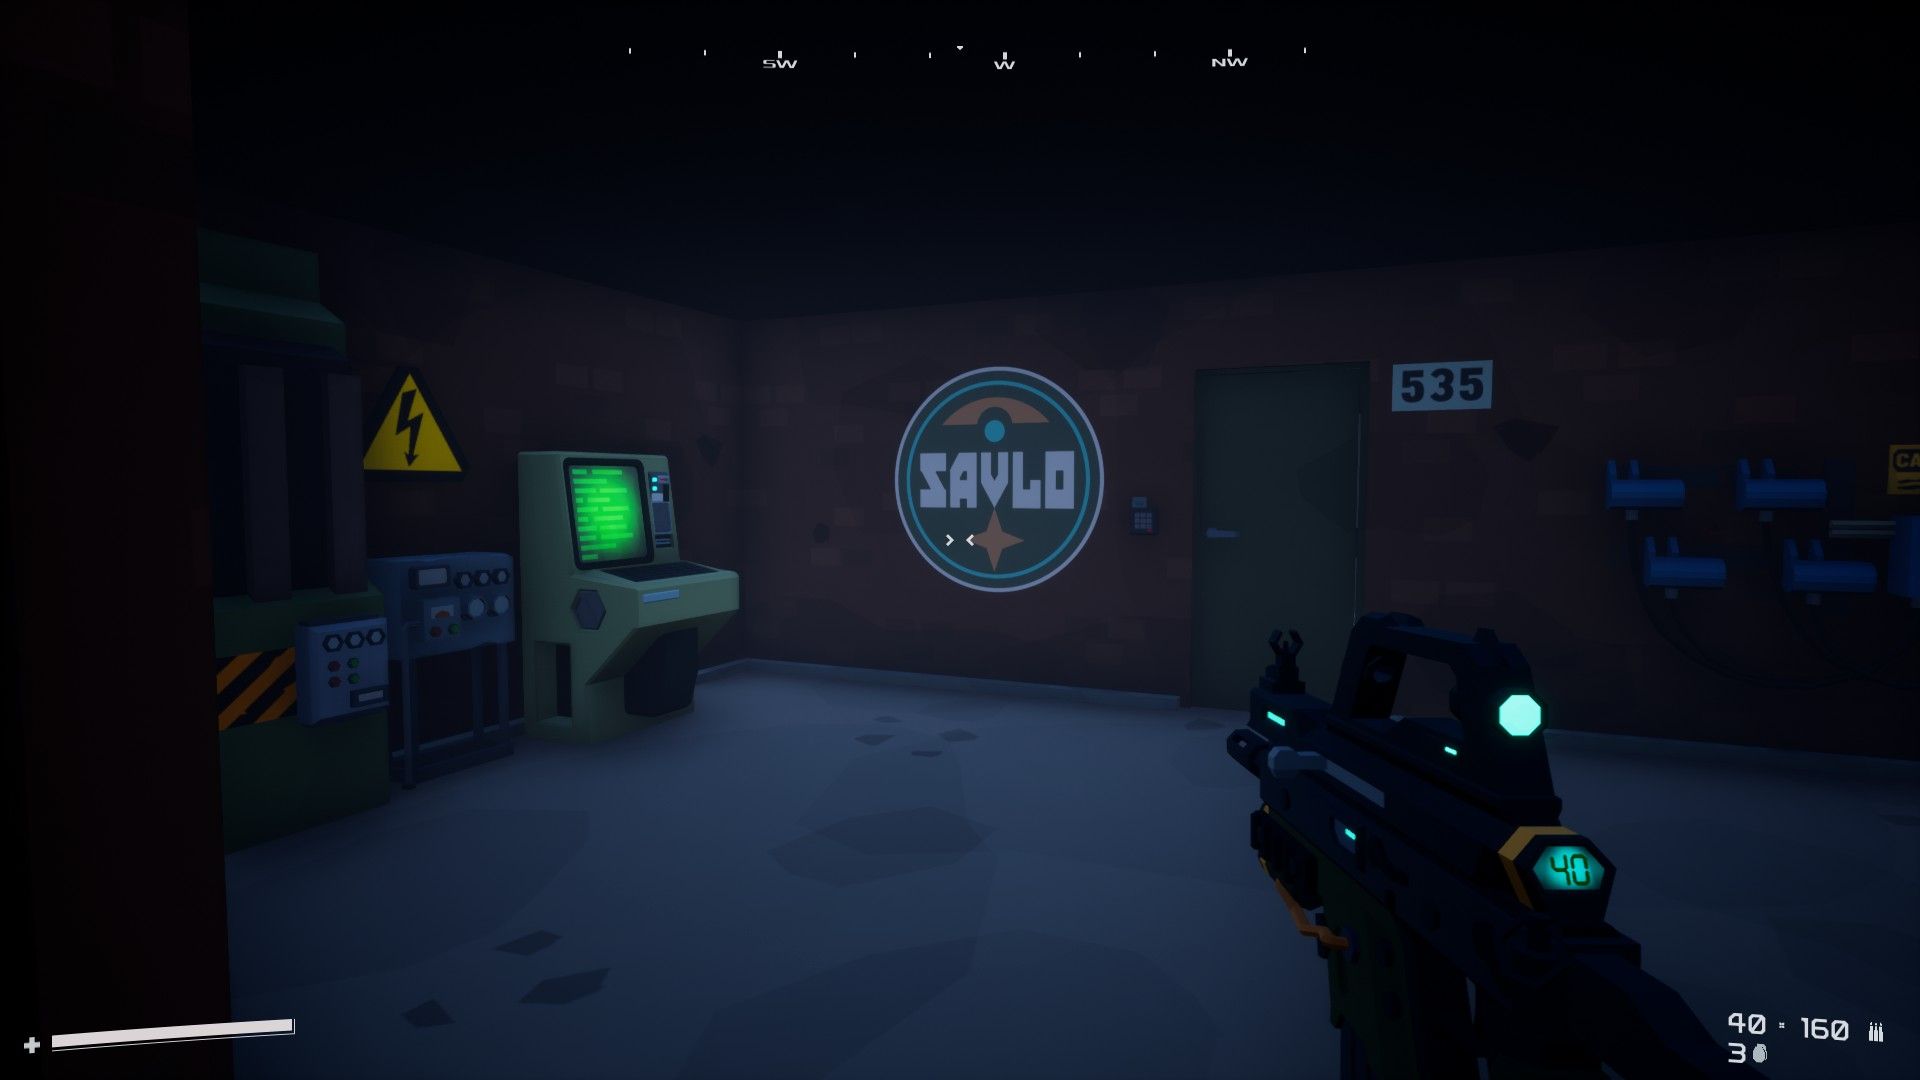
Search the warehouse for any useful gear and head to the basement. There you’ll find a record of a work order for new parts to fix the Radar Tower on a terminal near a locked door.
 Savlo Warehouse Basement
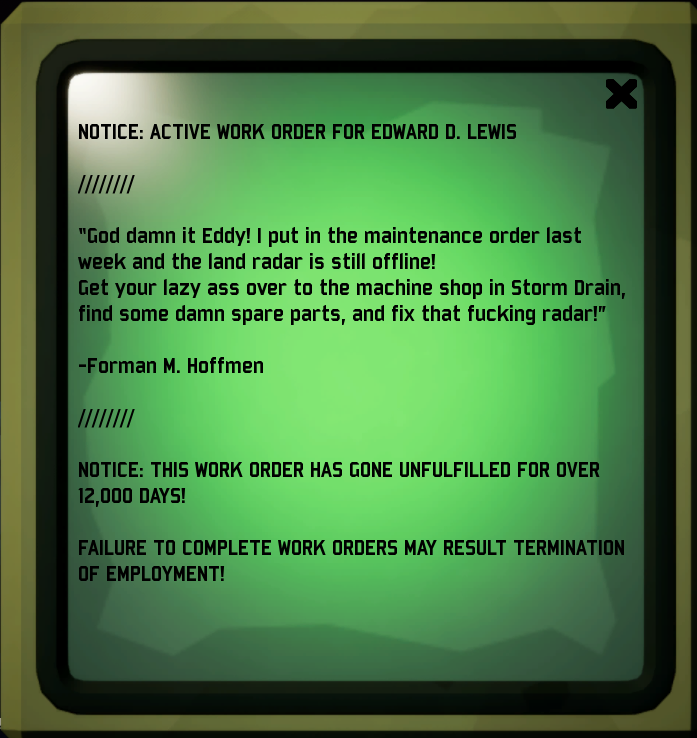 Work Order for Radar Tower Parts
Sounds like Foreman Hoffmen wasn’t too happy with Eddy’s work, and we’re going to need to make our way over to Storm Drain to track him down. He was ordered to grab some parts so we’ll want to keep our eye out for clues.
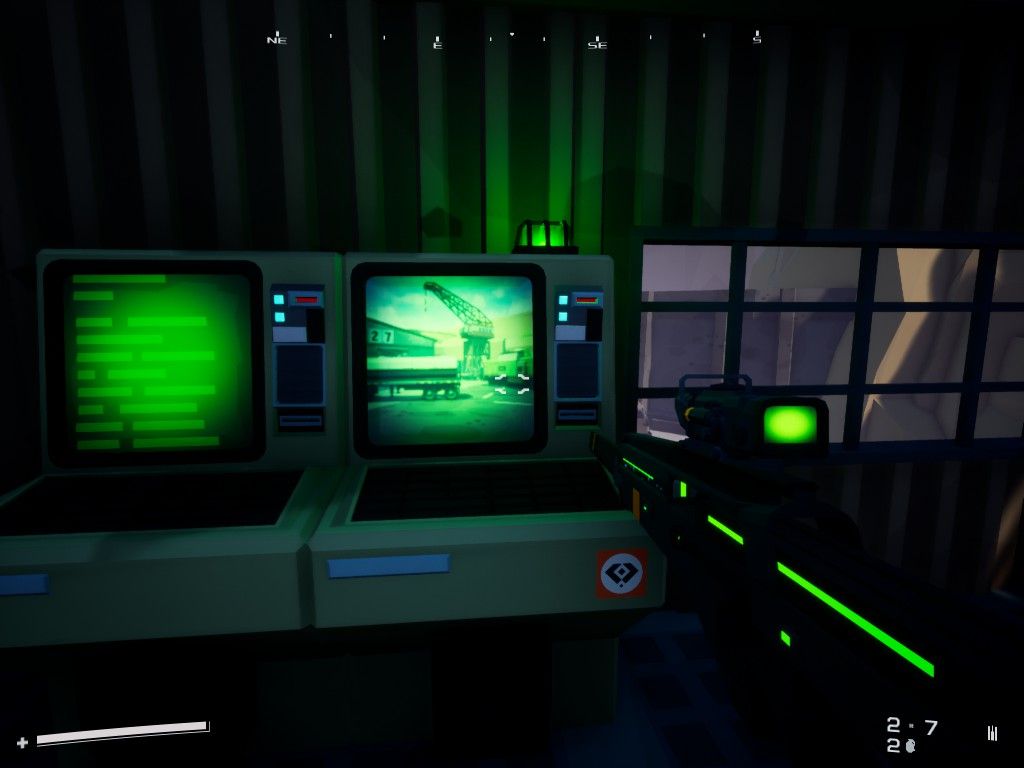
In general, these green terminals are your best source for lore around why the Exclusion Zone exists and what happen to Savlo Industries. So keep your eye out!
The code to enter the BS-535 is 47217. You can also buy the code from the Free Scrappers at The Pit in The Dish.
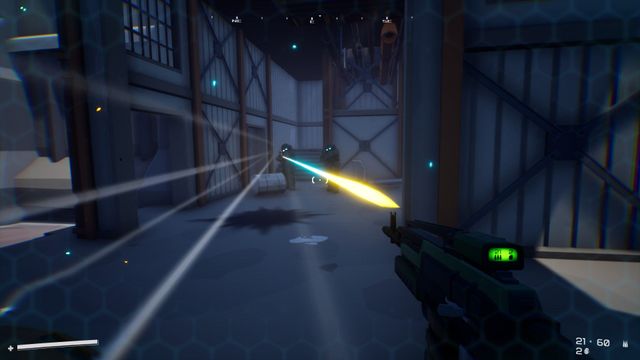
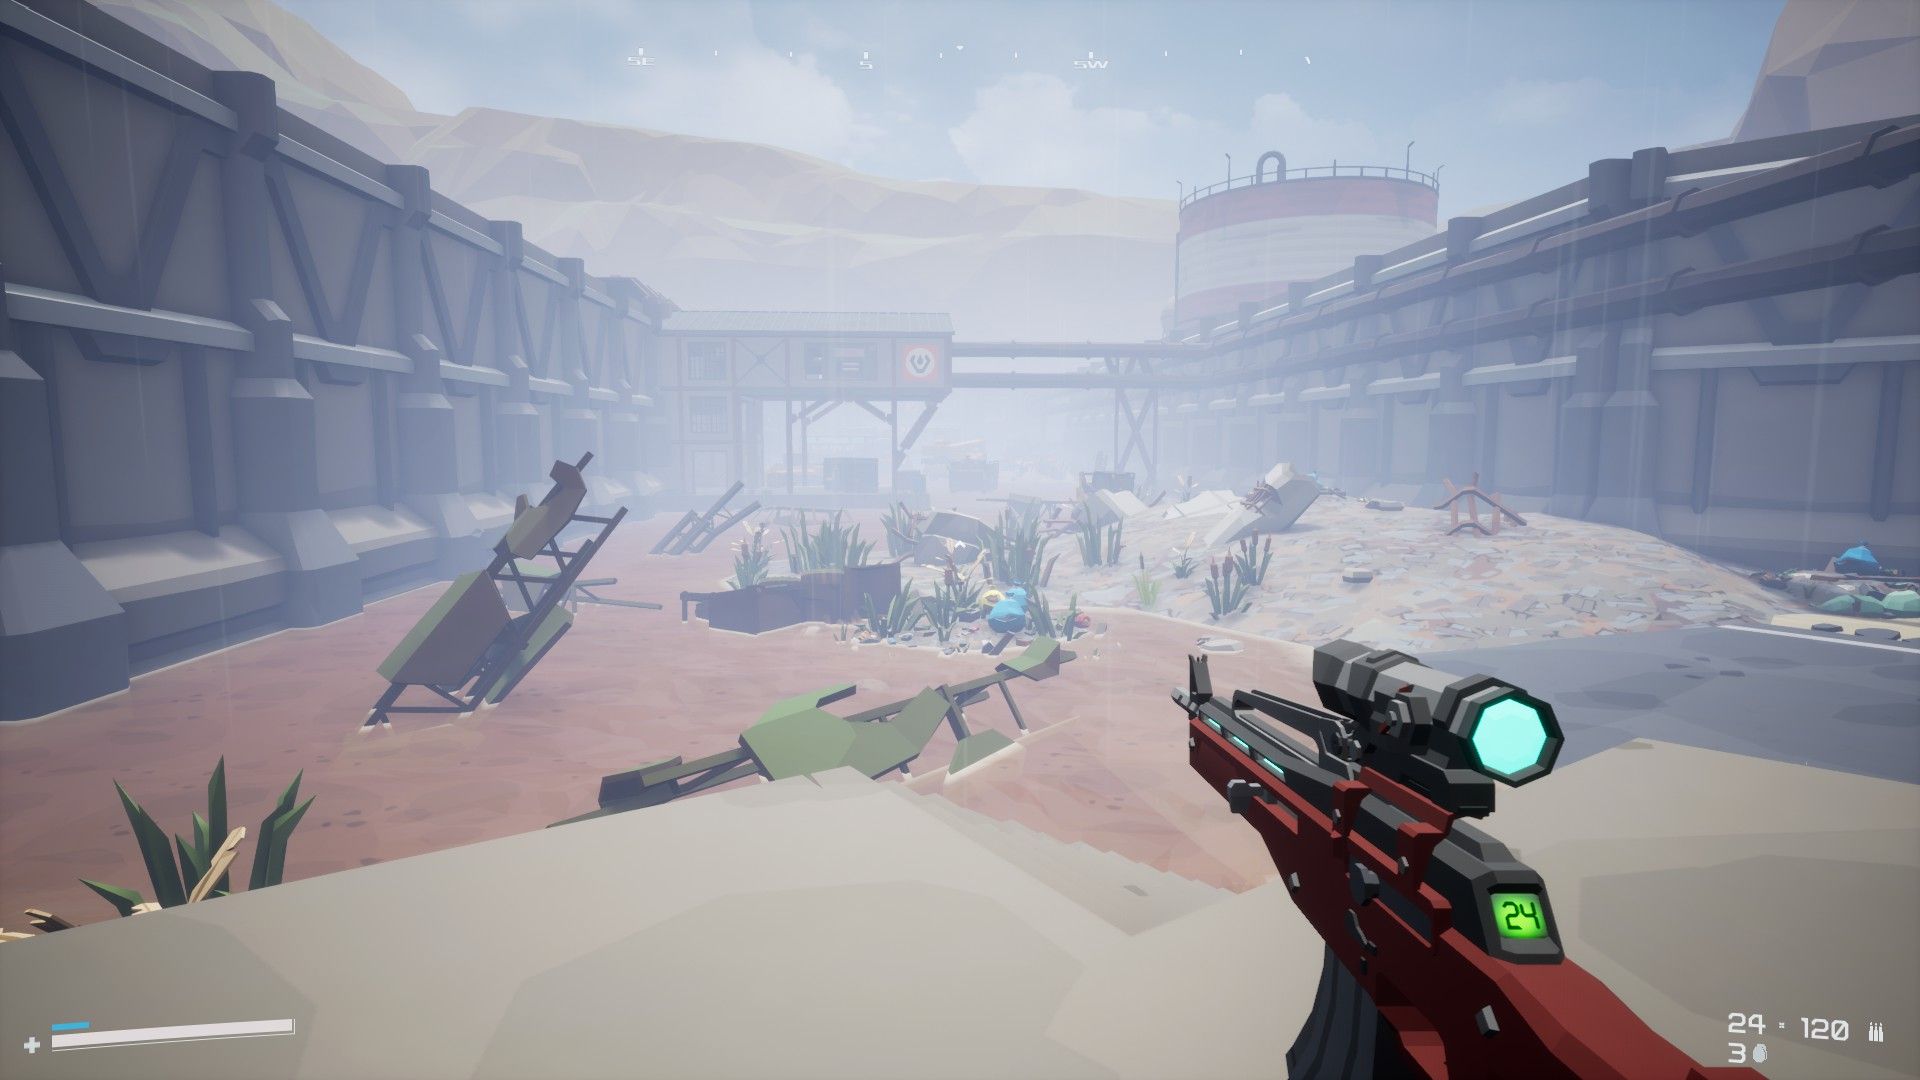 Storm Drain is a dreary place, even in the daylight
Once you enter Storm Drain, make your way past the piles of trash toward the mess of crashed vehicles at the end.
Note the white and black symbol in an orange square on the side of the building as you walk past. This indicates that you can access another area from this building — in this case Cistern. As you move through the Zone you can use signs like these to orient yourself against the map.
For now, we’ll pass this building and turn right before we reach the crashed vehicles. We’ve reached Hardware.
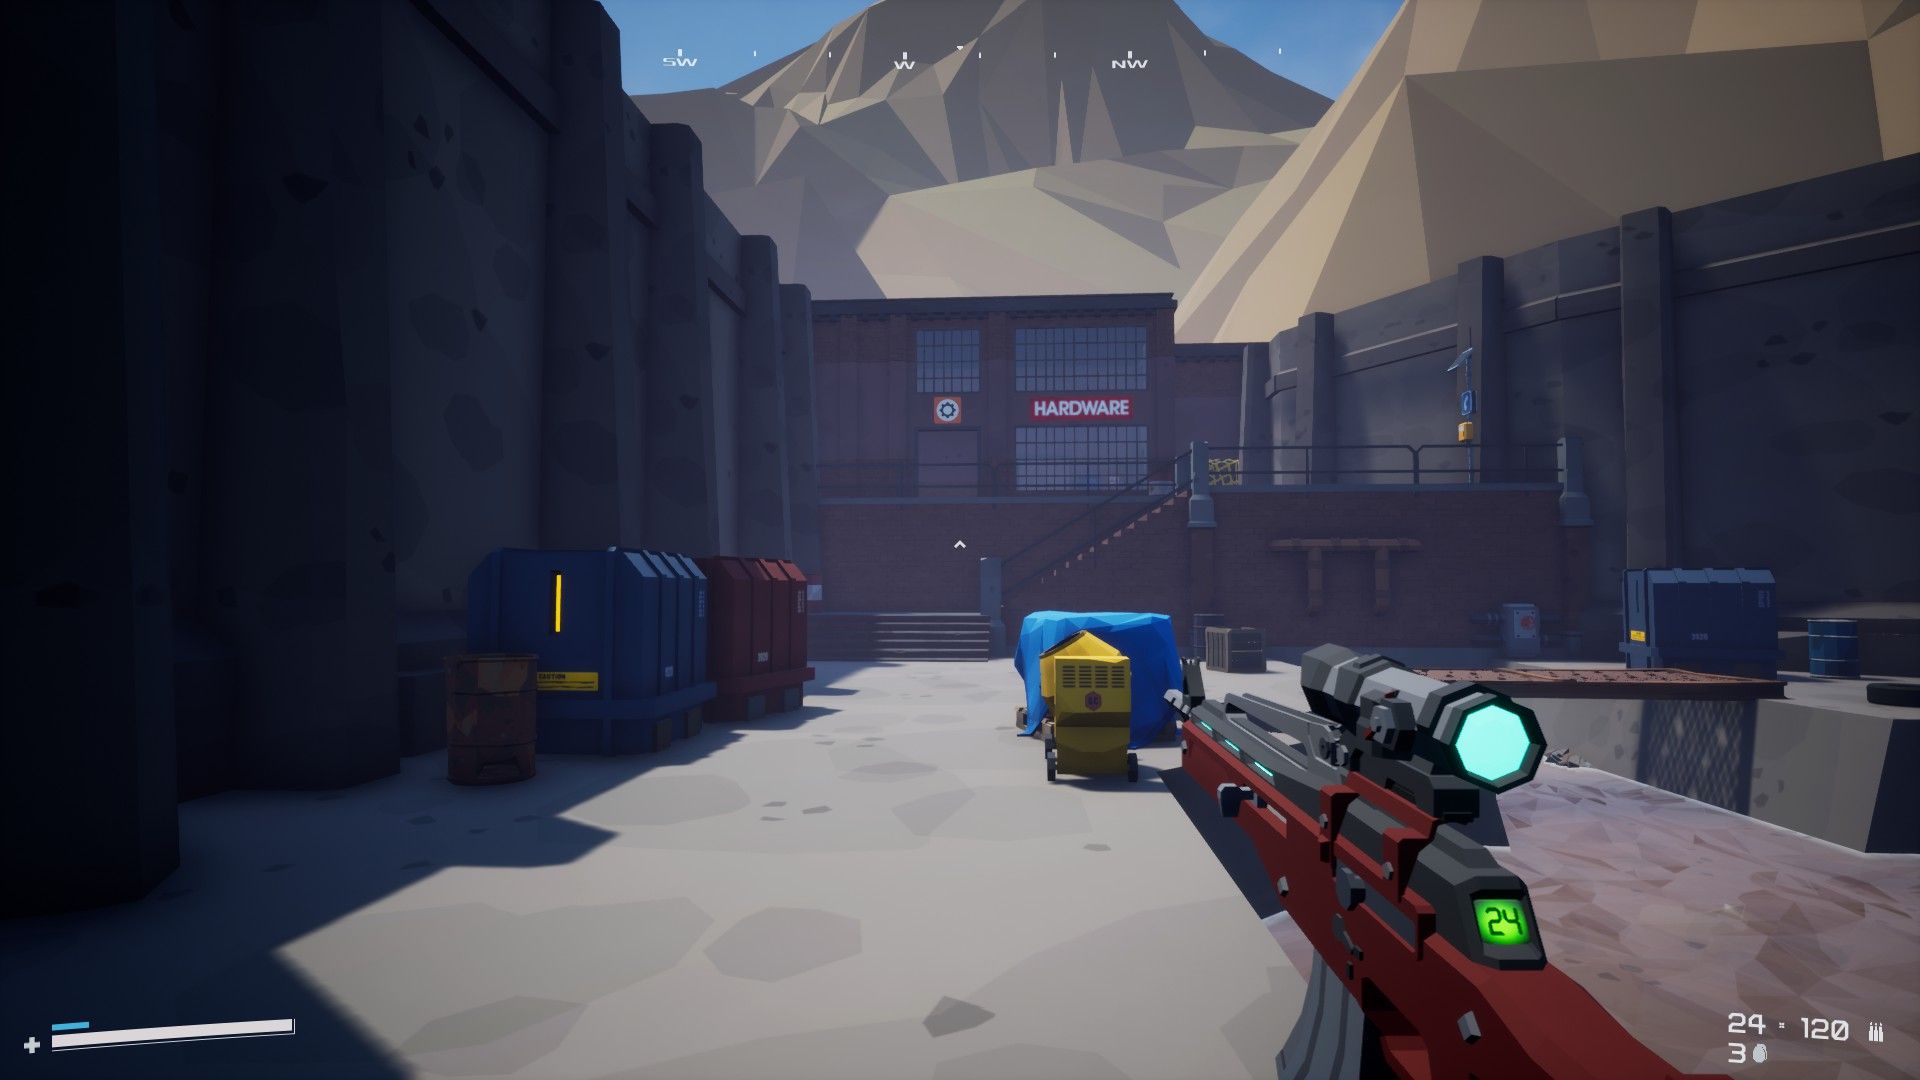 Hardware - the next step toward the Radar Tower Parts
Here you’ll find messages between an irritated engineer (presumably Eddy) and the Delivery Service Department. Sounds like he had a hard time tracking them down… Apparently they were delivered via rail and that’s all the information Eddy got. Which means we’re headed toward Junction 06 to see if we can find the shipment.
Before we do that, we’re going to make our way outside toward a few train cars until we see a waterfall.
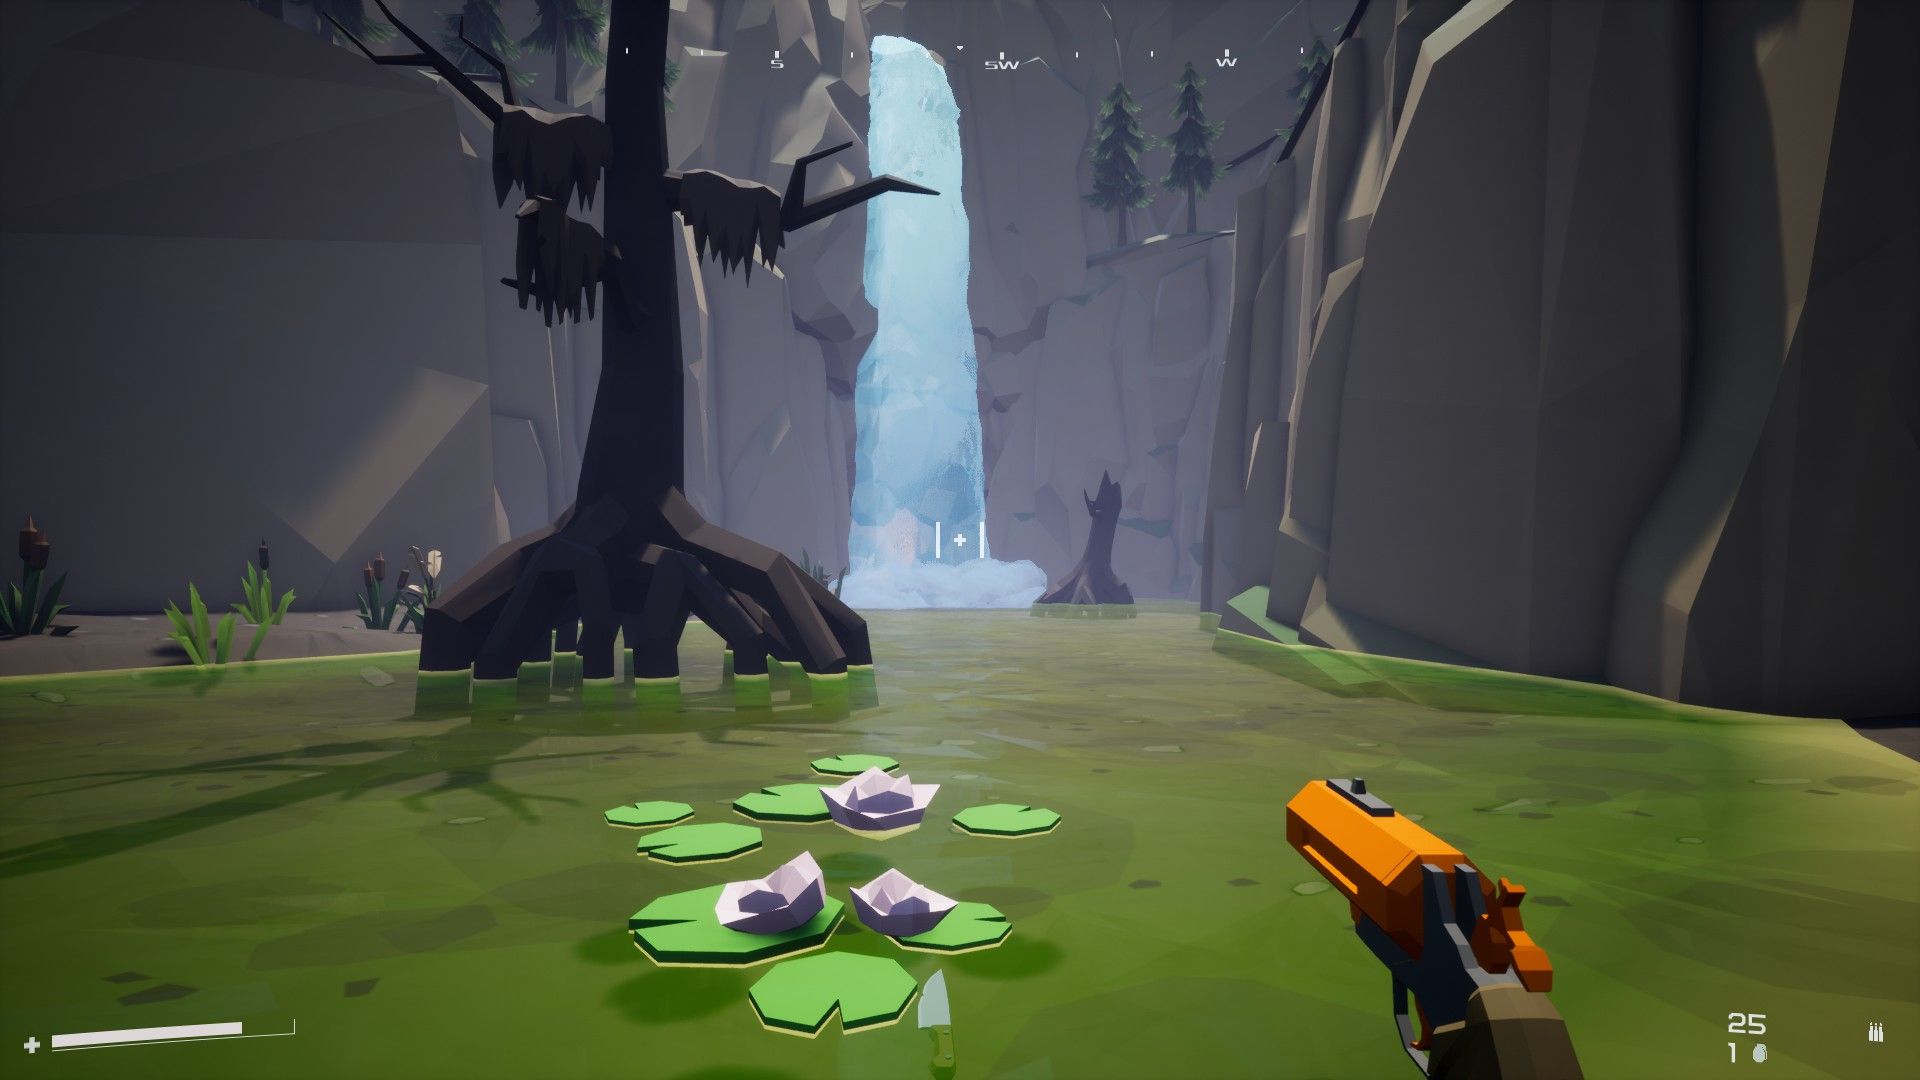 This lovely waterfall hides a secret…
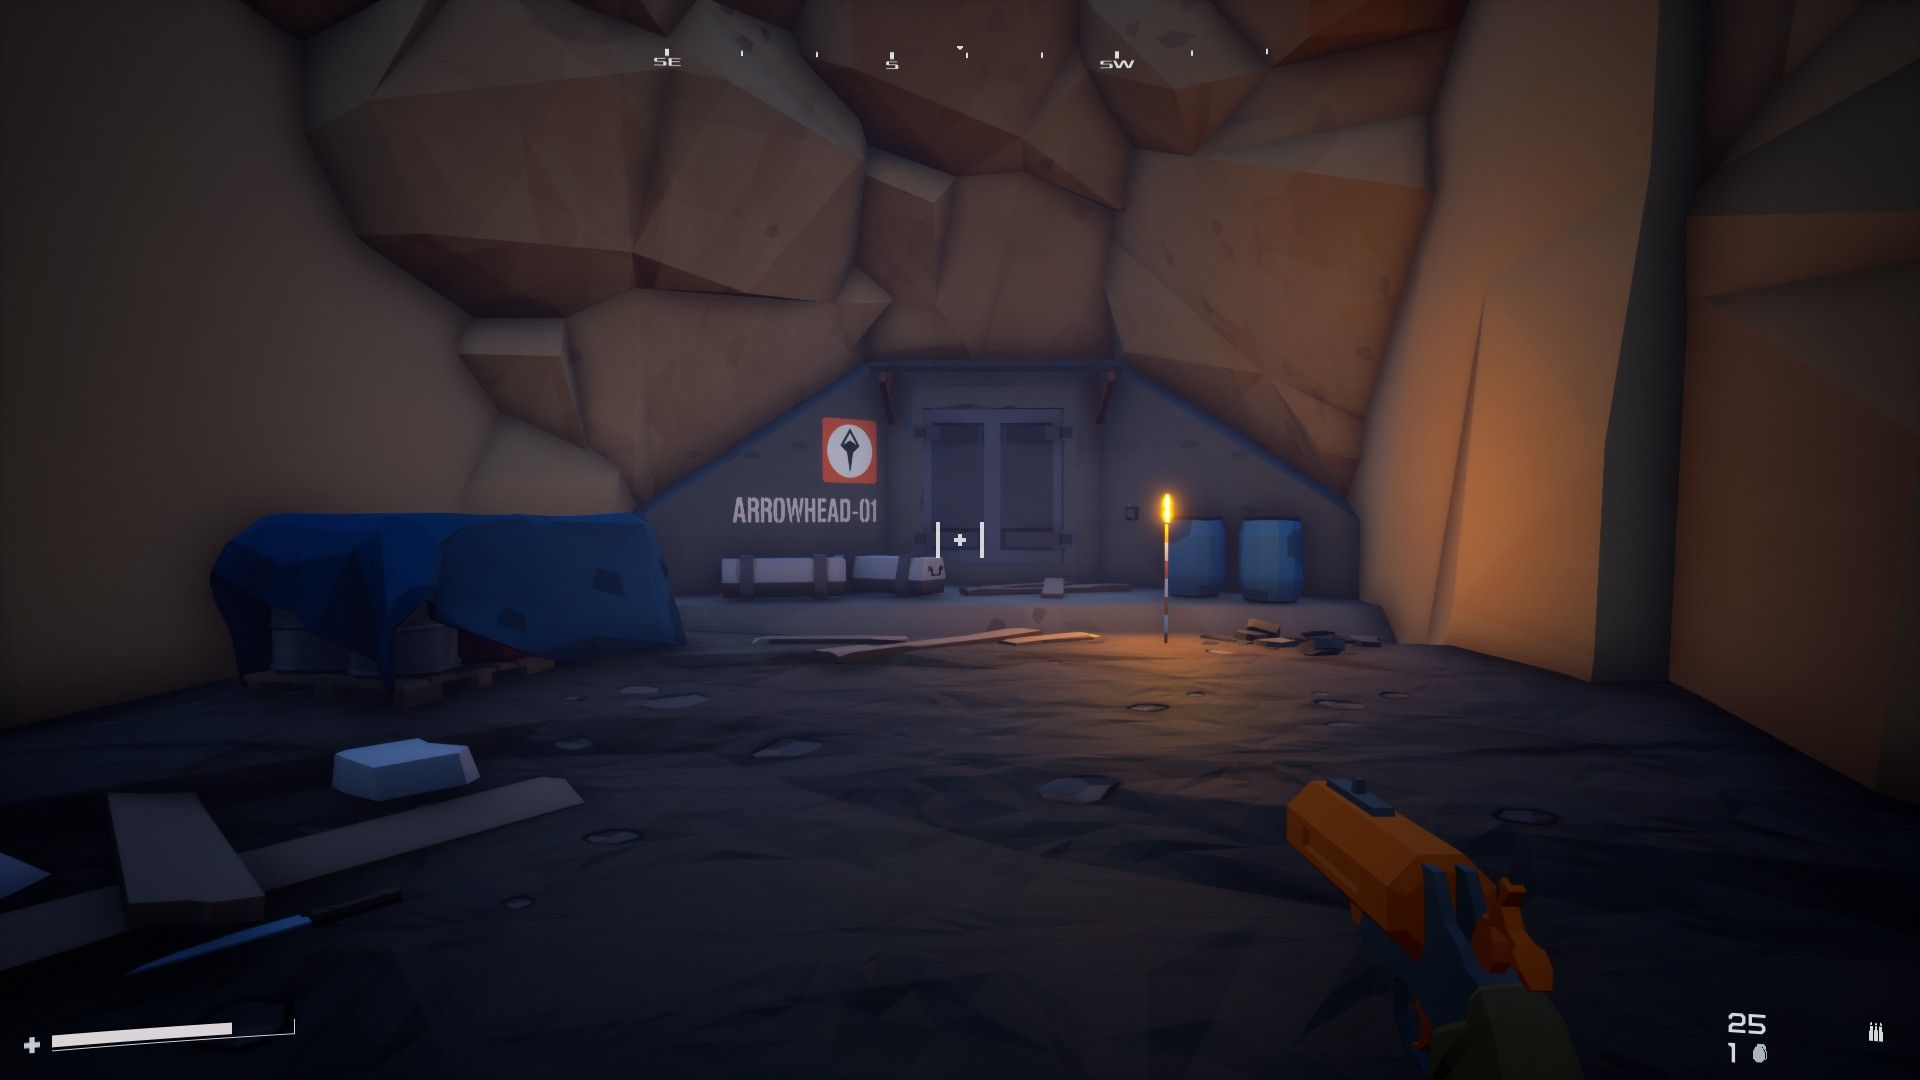 The locked entrance to Arrowhead-01
Behind it we’ll find the entrance to Arrowhead-01 and the start of another quest. Track down the code (keep your ears open for numbers repeated on the radio) and open the door to kick things off!
The code to enter Arrowhead 01 is 325174. You can hear it on radio broadcasts in a few areas; I first heard it in The Haunt.
For now we’re going to make our way to Junction 06 by way of Beach Head.
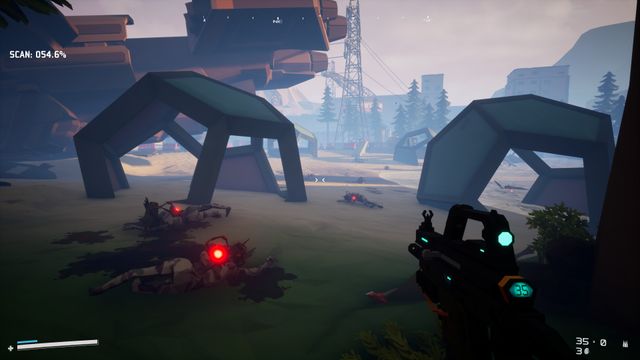
Junction 06 is an open switching yard full of train cars and warehouses. Inside one of them lies our prize.
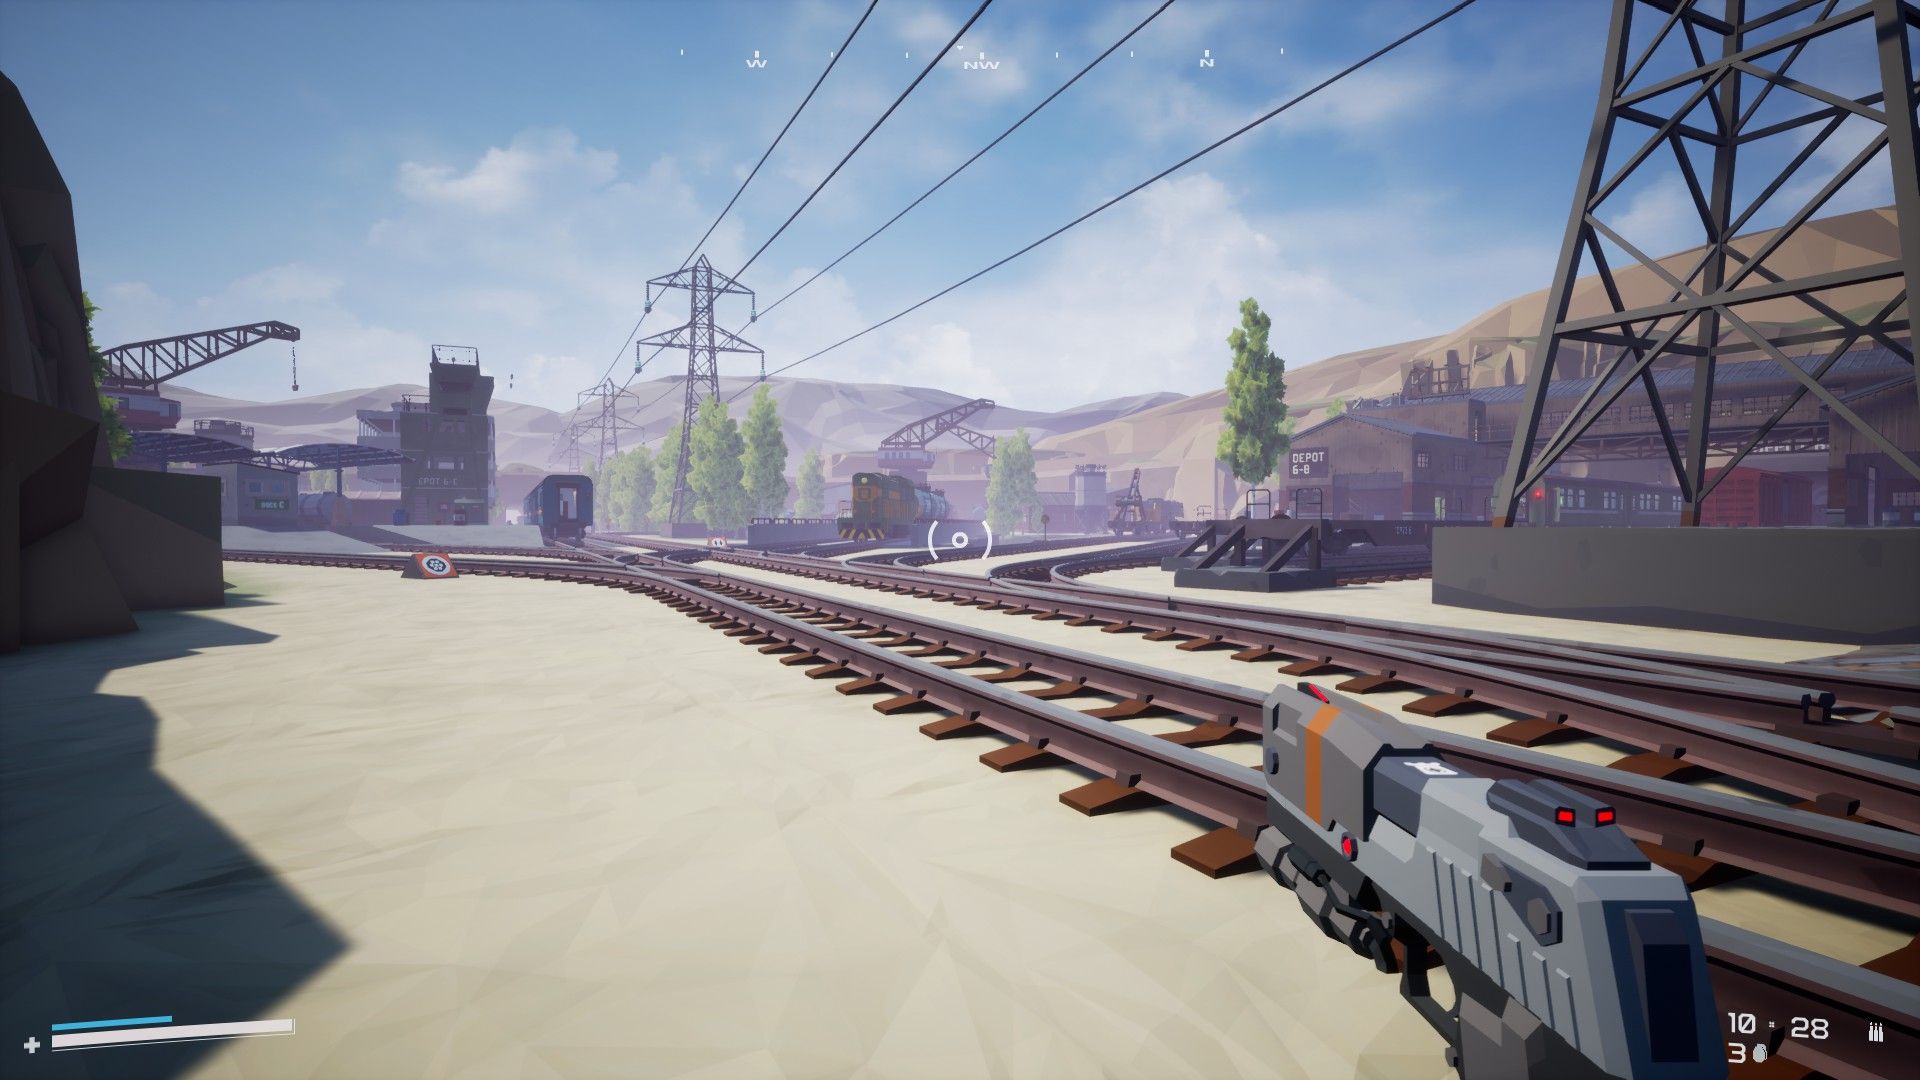 Junction 06
It’s worth taking some time to explore this area and learn the layout. Junction 06 grants access to three important areas aside from Beach Head: The Pines, Catacombs, and Necropol. It’s also a relatively ‘friendly’ area; while enemies spawn just as much as anywhere else in the game, it’s a wide open space with open sightlines and it’s tough for anything scary to really sneak up on you.
You may have noticed some terminals with a blinking light on top; they’re actually directing you straight to the Radar Tower Parts, showing you the warehouse where they lie. You’ll find them in Warehouse 27, inside of a shipping container.
 Hint Terminal
Bring the parts back to the Radar Tower and you’ll be told it’s time for a larger mission.
With that done we’re ready to return to the Vakt ship and launch Operation Earhorn! This’ll be our first major assault in Zone Patrol, and our first major break with the game’s typical formula. While there’s nothing stopping you from continuing to explore, I recommend hopping into these missions whenever they pop up — they’re a good chance to experience the game and its areas in a different way.
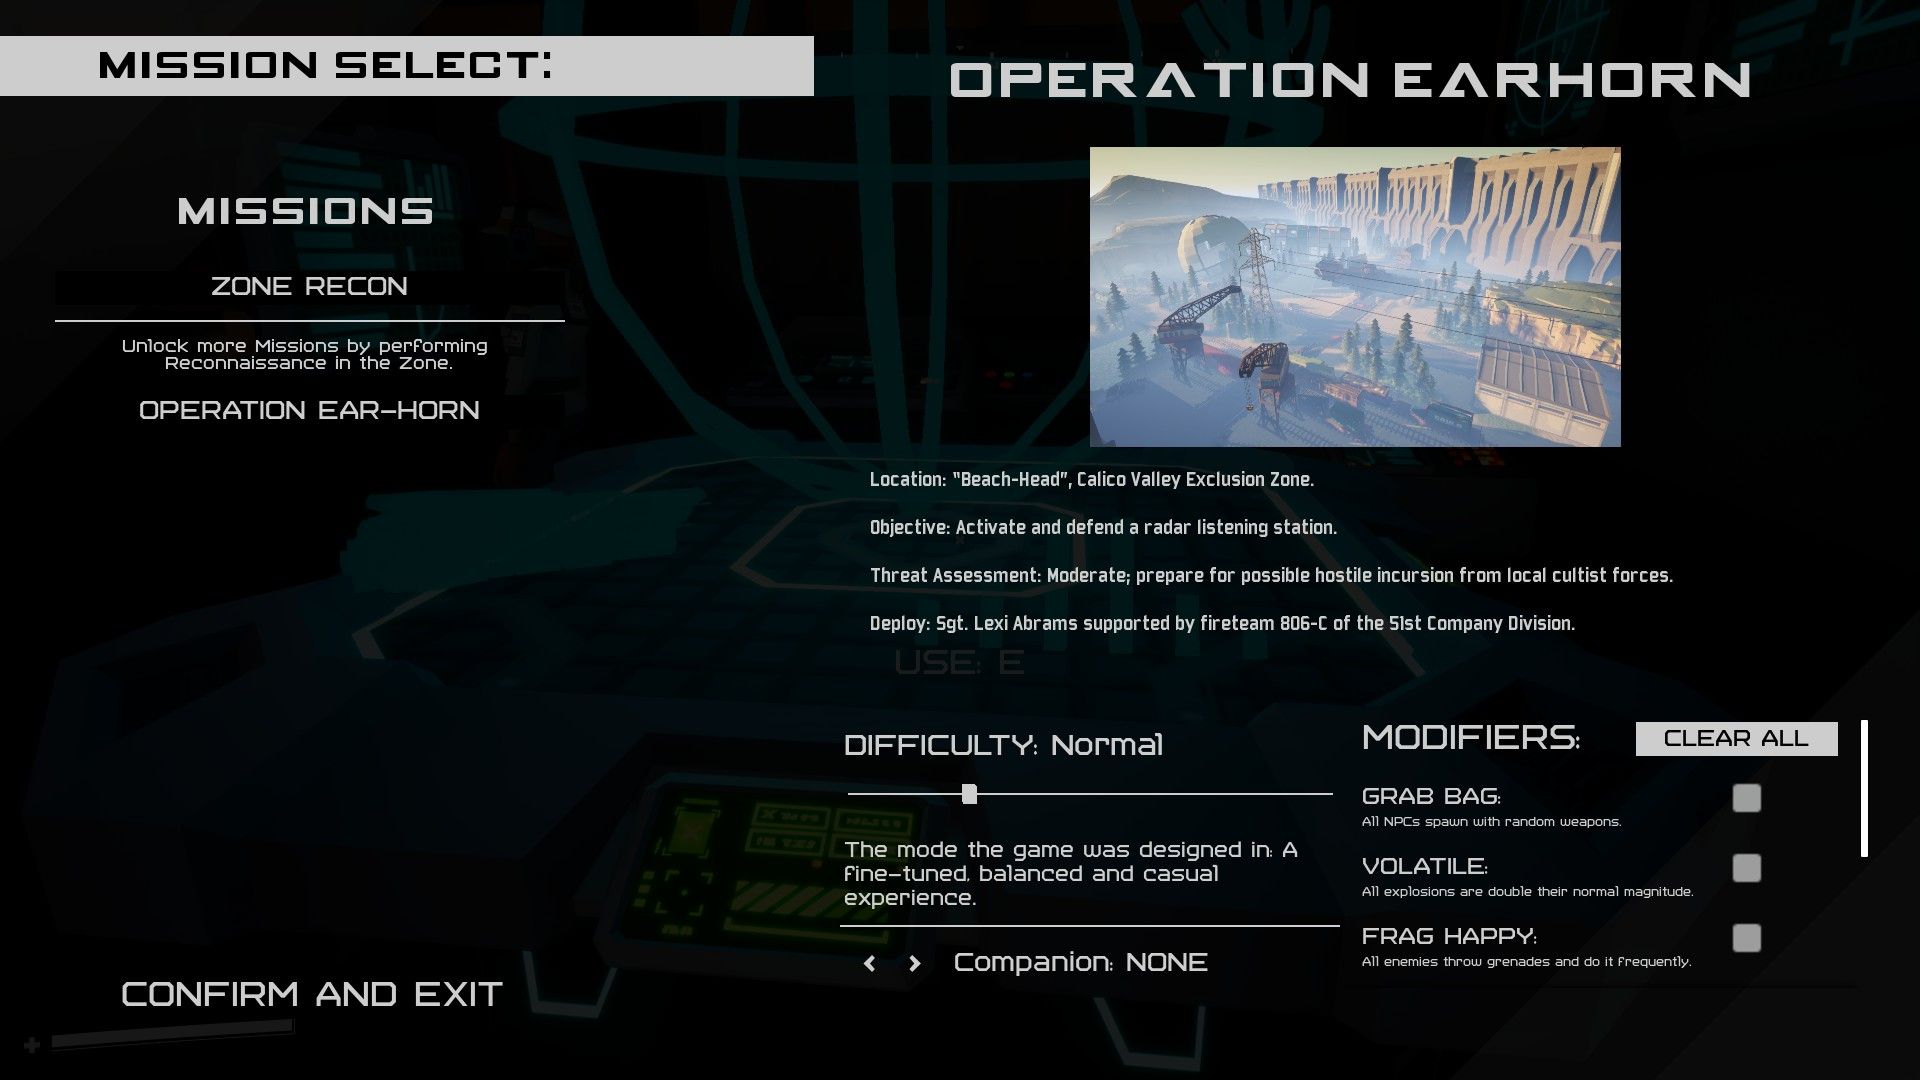 Operation Earhorn - Activate the Radar Tower
That’s all for Part 1! As always, I’m including a link to purchase ADACA, and hope you’ll join me for Part 2.